I ride all year long, including the winter and snow. It is nice and fun – with appropriate clothes and preparation, of course. Separate posts explain how to dress for winter cycling, how to choose bicycle winter tyres and how to ride in the snow. This one explains the bicycle maintenance problems caused by winter cycling, how to overcome them and what kind of bicycle is most suitable for winter cycling. Let’s start…
Table Of Contents (T.O.C.):
- Mooost wonderful tiiime of the yee… cough, cough!
- Prevention
- Winter bicycle
- Video – talk about bicycle “winterization”
1. Mooost wonderful tiiime of the yee… cough, cough!
OK, winter and snow are magic and beautiful, but can also be harsh – that’s no secret. As far as bicycle maintenance goes, winter brings the following problems:
- Lots of rain and/or snow, that wash off lubricant from chain and bearings and corrode all the metal parts.
- Generally dirtier roads (again from rain and snow) that are sprayed on the bicycle and the rider if no mudguards are used.
- Salt that is put on the roads when there’s snow is very corrosive to all the parts – much worse than just water.
- Vast cold-warm temperature variations if a bicycle is stored indoors, which makes condensation inside the (hollow) frame tubes – again, causing corrosion.
What all this means for a cyclist? Well, you can expect the following things on a bicycle after a winter cycling season:
- Rust on all the bolts, derailleurs and the frame – especially if there’s any paint damage.
- If there are cracks in tyre sidewalls, salt will “eat” the cords that hold the tyre, causing it to tear.
- Cables and housing (brakes and shifters) will need replacing, at least cables most probably.
- Chain (and perhaps cassette as well) will get eaten by rust, probably needing replacement.
- Most bearings will be fit for cleaning and re-greasing.
- Spokes and nipples will corrode in place.
2. Prevention
Most of the above-noted problems can be, perhaps not prevented, but at least alleviated. How? Here’s a list of tips & tricks:
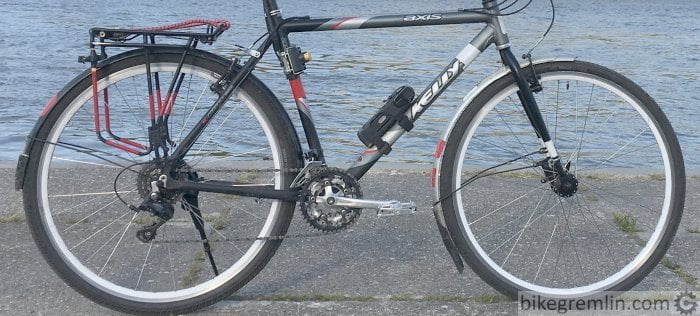
- Mudguards – this can not be stressed enough for winter cycling. They keep (salty) water and road grime off the rider, bottom bracket, headset bearings and the bicycle’s frame. It is best when they are “full size”, covering most of the wheels, thus minimising the amount of splashing.

Picture 1
- Lubricated bearings – who rides throughout the whole winter, service is best done in late autumn and early spring (i.e. before and after the snow). So make sure that you lubricate: wheel hubs, headset bearings, brake and derailleur pivots, chain, pedals etc. During the winter it is good to re-lubricate brake and derailleur pivots and to regularly lube the chain.
- Store the bicycle protected from snow and rain, but in a room that isn’t heated if possible – this will help reduce condensation inside the frame tubes. Storing a bike indoors will cause condensation, as well as all the snow and ice to melt, then get into cable housing and freeze them once you go outside again.
- When building wheels, use anti seize paste, instead of oil, for lubricating spokes and nipples.
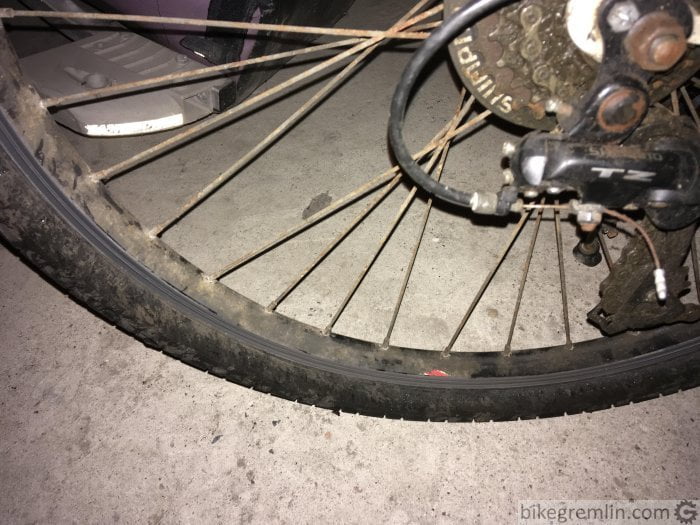
In spite of all the precautions, winter will take its toll. Especially if riding in the snow and slosh – and even more if there’s salt on the roads to prevent freezing.

Rusty spokes, nipples, cables, sprockets…
Picture 2
This is why for winter cycling you might go with a bicycle that won’t cause you much grief, or expense when this happens to it. More on that in the next chapter.
3. Winter bicycle
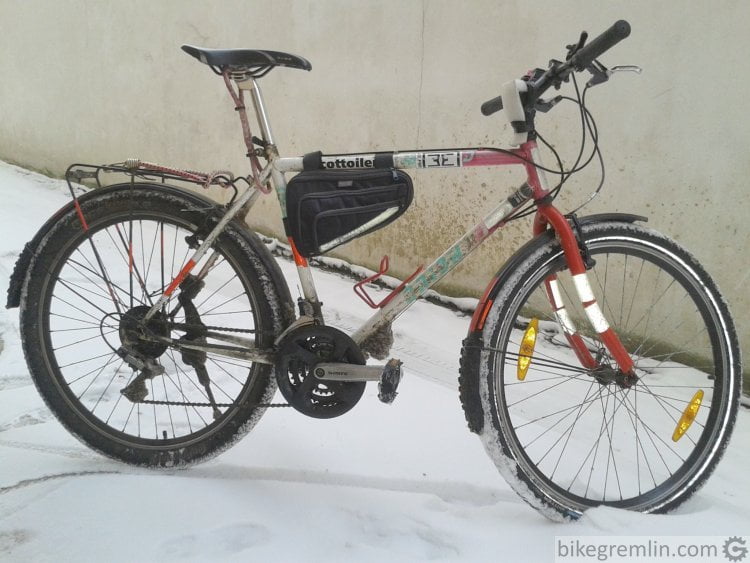
For me, a good winter cycling choice is an old-style mountain bike, with 26-inch wheels.

Picture 3
Of course, any old bike will do, with preferred attributes being:
- Cheap, but reliable parts and frame – if you discard light weight, it is manageable.
- Enough “frame room” for mounting not-too-narrow tyres. With some extra room for mudguards so that aren’t too close to the tyre. That way when some snow sticks to the tyre the wheel won’t be blocked from turning by the mudguard – at least some half a cm of room is OK, preferably more.
- Friction shifters. Frozen cables won’t cause that much bother with these.
- No shock absorbers – stanchions can get rusty in the winter, so take some more regular cleaning and lubing… or simply not having them. 🙂
- Disc brakes are good for hilly areas – rims can get frozen with ice preventing rim brakes from working properly, but for flat lands, rim brakes are OK.
- The frame is “half a size” smaller than optimal – this suits me, I find it easier to control when sliding.
- Of course, snow tyres with studs.
- Platform pedals with studs to prevent wet/frozen boots from sliding off them.
- Good lights. Along with weflective (“hi-vis”) strips on the frame and wheels – for better visibility. Short winter days mean more riding in the dark.
Depending on riding conditions, terrain and personal preferences, your choice could differ. These are just some “guidelines”. With some time and experience, everyone will come to what suits them best. Just take it one ride at a time and enjoy the snow. 🙂
