1. How it all began
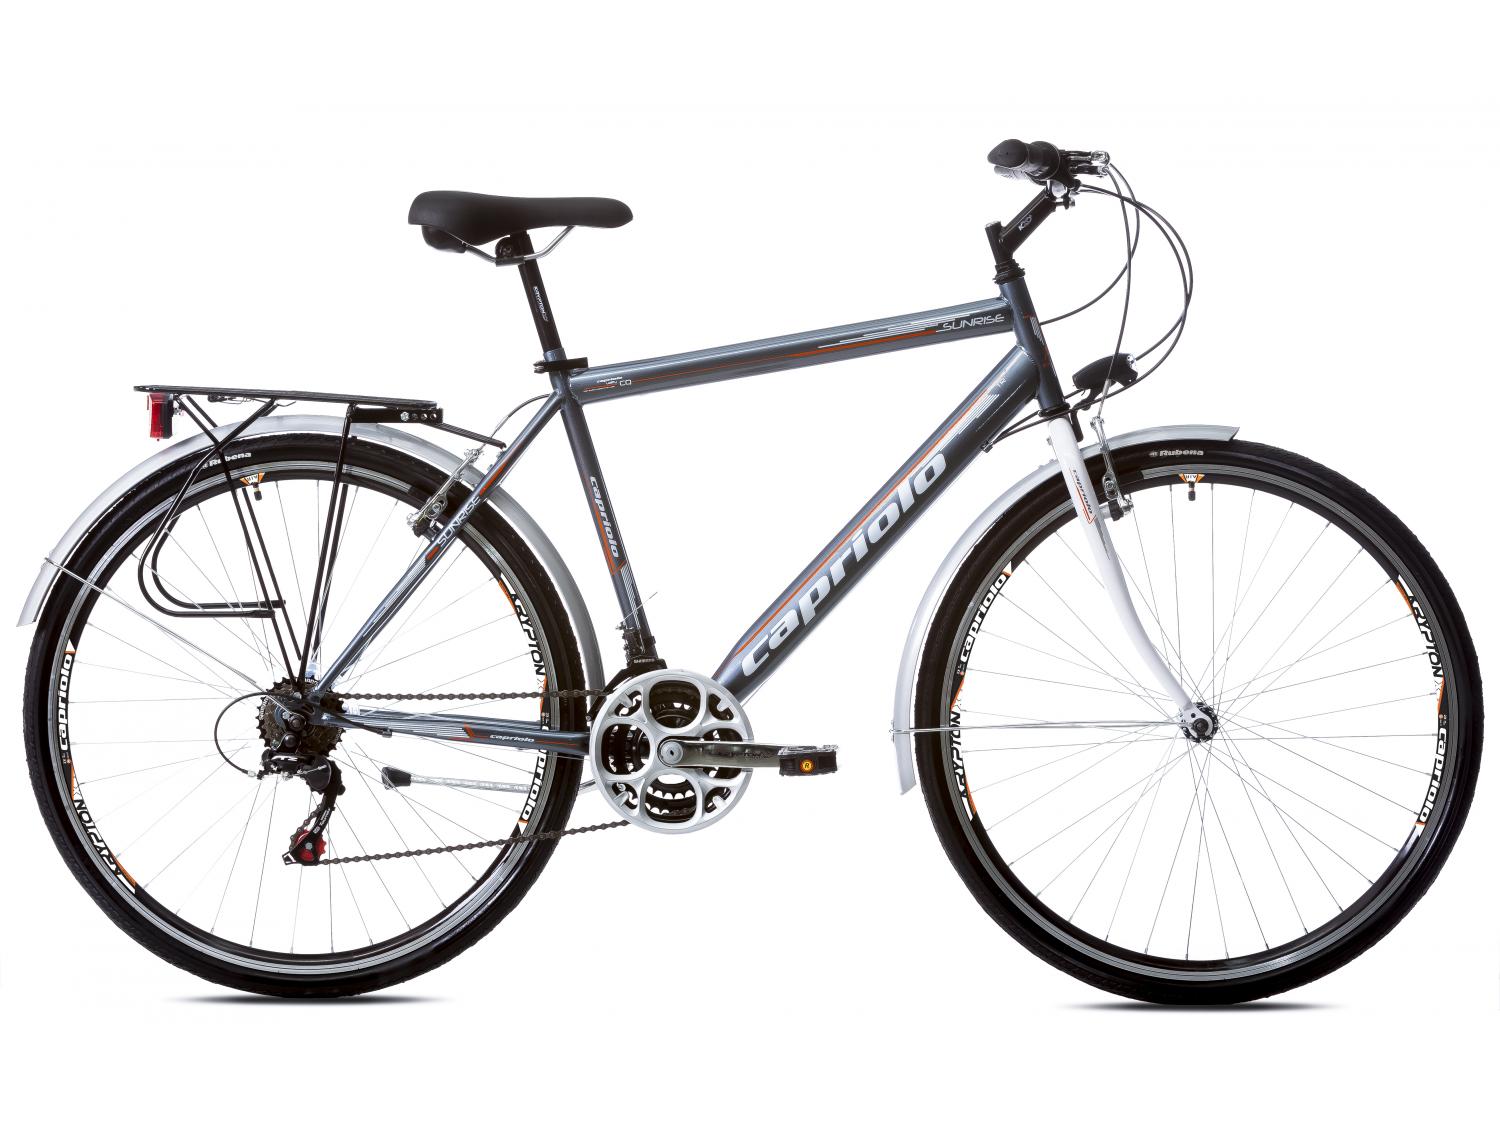
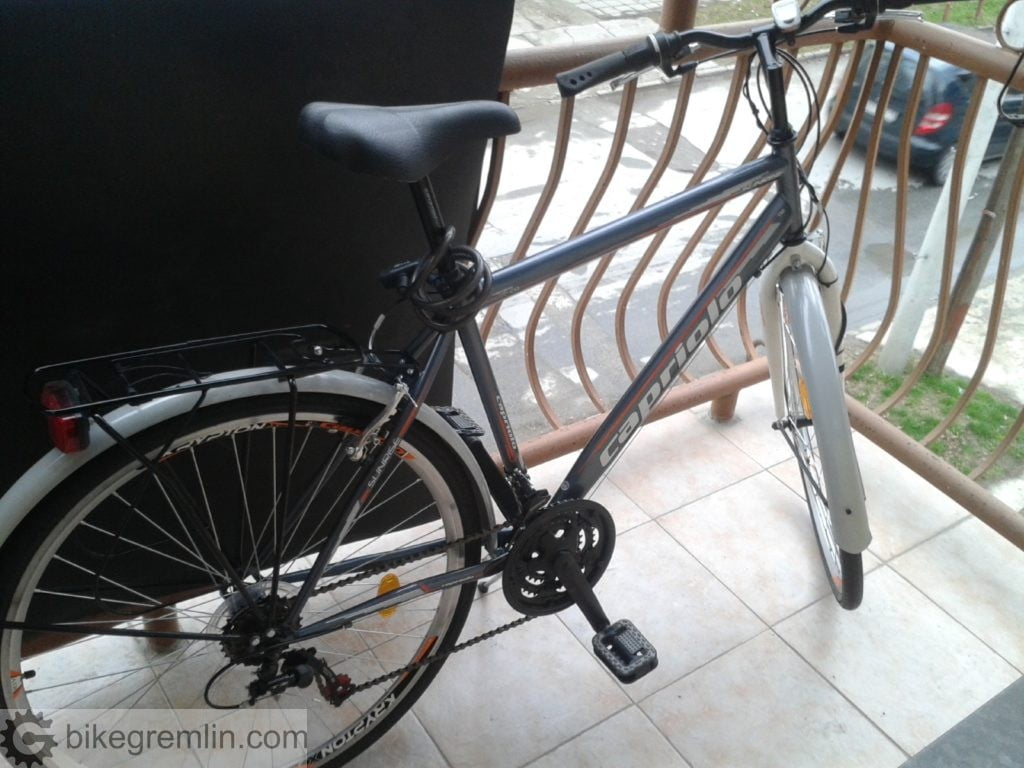
A friend decided to buy a bicycle to go to work and back. It’s about 15 km one way. With a 500 meter steep and about 500 meter gradual climb. He opted for a rather cheap, new bicycle – Capriolo Sunrise – costing about 160 euros. He consulted me before buying and I told him that it is a bicycle with low quality parts and if ridden often and a lot, it will require lots of parts replacement, with added costs. Capriolo is a brand that offers the “biggest bang for the buck” in Serbia (in my opinion), but this model is dirt cheap with costs cut wherever they could. On the other hand, the bicycle is new and has a 2 year warranty. He had decided to go with it, and track mileage and expenses, and see how a budget bike fares in the long run.
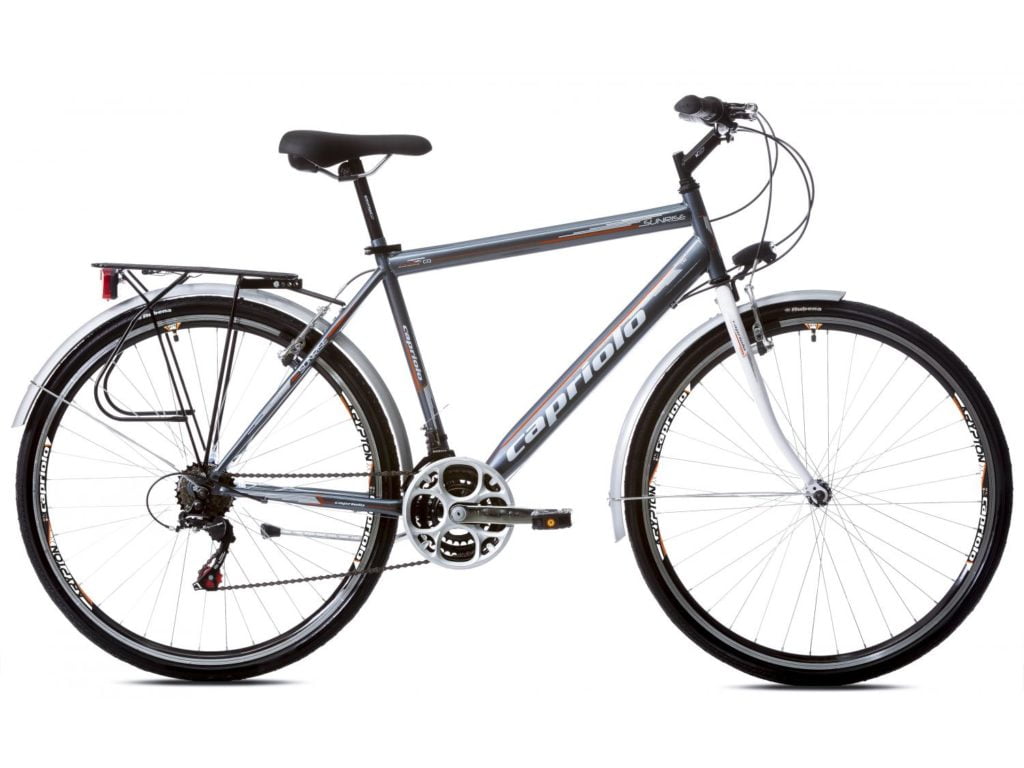
Capriolo Sunrise
2. First service
After exiting the shop, it was determined that the handlebars were bent. So it had to go back for handlebar replacement the very next day. After the bike came back from the first warranty claim, it was decided to do a complete service. This makes sense, since manufacturers often sparingly use grease so it doesn’t drip out of new bicycles, and bike shops rarely have the time to thoroughly and properly set the bicycle up. As this text will show, things needed adjustment – in my experience even the more expensive bicycles need a proper first service. But after the proper setup, we’ll see how the bike fares.
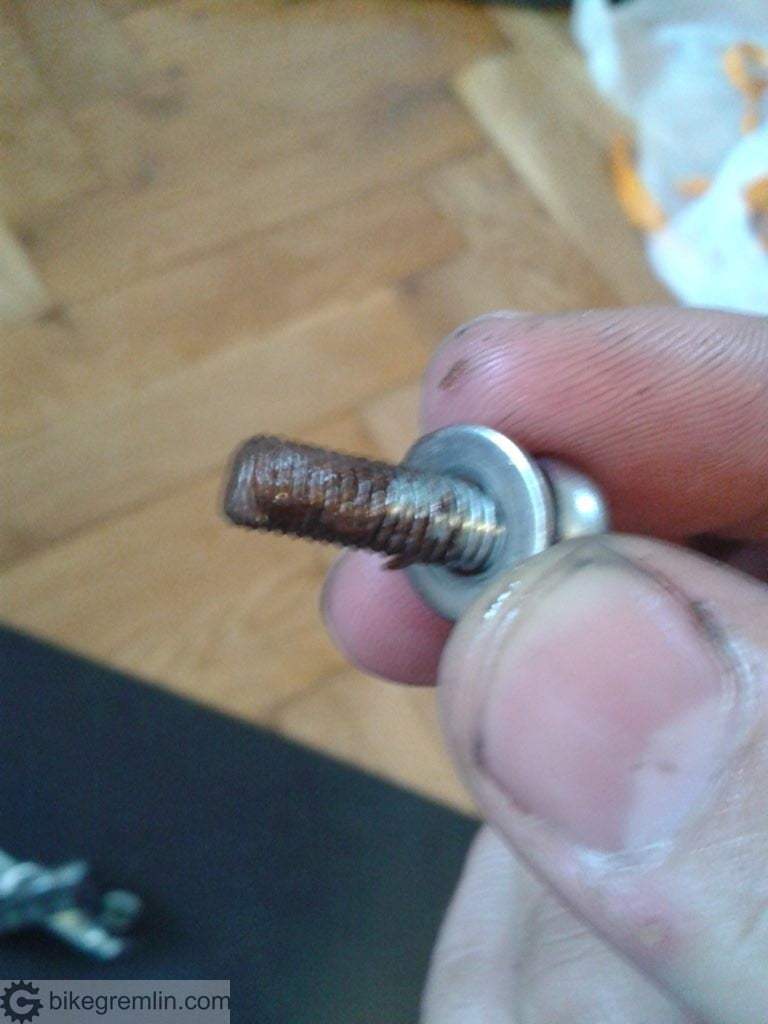
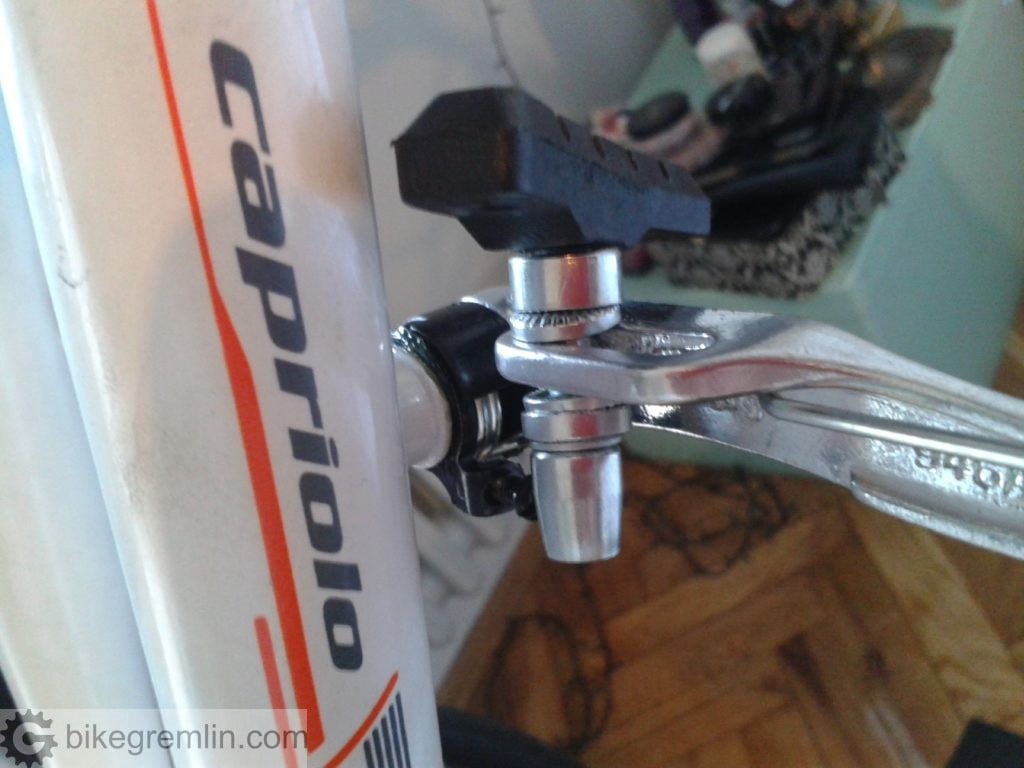
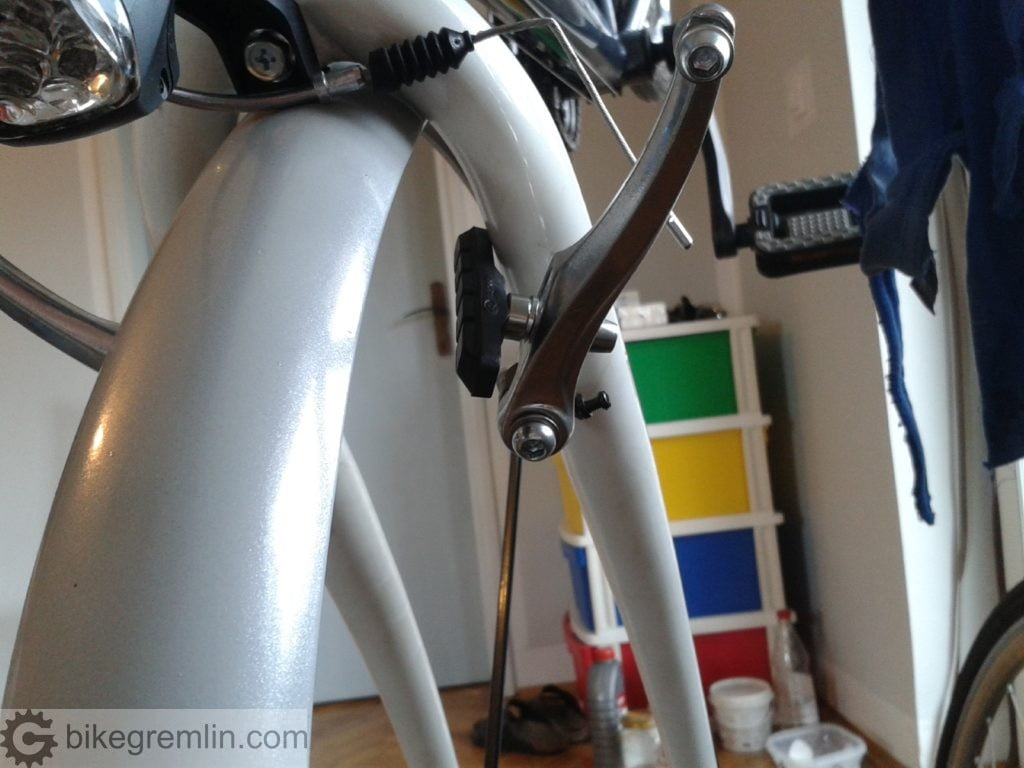
The first thing I noticed were poorly set up and wrongly oriented brake pads.
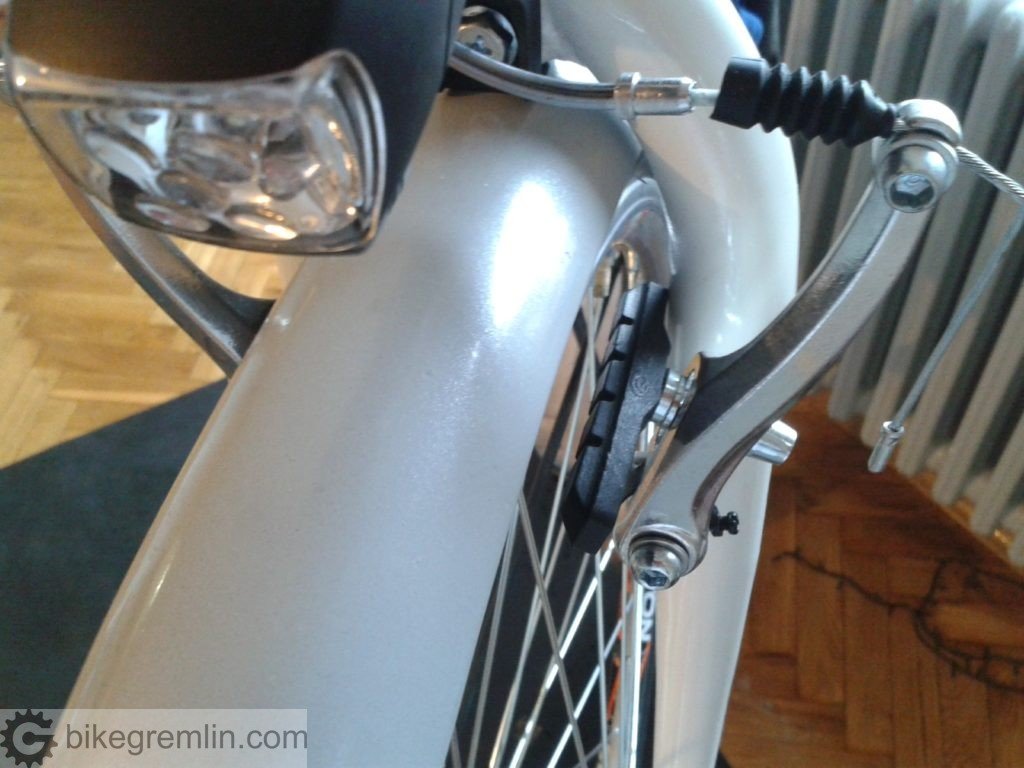
Brake caliper mechanism and brake pivots were greased with some lithium grease. All the mounting bolts on the bicycle were greased with copper mounting paste (“copper grease”), to prevent them from getting stuck, or galvanic welding one onto the other.
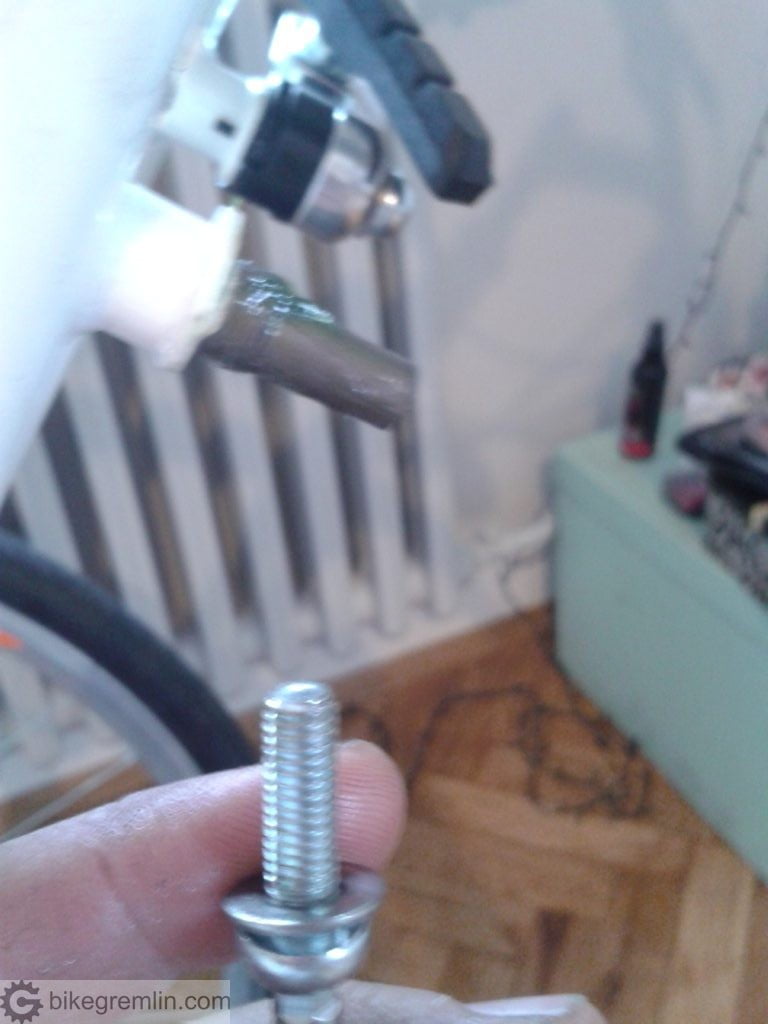
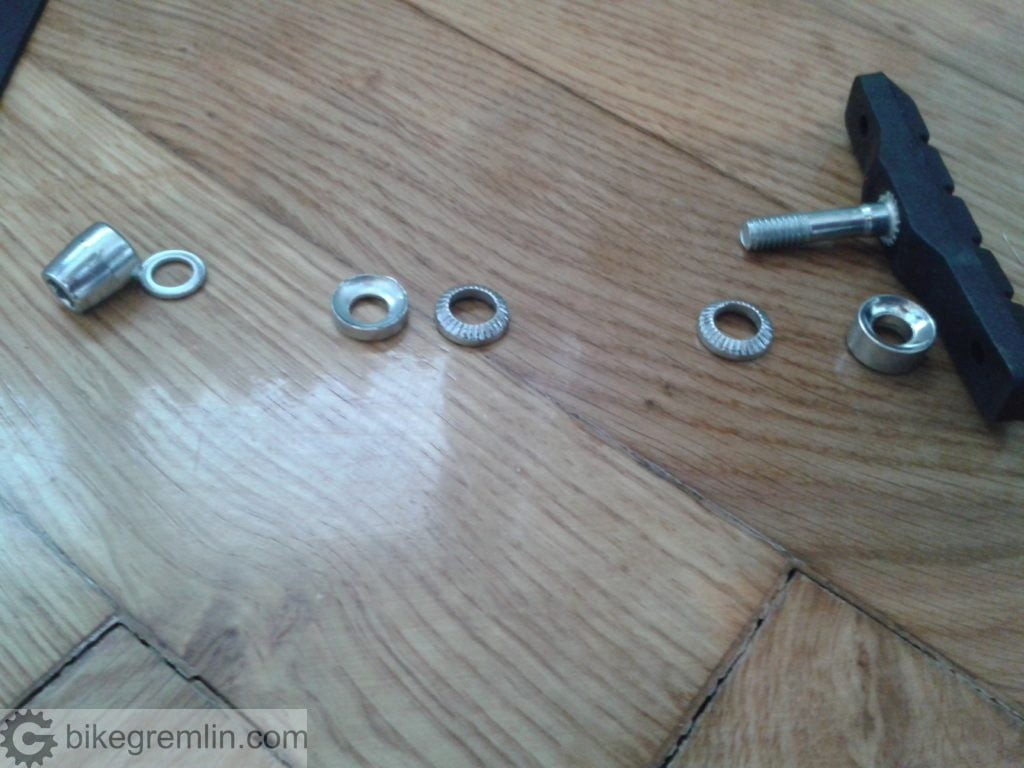
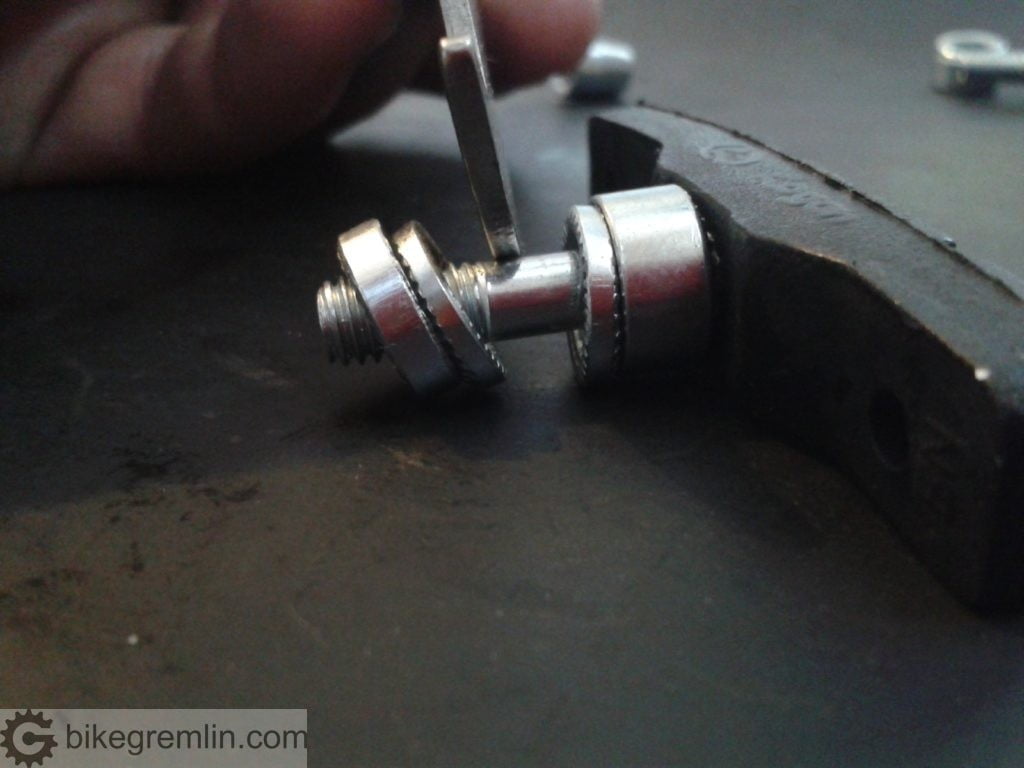
Spacers were realigned so that caliper angle is better, giving a bit better leverage (click on a picture to enlarge it):
Next came the steerer – headset. Bolt holding the quill stem had already been stuck. Very hard to unscrew and release the wedge.
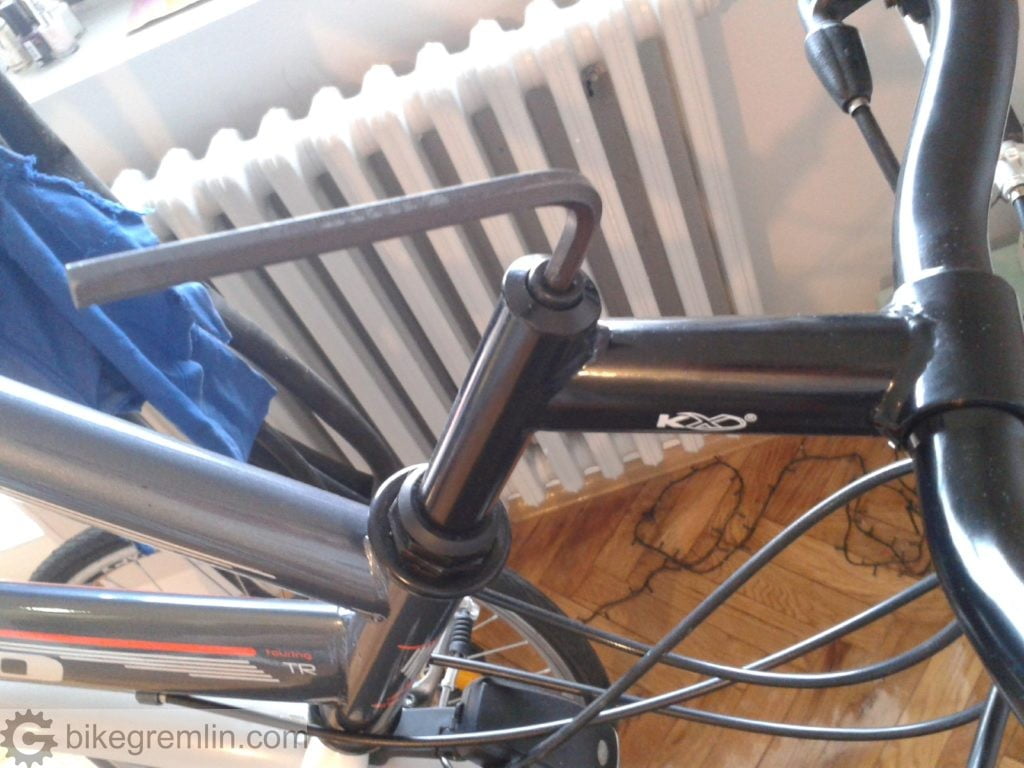
Stem was disassembled. All the cups and cones were re-greased, since there was very little grease and it seemed rather dried out already. Also, copper grease was put on the wedge and the bolt threads to prevent it from getting stuck in the future.
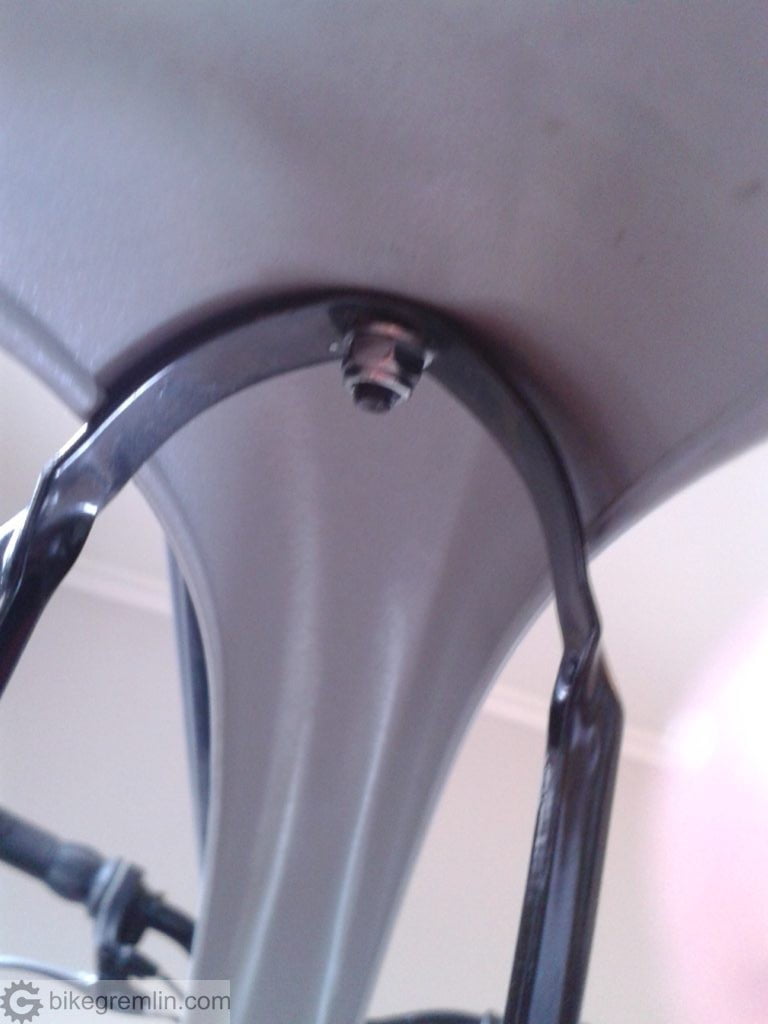
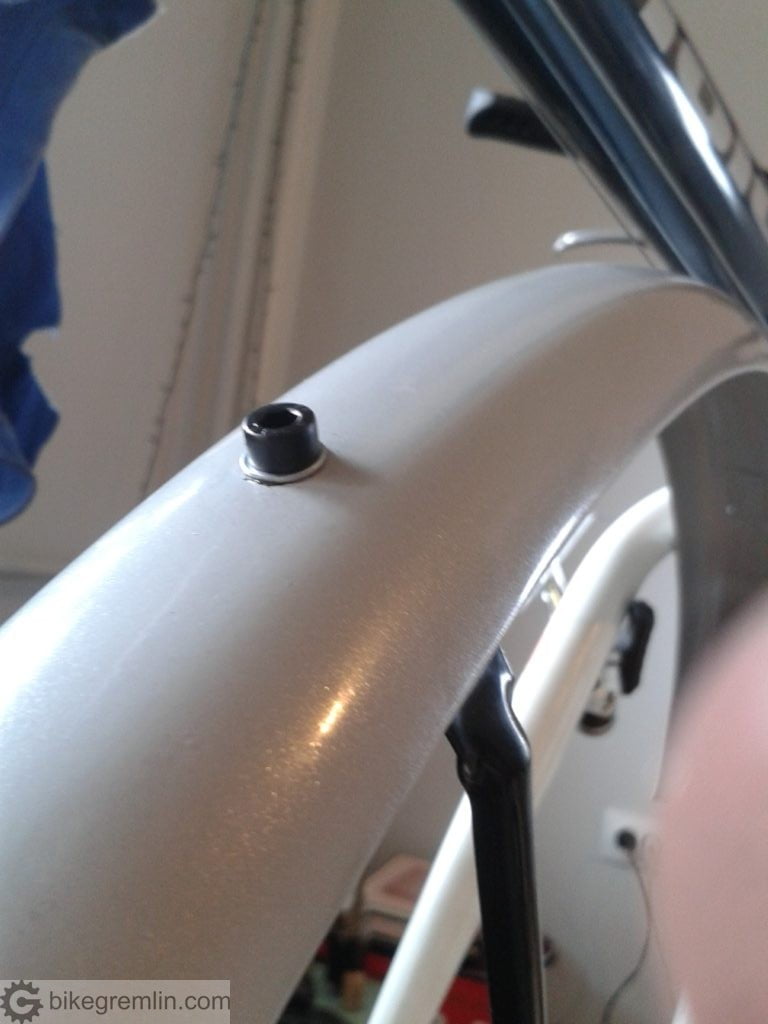
Wheels were removed for overhaul, set aside. Next up came the mudguards. Nuts were replaced with nylon locking nuts, so they don’t come loose with vibrations after a while. Also, Phillips head bolt without washers was replaced with a longer bolt, with an Allen head and enough length to hold two washers as well. Phillips head bolts are not very good for mudguards, since they can get rusty after a while, and then there’s no strong metal for a screwdriver to hold onto – can be problematic in case the bolt needs to be unscrewed and replaced.

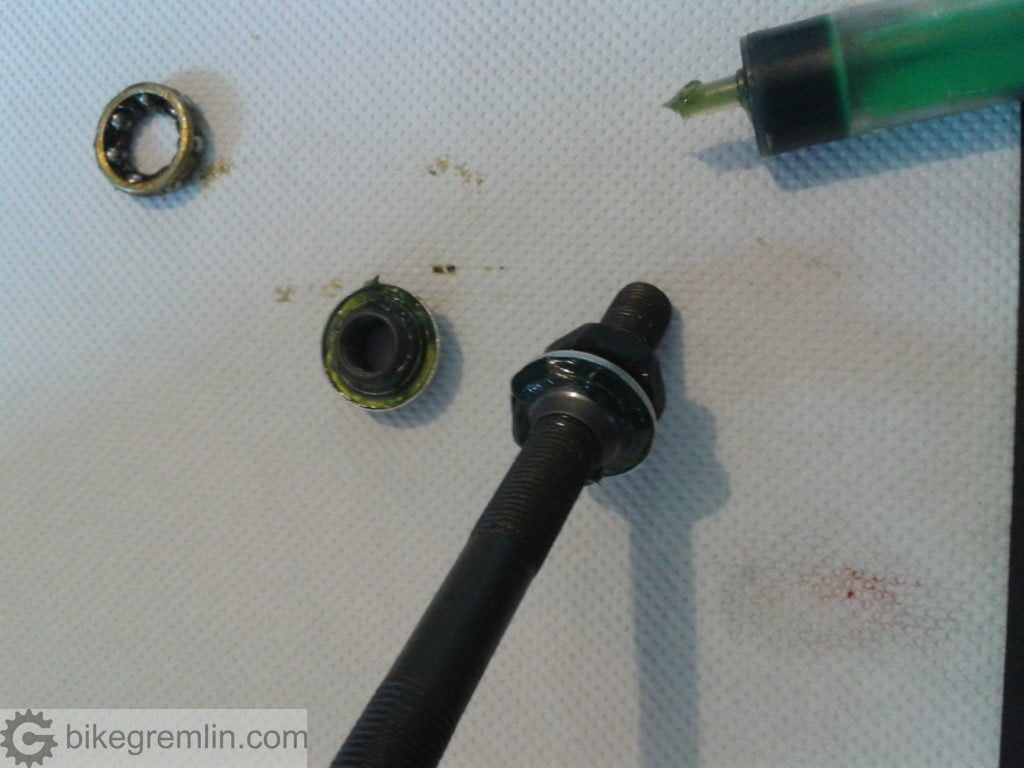
Then came the wheels. Both hubs were with too little grease that was already dried out a bit.
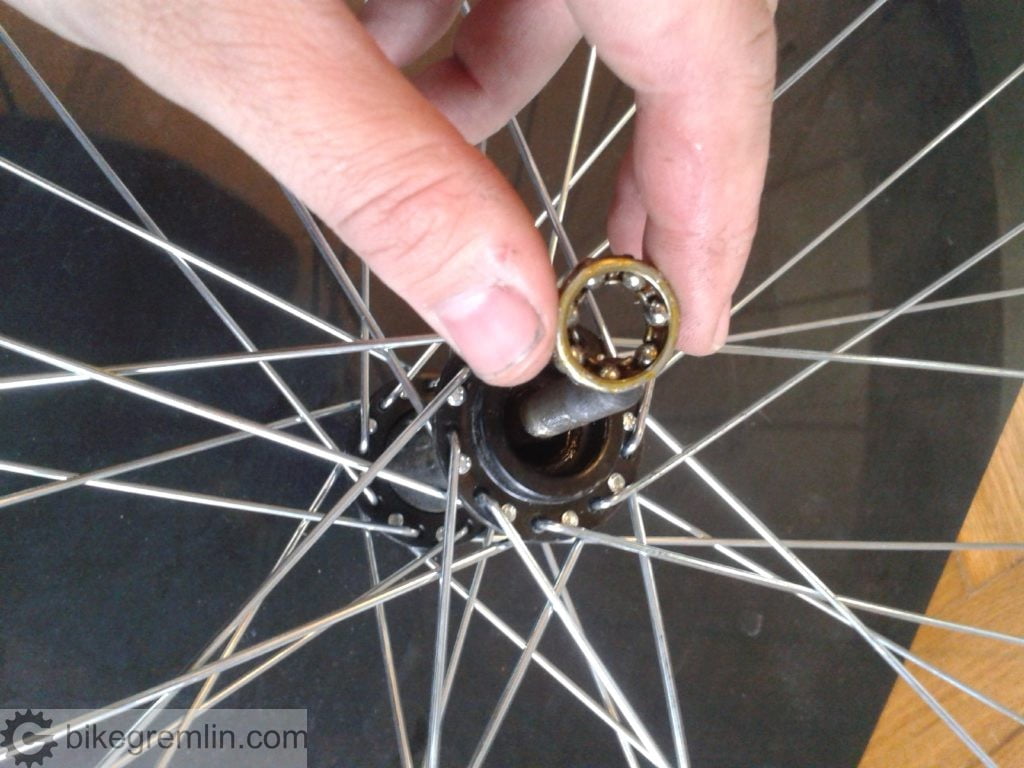
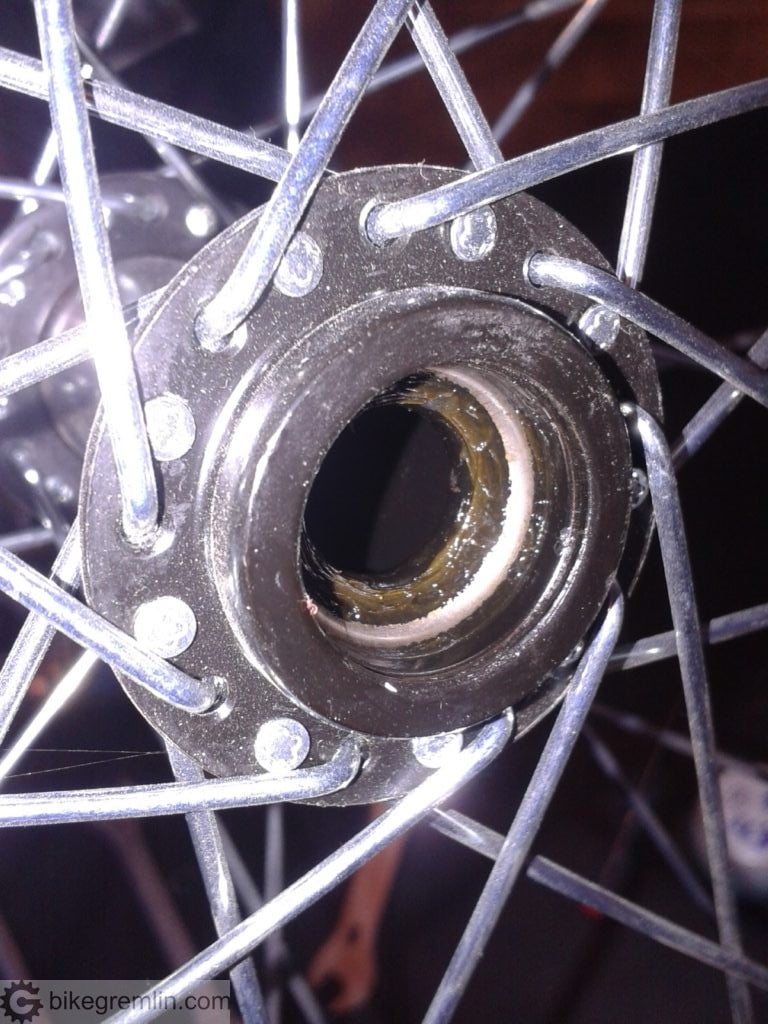
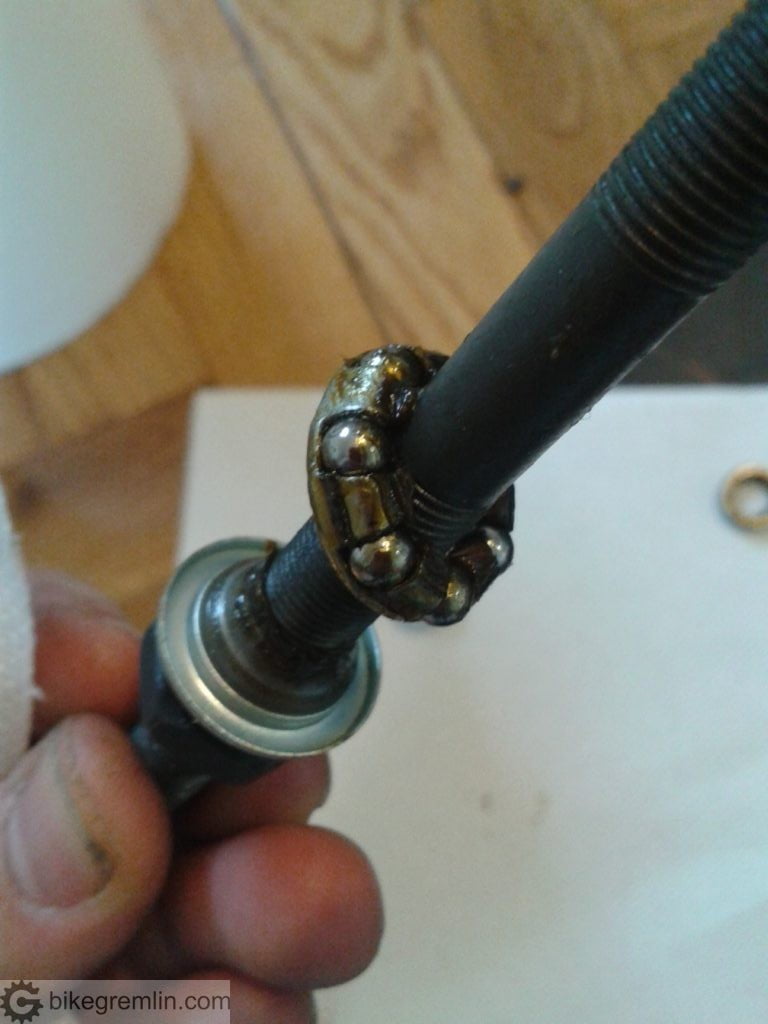
Small number of balls were replaced with new balls, more densely packed (without a ring to hold them together) and more grease was added. Which is a better, longer lasting option. This post explains hub overhaul: Bicycle hub overhaul.
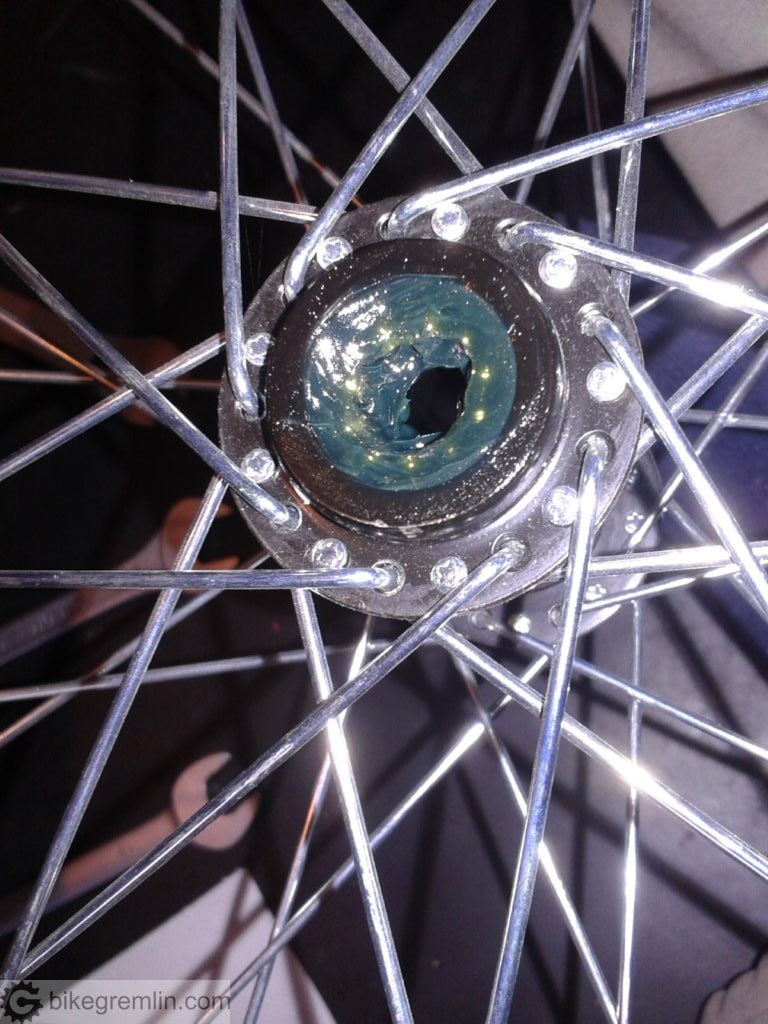
On the rear wheel, along with new balls and grease, threads of the freewheel (cassette) were coated with some copper grease, so that freewheel can be removed without problems when it needs replacing.
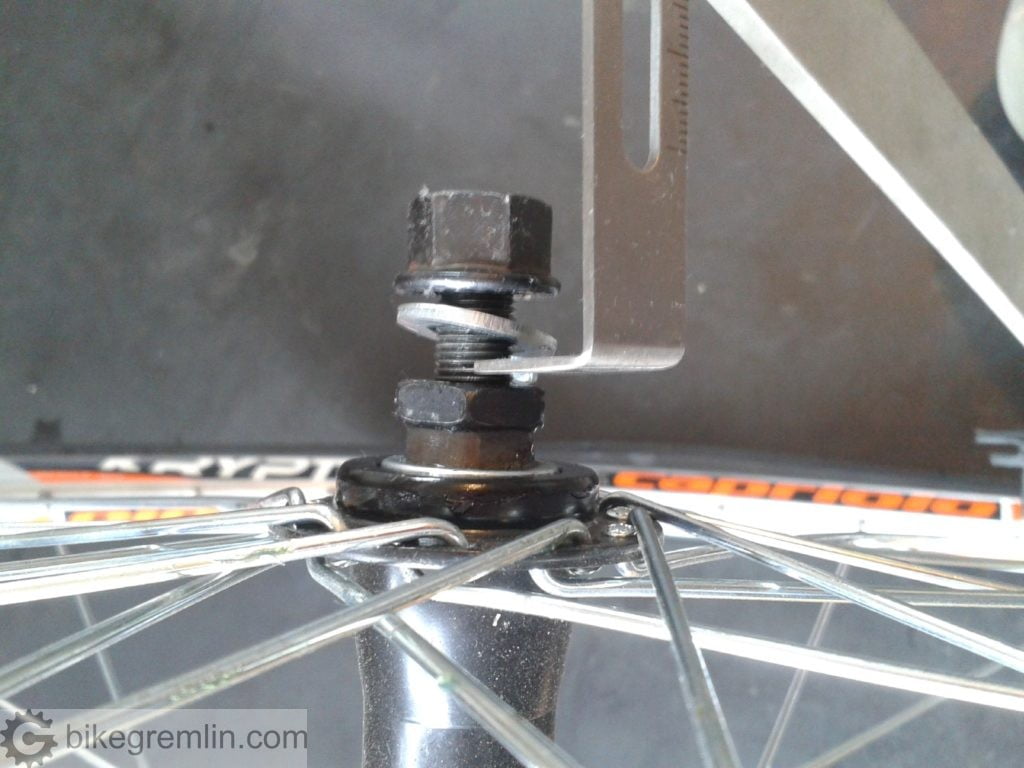
After hub overhaul, it was the time to check for spoke tension and wheel trueness. Spoke tension was rather even from the factory. Front hub was slightly moved to one side, and the wheel had a very small out of trueness. Rear wheel hub was well placed in the center, but the wheel needed (lateral) truing.
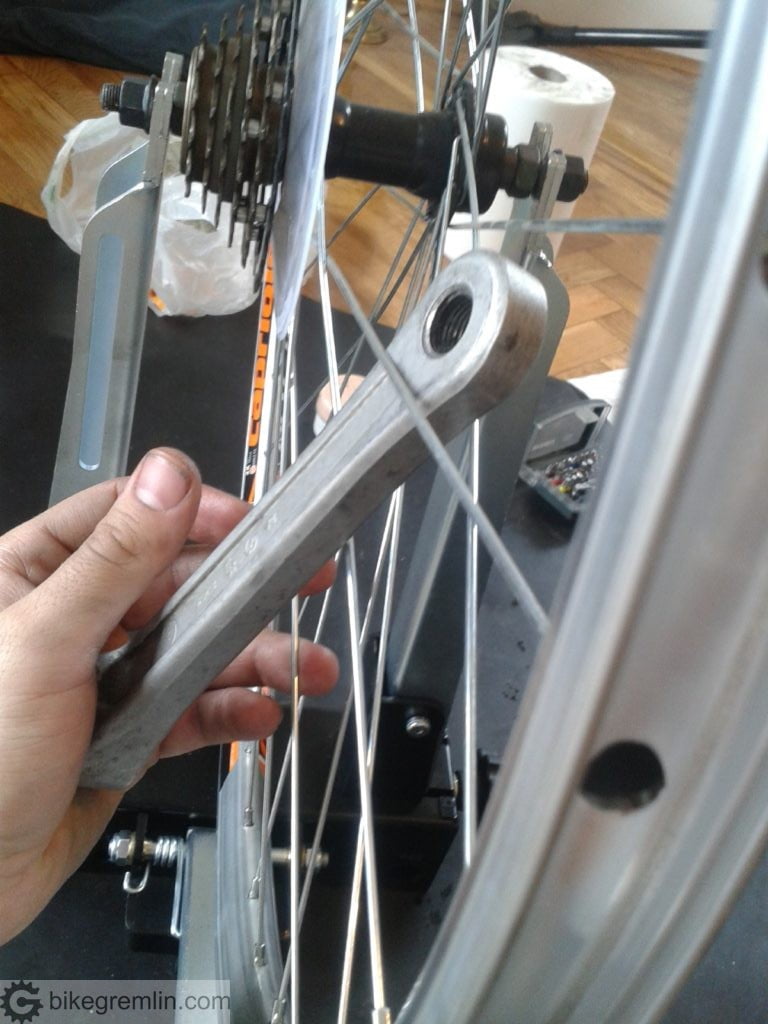
However, since some spokes needed tightening and the wheel needed truing anyway, this error was also fixed.
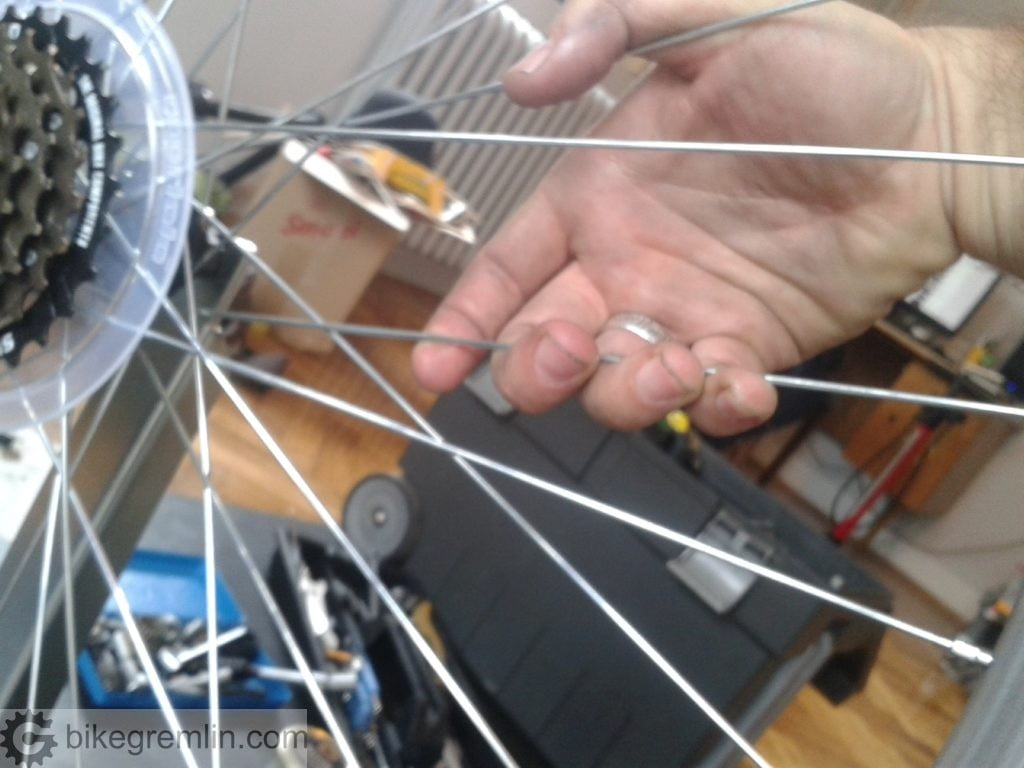
Stress relieving spokes, making sure they are all well seated, then checking again for wheel trueness and alignment.
Rim tape on the wheels was a cheap rubber one. Rims were double walled aluminium. Since the rubber rim tape is too soft, if pumping tyres to a higher pressure, tubes could get cut on the nipple holes in the rim. That is why some tape was used to strengthen the rim tape – beneath it.
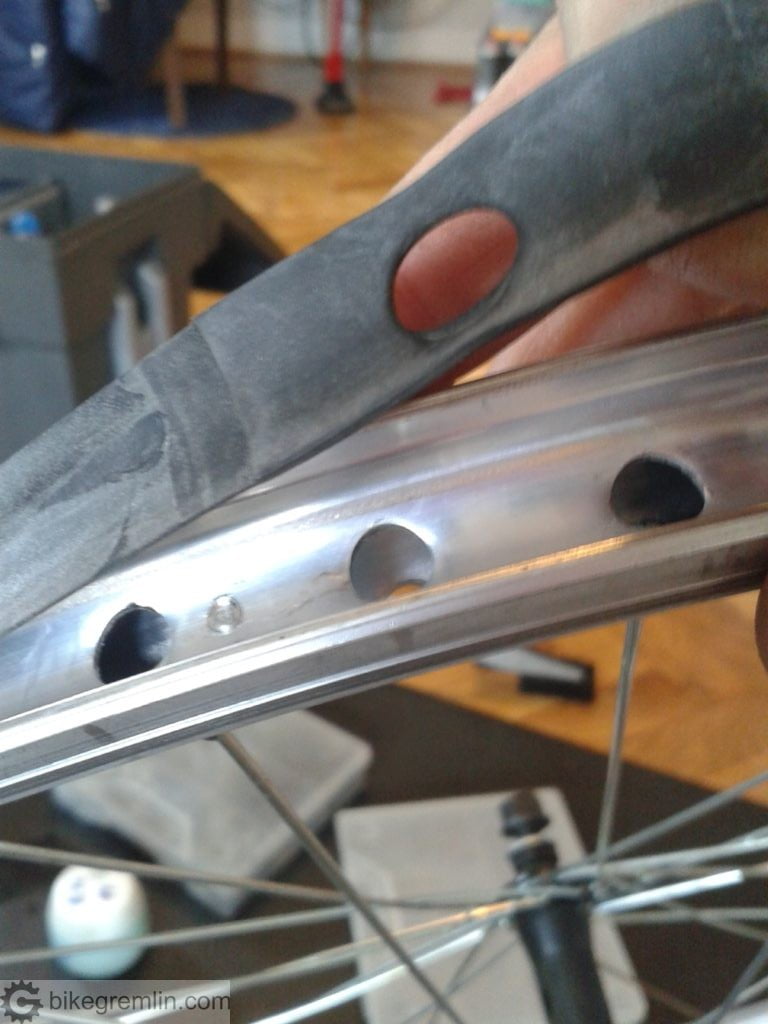
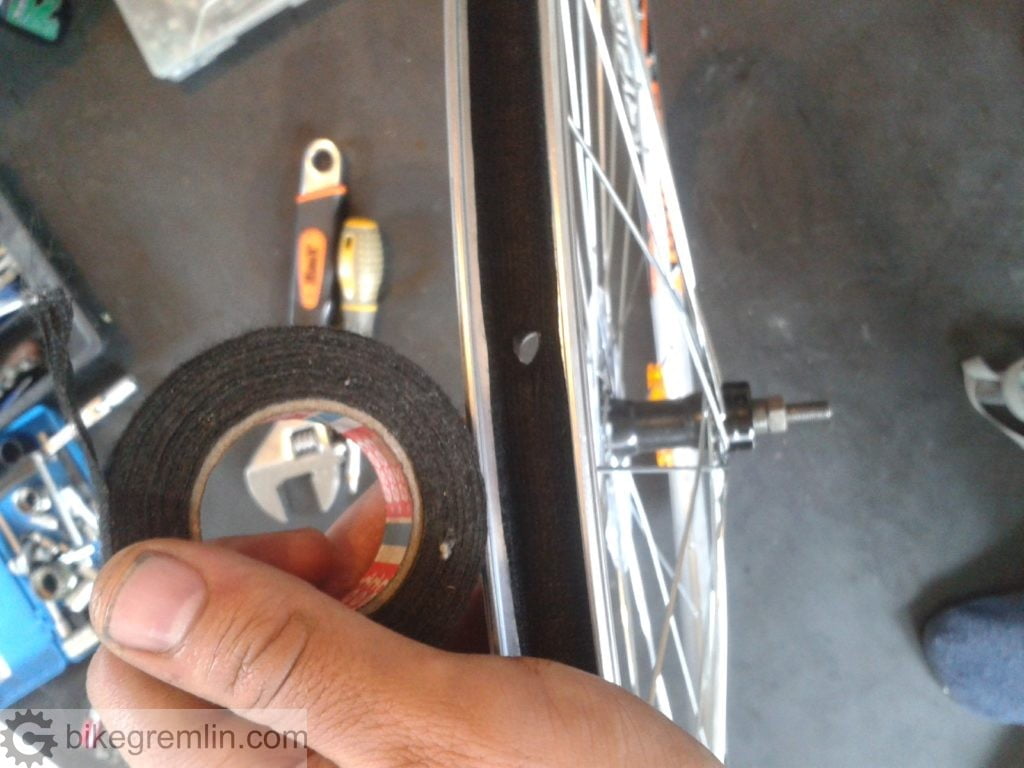
Tyres are 37 mm wide, so needn’t be pumped much over 4 bar pressure. Perhaps that is the reason rubber rim tape was used – at low pressures it could suffice. However, just to be on the safe side (without paying for new rim tape), the construction was strengthened.
Derailleurs needed some fine tuning – RD B-screw in particular (too tight) as well as most limit screws.
Speedometer with an odometer was mounted. First test ride awaits… 🙂
Continued: Capriolo Sunrise – long term test 02.
Last updated:
Originally published: