This post shortly explains important things concerning bicycle rim tape. Many cyclists already know all this, but many don’t – author of the text has often had bicycles brought into his bicycle repair shop with tubes punctured, or damaged from the rim, or the spokes – because of rim tape problems.
If you have any questions (or additions and corrections), please use the BikeGremlin forum (www.bikegremlin.net) – here is the discussion regarding this article:
https://www.bikegremlin.net/threads/bicycle-rim-tape-explained-article-critique.67/
Table Of Contents (T.O.C.):
- What does the bicycle wheel rim tape do?
- Rim tape dimensions
- Rim tape types
- Bicycle wheel rim types
- Tape for tubeless-ready rims
- Optimal rim-tape width (tube, tubeless, and hookless tubeless)
- How to mount rim tape
TL/DR
Here, I answer the questions:
- How to choose a high-quality rim tape, and why that matters?
- How wide should the rim tape be (especially important with tubeless setups)?
- How to properly mount rim tape?
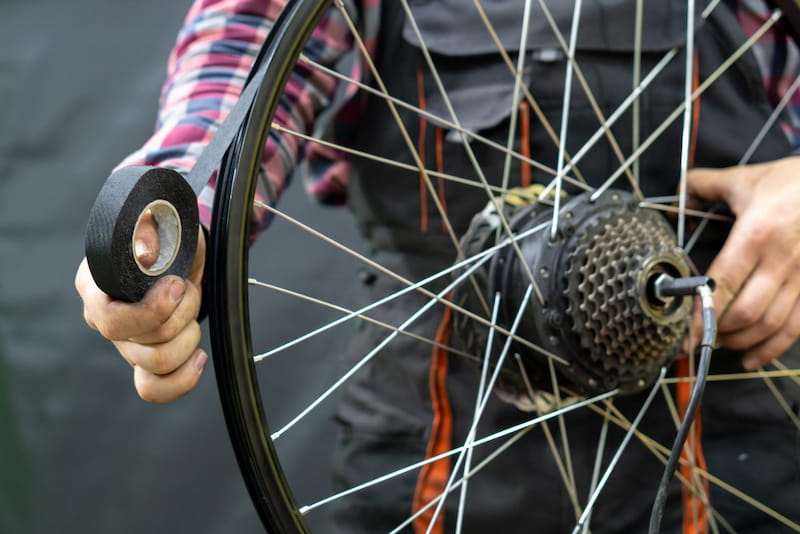
1. What does the bicycle wheel rim tape do?
Rim tape is put directly onto the rim. It’s function is to cover all the sharp and rough edges, therefore protecting the tube from being punctured by the rim. A very simple device. It’s supposed to stick firmly to the rim, preventing tube from being punctured by spoke nipples, or by spoke nipple holes in case of rims with recessed spoke holes.
If you are a fan of tubless bicycle tyres, your rim tape will also need to seal your rims (preventing any air from seeping out) – see section “5. Tape for tubeless-ready rims” for more details.
2. Rim tape dimensions
There are two standard widths (most common, but there are other widths as well). Narrow 15 mm ones, and wide 19 mm.
When it comes to length, they also come in two variants: in self adhesive rolls (like duct tape), that can be cut to the desired rim circumference; or pre cut and glued to a certain rim size standard, with a pre-drilled valve hole.
For example: a MTB wheel will use a rim tape for 559 mm diameter rims (MTB standard) and 19 mm wide; while a road bike with narrow rims and tyres will use a rim tape cut for rims of 622 mm diameter, 15 mm wide (bicycle wheel and tyre sizing standards).
Help BikeGremlin
stay online & independent
This website is educational, free, objective, and not commercial
(sponsors don’t enjoy paying if you mention all the product downsides that you notice 🙂 ).
How much does a WordPress website cost?
If you find this site to be good and helpful,
and if $5 per month is what you can afford to set aside,
please consider supporting my work with a Patreon donation:
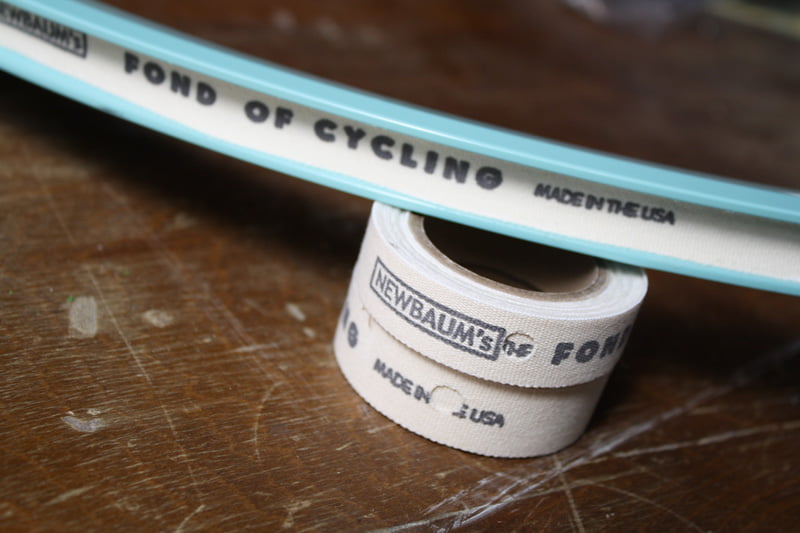
3. Rim tape types
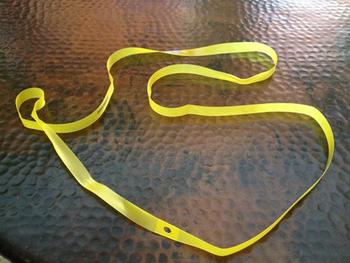
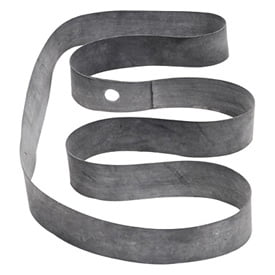
There are rubber ones, made of material similar to the one used for tubes. They are quite easy to stretch, which makes them easy to slide onto even bigger rims than the one they are made for – in case of emergency.
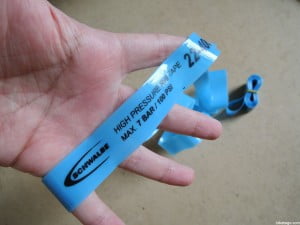
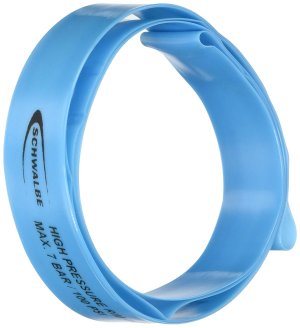
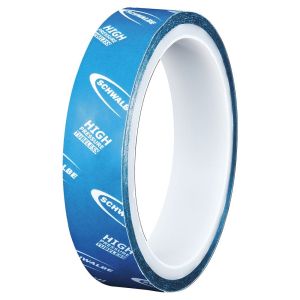
The more expensive and of higher quality are tapes made of strong fabric (or hard rubber/plastic). They usually have “high pressure” printed on them.
4. Bicycle wheel rim types
There are simple single wall rims, where spoke nipples are screwed onto the rim interior, so that rim tape goes directly over the spoke nipples:
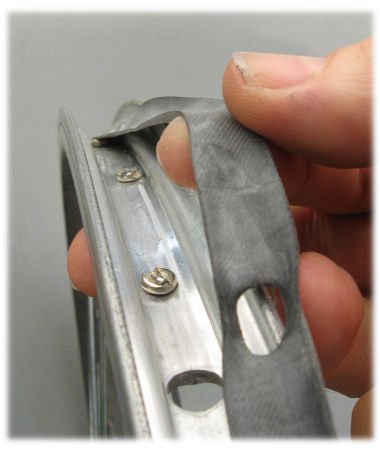
Rim tape lies directly over the spoke nipples.
For this type of rim, cheap rubber rim tape can be used, or a tailored old tube, or even duct tape.
Note:
If a wheel is built with spokes too long, so they protrude out of the nipples, then you’ll need a very strong and rigid rim tape to prevent the spokes from puncturing the tube.
Modern rims are usually double walled (and made of aluminium).
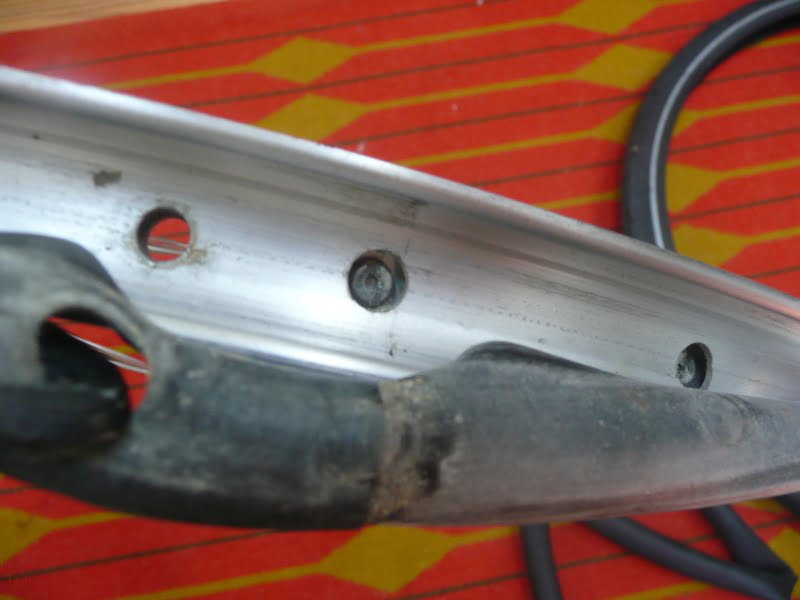
Nipples are recessed inside the hollow rim, with the rim’s outer edge having (sharp-edged) cutouts for an easy access the nipples
(some double-walled rims have no nipple cutouts and that makes them a big hassle to build a wheel with)
With these rims, tyre pressure presses tube against the sharp holes. That’s why a high quality, high pressure rim tape needs to be used. Rubber rim tape, old tubes, duct tape etc. will not do with these rims.
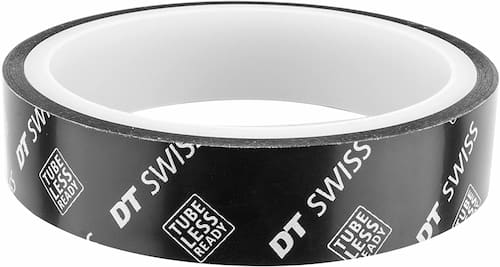
5. Tape for tubeless-ready rims
Tubeless are the tyres without the (inner) tubes. They require special rims for tubeless tyres, or at least “tubeless-ready” rims. Tubeless-ready rims can be “turned” into tubeless rims by mounting a special sealing rim-tape.
Amazon affiliate link
Such rim tapes have to seal very well, to prevent any air leaking through spoke holes in the rim – because tubeless tyres have no tubes to hold the air.
6. Optimal rim-tape width (tube, tubeless, and hookless tubeless)
Rim tape should fit the lower, flat rim section completely – from wall to wall. For tubeless ready rims, it should also “climb” up the walls a bit, but not all the way. A drawing explains this better:
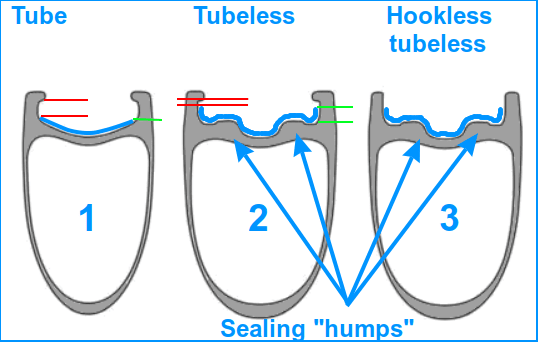
So, for tube rims, the rim tape should preferably not “climb” the sidewalls, while for tubeless-ready rims, it should ideally climb for 1 mm, or more, but not all the way, since it will then prevent the tyre from seating correctly.
Note that the rims have a bit curved section where the rim-tape lies, and that the rim-tape gets a bit narrower as it is stretched over the rim.
What exact rim tape width do you need?
First measure the inner rim sidewall width:
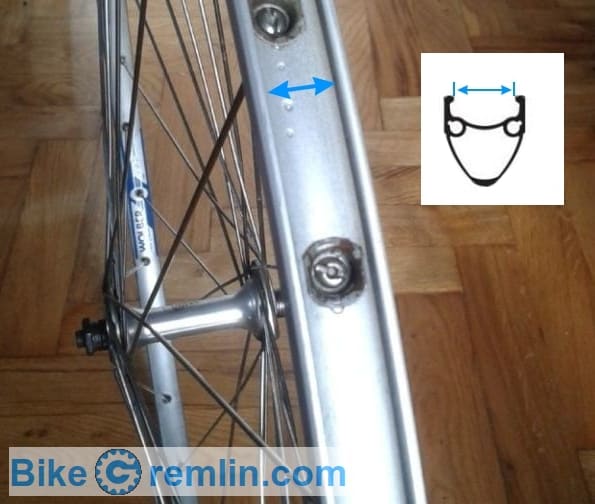
Now:
- For tyres with tubes, take rim tape of that width, or up to 2 mm wider, depending on the rim’s shape and how much the rim-tape stretches and narrows in width as it is stretched.
- For tubeless-ready rims with tubeless tyres, take a rim tape that is 3 to 5 mm wider, depending on how much the rim is curved, and how tall the sidewalls are.
Yes – this is a bit of a trial and error. Much depends on how much a rim tape stretches, and narrows in width as it is stretched over the rim, as well as on the rim’s shape. Details are shown in the drawing and explained at the start of this chapter.
7. How to mount rim tape
When mounting a rim tape, there are two things to consider:
- Facing (which side goes towards the rim).
- Mounting procedure.
When it comes to facing, the rules are simple:
- If there is a brand name printed or similar decals, they go on the outside (towards the tube).
- If there is a sticky side, it goes towards the rim.
- Without any of those present, the rough(er) side goes towards the rim, and the smoother side towards the tube.
Now, when it comes to mounting, here are a few tips, followed by a video demonstration:
When mounting rim tape, attention should be paid if it is not too narrow (so it doesn’t slide off nipple holes), or too wide, so it interferes with tyre mounting.
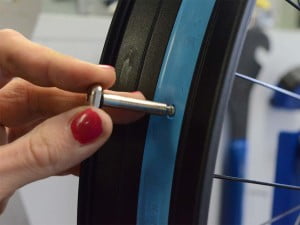
Since it can slide during mounting, a valve can be put through the valve opening on the rim tape and the rim, to hold everything in place – or you can use a 6 mm hex key, a screwdriver, or something similar.
Here’s a video demonstration of how to remove and mount tubes, tyres, and rim tapes – it is divided by sections (shown in the timeline and in the video’s description) so you can skip to the parts of interest:
![How to fix a flat tyre on a bicycle [1020]](https://bike.bikegremlin.com/wp-content/plugins/wp-youtube-lyte/lyteCache.php?origThumbUrl=https%3A%2F%2Fi.ytimg.com%2Fvi%2FaX11CmCOdsU%2F0.jpg)
Author’s recommended rim tape. Clicking on an image below opens Amazon.com on-line shopping search (as an Amazon Associate I earn from qualifying purchases):
Choose the size for your wheels (rims).
If you have any questions (or additions and corrections), please use the BikeGremlin forum (www.bikegremlin.net) – here is the discussion regarding this article:
https://www.bikegremlin.net/threads/bicycle-rim-tape-explained-article-critique.67/
The existing comments posted under this article (questions and answers) have been moved to this BikeGremlin forum thread:
https://www.bikegremlin.net/threads/bicycle-rim-tape-explained-article-comments.135/
That looks like a copy of the Velox rim tape that I’ve been using since the early 1980s.
What about rim strips/tapes that have smooth and rough sides, which side is better facing the rim or tube ?
Hi Mantas,
A very good question – I should add it to the article.
Generally:
– If there is a brand name printed or similar decals, they go on the outside (towards the tube).
– If there is a sticky side, it goes towards the rim.
– Without any of those present, the rough(er) side goes towards the rim, and the smoother side towards the tube.
What are your thoughts about using the little plastic plugs that go in the spoke holes?
Hi Mark,
I haven’t used them ever, so don’t really have an opinion. They don’t look like a better, more practical solution, but again, I haven’t used them.
they dont look like a very good option to me,out of all types of rim strips i have used over the years i can only recommend two types,stretchy nylon ones,and sticky cloth ones like velox or zefal,these types you will hardly ever need to worry about if you put them on correctly,i have never had these fail,not once,the rubber rim strips allways fail,thin plastic stick on ones fail as well,my rim tape top of the bunch would be these new stretchy nylon ones and its much easier to fit on a tight tire with the nylon strips and they are easy to remove,cheers
Great article, thanks!
I have a question: what about the hookless wheels? By having the tape “climbing” the side walls, isn’t there a risk of the tyre to slide out in a very dangerous way?
I have Giant hookless wheels with 19.6mm rim, what would be the suggested type width? 23/24mm? 25 maybe?
Thank you!
Hi Alen,
That’s a reasonable concern.
Hookless rims with tubeless tyres are far from ideal or flawless. I wrote at some length about hookless rims, and tubeless tyres, explaining their pros and cons.
Regarding the rim tape width, too much or too little can cause problems. Rim tape should not climb the sidewalls too much – as then it might prevent the tyre from seating well (and make mounting the tyre more difficult).
For 19.6 mm inner rim width, I’d go with about 4 to 5 mm wider rim tape (it does stretch a bit, and needs to cover all the curves, getting effectively narrower than its straight-line measured width). So, for the 19.6 mm rim, 24 mm rim tape should fit nicely, or 25 mm if that’s only available width. 26 might be a bit too wide, but it might just fit OK (i.e. worth a shot if nothing else is available). Likewise, 23 mm is just at the limit of being too narrow for that rim, but if that is the only easily available width, I’d give it a shot and see how it looks when fitted.
I’d not go with rim tape wider than 26, nor narrower than 23 mm for that rim.
Relja