This post explains the tools needed and the proper procedure of removing rear sprockets of rear wheels that have them. 🙂 Tools needed will be listed after the preparation procedures are explained, for reasons that will become apparent after reading paragraphs preceding the tool list.
Table Of Contents (T.O.C.):
- Removing the wheel
- Determining whether the wheel has a freehub, or a freewheel
- Tools required
3.1. If freewheel is used
3.2. If a freehub is used - Putting the freehub, or freewheel tool in place
- Removing (unscrewing)
5.1. Freewheel unscrewing
5.2. Cassette (freehub) removal - Mounting
6.1. Mounting a new freewheel
6.2. Cassette mountingMontiranje kasete
1. Removing the wheel
First, of course, the wheel needs to be removed. Procedure and tools are explained in this post:
How to remove a wheel.
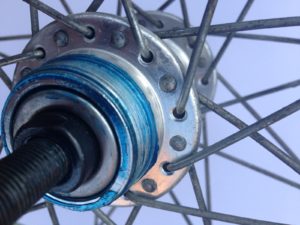
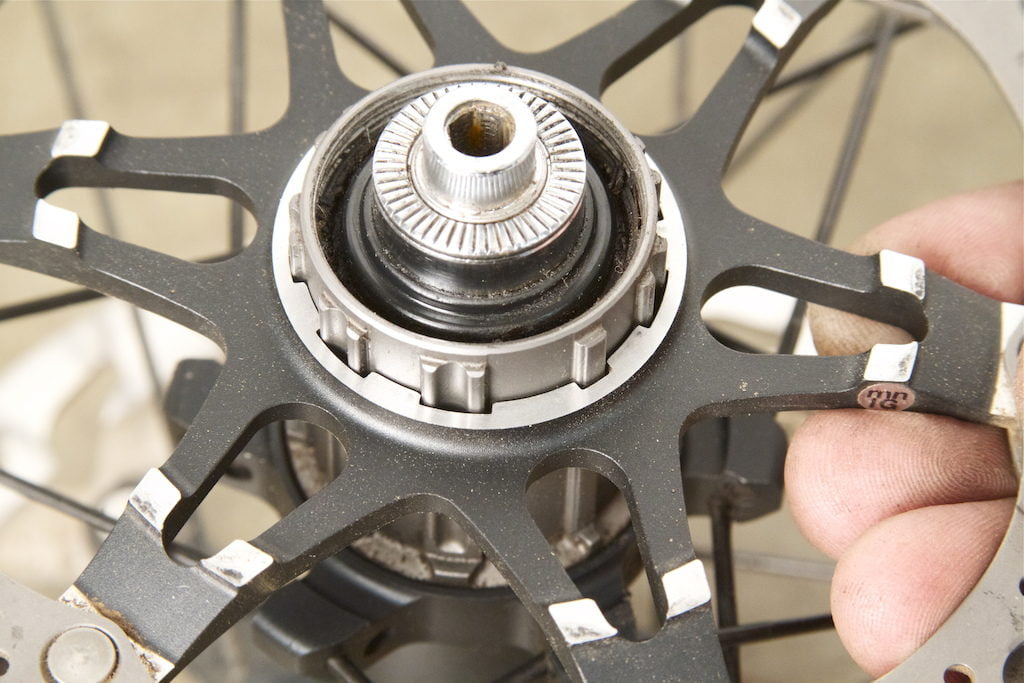
2. Determining whether the wheel has a freehub, or a freewheel
Before choosing the correct tools, it is necessary to first determine which of the two systems is used (unless that is already known). This article explains the differences and how to tell:
Freewheel vs Freehub.
3. Tools required
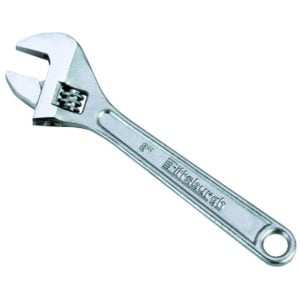
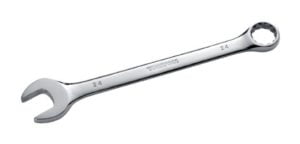
- Adjustable wrench, big one, or a wrench that matches the freewheel, or freehub key’s nut.
- Copper grease. Any grease at hand can be used, but copper grease is the best for this application.
- Cotton cloth or some kitchen paper wipes.
3.1. If freewheel is used
- Key for freewheel removal.
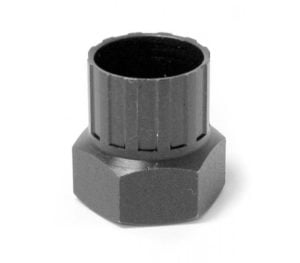
Unior Shimano Freewheel Tool – 1670.1/4 (Amazon affiliate link).
3.2. If a freehub is used
- Cassette locknut key
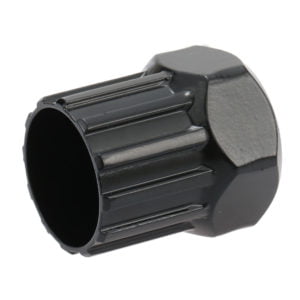
Differs from frewheel key by teeth profile. Also, the part with splines is usually shorter than one on the frewheel keys.
Freewheel key can fit cassettes as well. However, because of the smaller “teeth”, it will not fit splines deeply enough and this can damage the interface. With cassettes, use a cassette key.
Unior Shimano/SRAM Cassette Lockring Tool – 1670.5/4 (Amazon affiliate link).
- Chain whip
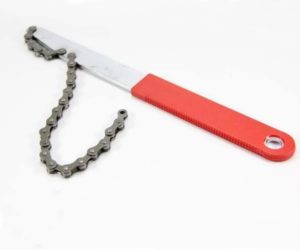
For countering and stopping cassette from rotating when unscrewing the lockring.
For old freehub standard “Shimano Uniglide” (current one is called Hyperglide – current as of 1990s), two chain whips are needed.
4. Putting the freehub, or freewheel tool in place
Make sure the freewheel key slides nicely into the frewheel splines.
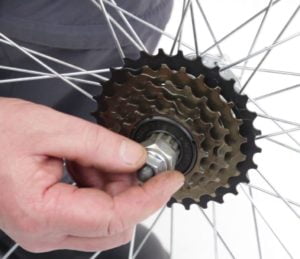
Here, a nut holding the wheel on the bicycle is used to prevent the key from falling out accidentally.
This is not necessary, and if it’s done, do not tighten the nut, not even a little.
If the key doesn’t slide in, perhaps the axle needs to be turned a bit (quarter of a turn), or even a locknut holding the cones needs to be removed from that side.
Same principle as with freewheel key.
5. Removing (unscrewing)
5.1. Freewheel unscrewing (for freehub cassette, go to 5.2.)
For those having a vice, it is best to mount frewheel key into the vice (removing it first once it’s confirmed it slides easily, in step 4. Make sure it is horizontal and tightly held in place, so that the splined part protrudes up. Then carefully place the wheel onto the splines, make sure it is well seated.
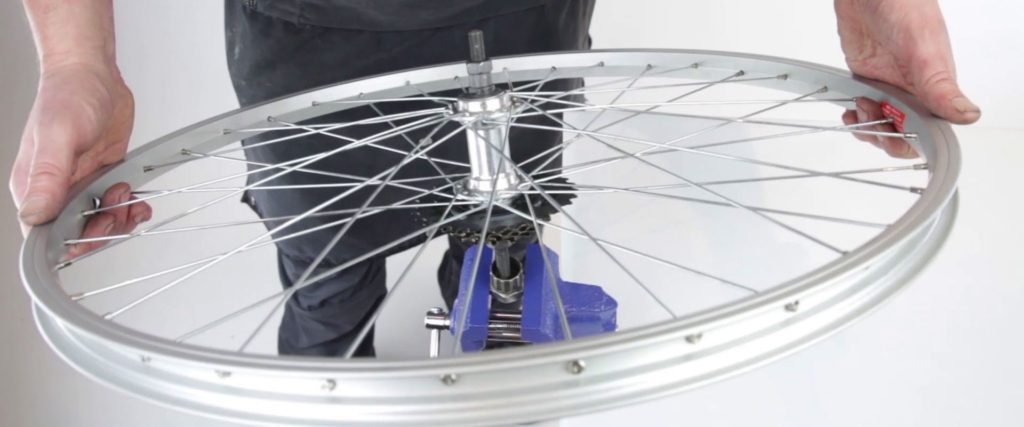
All that is left now is to turn the wheel counter clockwise and the freewheel will unscrew. Sometimes getting it to move takes quite a bit of force.
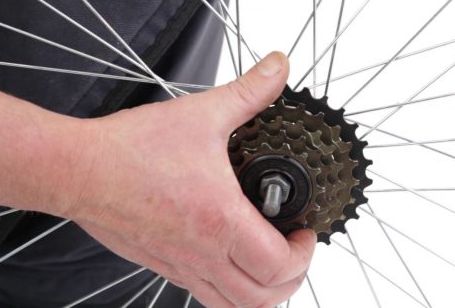
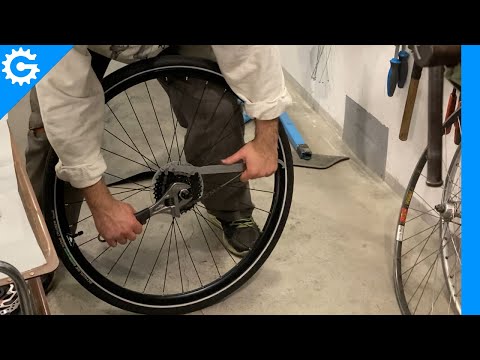
If not using a vice, first make sure the tyre is mounted onto the wheel and well inflated.
Then place the wheel on the floor, against a wall. Insert freewheel key into place. Use wrench to turn it counter clockwise and with quite a bit of force.
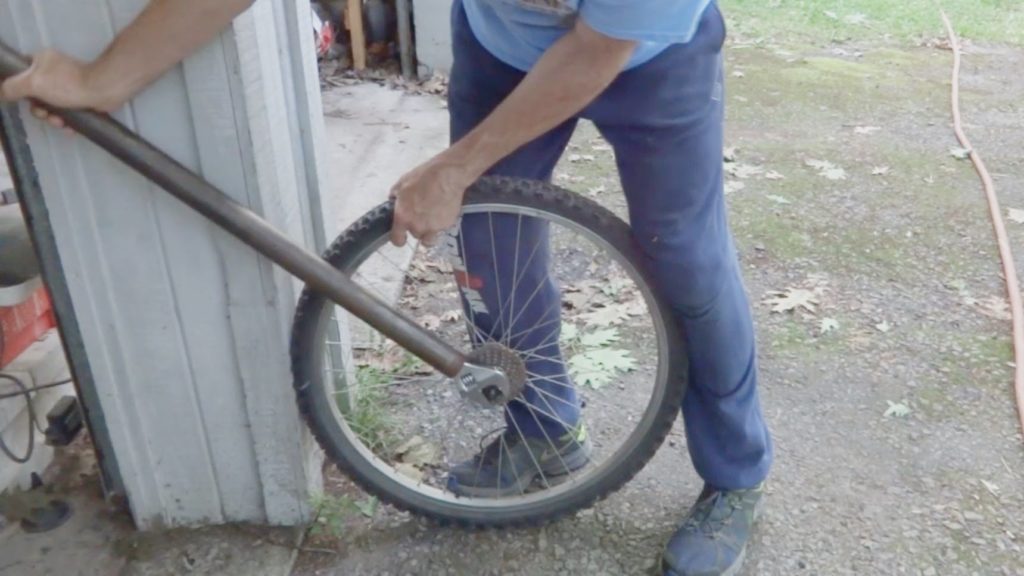
Once it gets tarted, it goes easily. Freewheel key can be turned by hand.
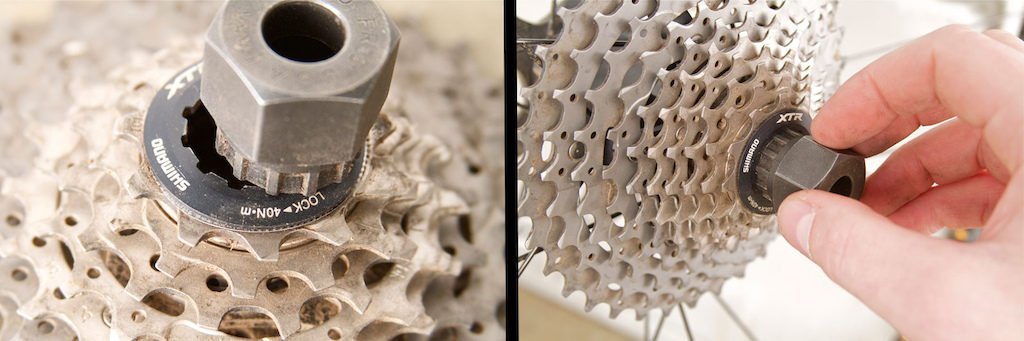
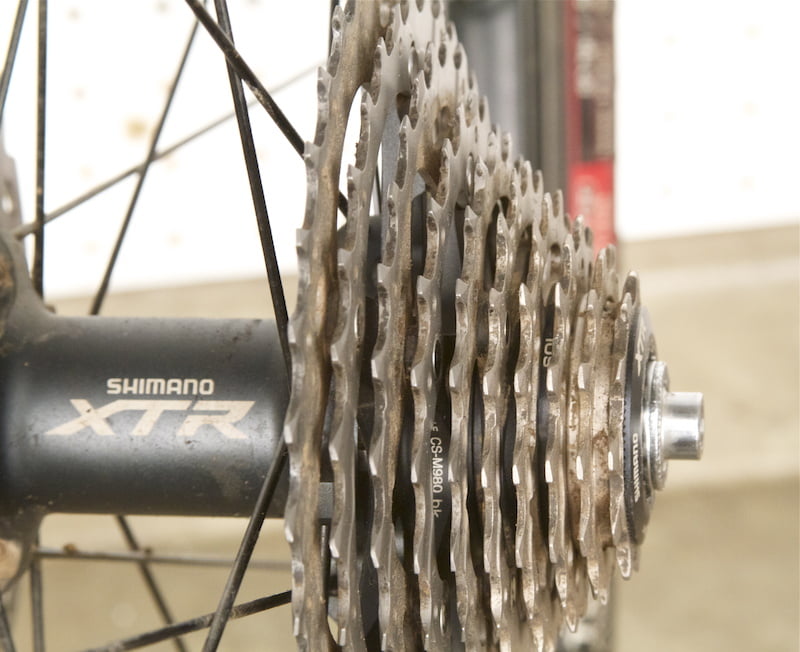
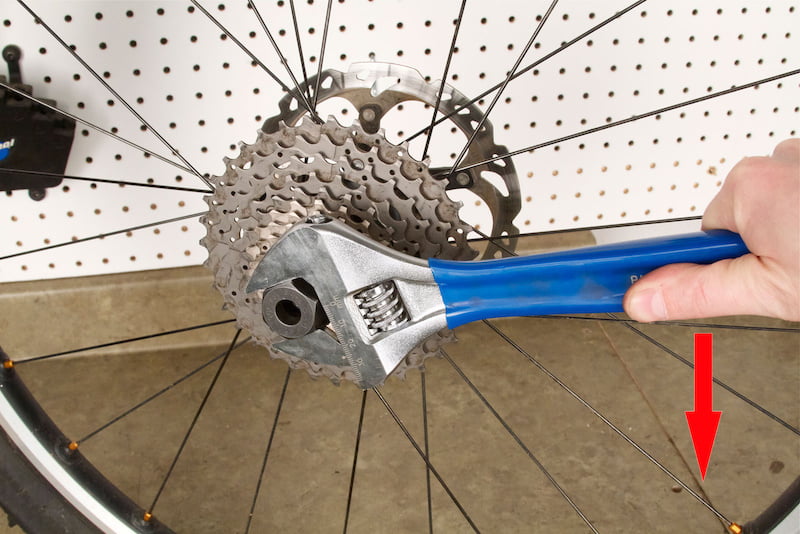
5.2. Cassette (freehub) removal
Once a cassette key was put into place (step 4.), place the wheel on the ground so that cassette is facing you, wrap the chain whip on the right hand side and bring the wrench clamping and turning the cassette key from the left.
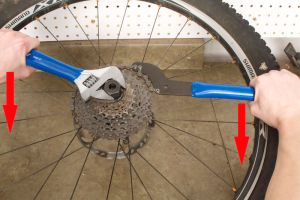
It will go very hard, suddenly unscrewing after considerable force is applied. Make sure not to hit something, or loose balance. After that, it is easily continued with bare hand – just turn the locknut all the way out.
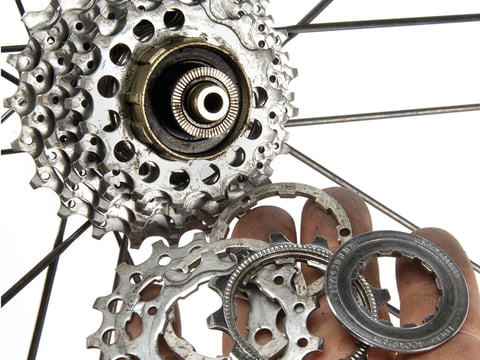
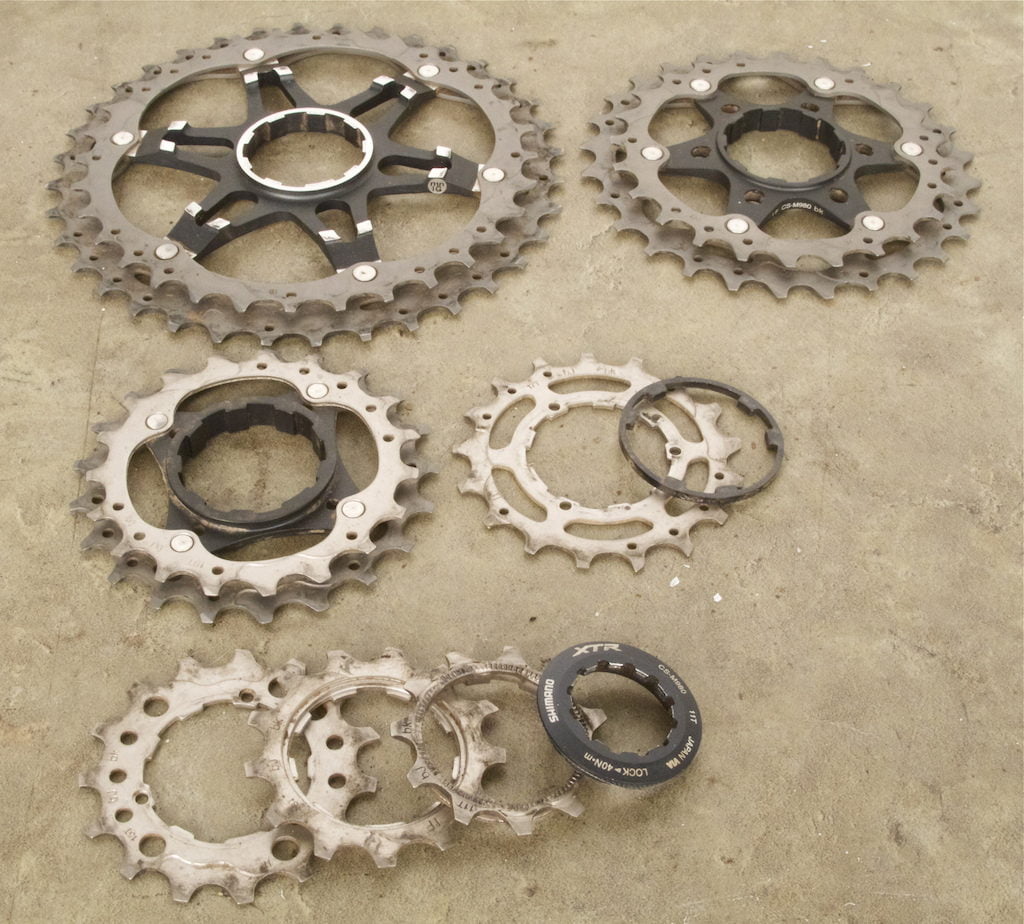
When the lockring is unscrewed, the cassette is simply slid off the freehub splines. Make sure not to mix sprockets and spacers, they might come loose when removing cassette.
With old, Shimano Uniglide freehub types, the smallest sprocket acts as a lockring.
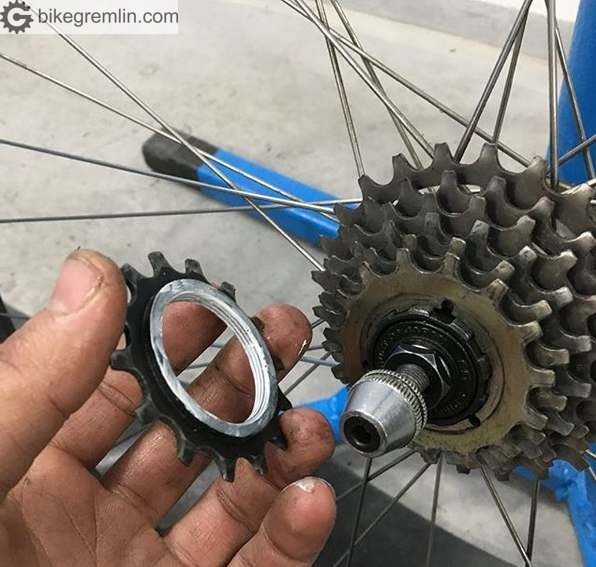
The smallest sprocket tightens the cassette in place and acts like a locknut.
For removing this type, it takes two chain whips. One to hold the cassette, preventing it from from turning, and the other to loosen the smallest sprocket – anti-clockwise.
6. Mounting
6.1. Mounting a new freewheel (for freehub go to 6.2.)
Clean the freewheel threads on the hub and on the freewheel. Put some copper grease onto the hub threads for frewheel mounting (or on the freewheel itself). Or any other grease at hand, but best use copper grease. That will prevent frewheel from getting stuck by the next time it needs replacing.
The picture shows lithium grease, but copper grease is a better choice (see the anti-seize article).
Carefully screw the frewheel onto the hub. Make sure when starting that it’s parallel and it goes on nice and easily. If there’s resistance when starting, there’s cross threading, it wasn’t screwed in parallel. Use a frewheel key to unscrew (the key should be turned easily, by hand) and start over. When it starts screwing in smoothly, screw it all the way. Tighten by hand, just make sure to avoid cutting palms on the sprocket teeth. Use cloth or gloves. It is enough to tighten by hand. It is further tightened when pedalling.
Gloves are for wimps! 🙂
Screwed frewheel.
Job done. 🙂
6.2. Cassette mounting
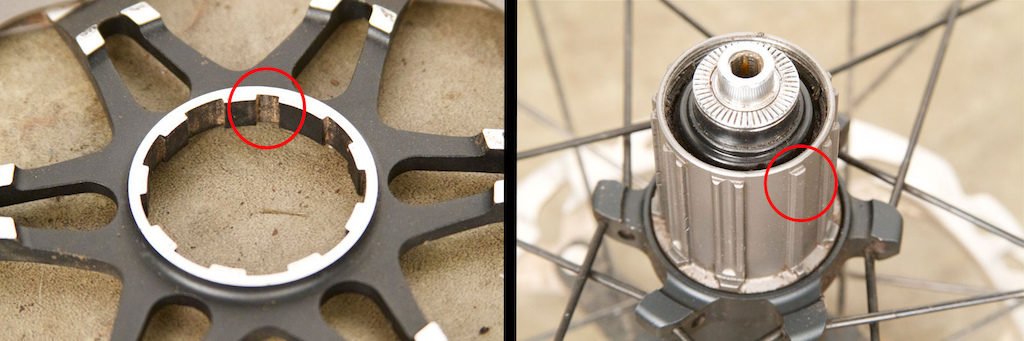
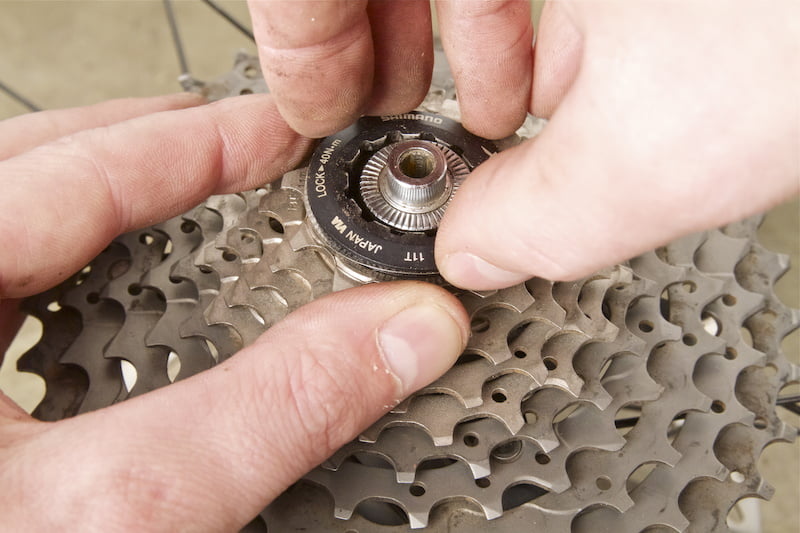
Place sprockets and spacers back in order they were removed. Modern hypeglide cassettes and freehubs have one spline wider than the others, to help with correct rotation alignment of sprockets.
Smear some copper grease over locknut threads and the part where it presses the smallest sprocket, then gently screw it in place by hand. Check visually whether it is all properly seated.
Finally, with a lockring key and a wrench, tighten the locknut to the appropriate torque.
Holding the wrench near the hub, and using a lot of force usually enables to make it tight enough, but not too tight.
Related post – Bicycle rear hub compatibility:
Last updated:
Originally published:
how to remove freewheel with out the freewheel tool?
I for one don’t know of any trick that could help there, so my answer for that is the same as for:
“How to fit 4 elephants into a Mini Morris?”
– and the answer is: “With great difficulty”. 🙂
Elephants?? Well, how about knowing how to sculpt an elephant out of a block of granite?? It’s really quite simple, just take a hammer and a sharp chisel and chisel away anything that doesn’t look like an elephant….
I’m looking for a wrench/plug to disassemble a Schwinn 5 speed rear hub. The bike is quite old, and the spline inner minor diameter appears to be .815.. The local shop has some of the tools, but they are the wrong size. I have to disassemble in order to replace a few spokes on the sprocket side of the hub…I see the tools for sale, cheap, but they do not list the sizes.. Help??
Good one on the elephants. 🙂
In order for the sprockets to be removed, after they’ve been long on a bicycle and provided that hub body is made of steel (not aluminium), squirting some penetrating oil at the side near the spokes (where the threads usually are) can help somewhat – certainly won’t make things worse.
Leave it over night.
I prefer leaving both the tyre (inflated) and definitely all the spokes (if at all possible) in place before trying to unscrew the sprockets, since a wheel with an inflated tyre provides good leverage and grips well.
The next thing is, of course, finding the proper tool that matches the frewheel splines so it can be removed. For that, we need to determine what kind of cassette/freewheel it is.
This page, from Sheldon Brown site has a nice picture of different tools, for different freewheels:
https://www.sheldonbrown.com/freewheels.html
After cleaning, inspecting closely and measuring (as I suppose you’ve done already) – one can have better luck in finding the proper tool. In addition to the diameter, important information is the number of splines. I’m not able to guess the tool just by the number of splines – but it’s a start (for example, Shimano freehub lockrings and freewheels have exactly the same number and arrangement of splines, it’s just that freehub has them a bit deeper – very small difference in diameter, so freewheel tool looks as a good fit and can be used on not very tight freehubs, but it gets damaged with every use, since its grooves aren’t deep enough to fit nicely – end of digression).
This last part is the least helpful for now, but it can help in case the correct tool is found – just in case:
Slippage of a tool usually results in damage to the tool and the freewheel/freehub interface. So it’s best to prevent it. I usually use the nuts (or quick release lever, depending on the hub) to hold the tool in place (just not tightening it strongly). Provided that the axle (if the wheel is tightened to the frame using nuts) is long enough to protrude when the tool is put in place.
This ensures that the tool won’t slip when it’s turned (counter clockwise, of course). As soon as any amount of unscrewing is achieved, make sure to loosen the bolt / quick release, since you don’t want to be working against that force – it is used just to hold the tool in place – so, finger tight, with lots of re-loosening during the freewheel unscrewing procedure. Until the freewheel is loose enough so that tool slipping with great force is not an issue.
Hope I’ve helped at least to some degree.
Here’s another description of a bicycle rear gear repair
https://www.diyany.net/repairing-back-sprockets-on-bicycle/
Thanks , gave me a little more insight .