Guest post by Dalibor
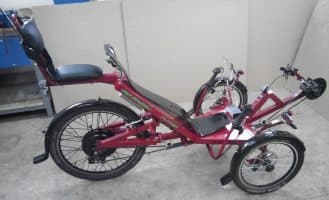
After some time I decided to start a project of assembling an electric tricycle, that would be a sum of all my previous experience and over 30,000 km travelled on an electric bicycle. Of course, the tricycle will be packed with electronics while keeping the 100% reliable pedal propulsion.
1. Motor and wheels
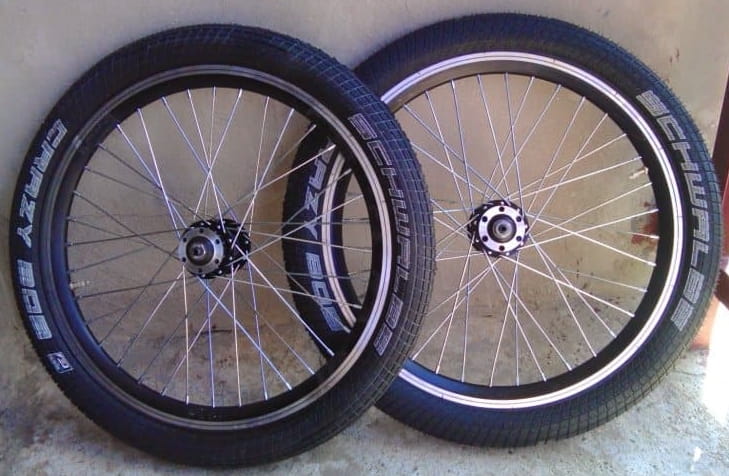
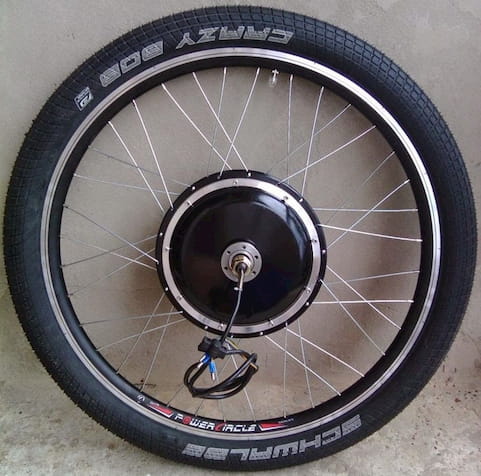
First thing to start with was the motor, wheels and tyres. After getting and assembling a good set of wheels, frame design and all else will come next.
The motor is almost identical to the Polar Viper bicycle motor, since it’s a tried and tested already, so an ideal choice for this project. Tree-phase motor, but this time without sensors.
As for the tyres, the choice was Schwalbe, that have served me very well so far for the electric bicycle.
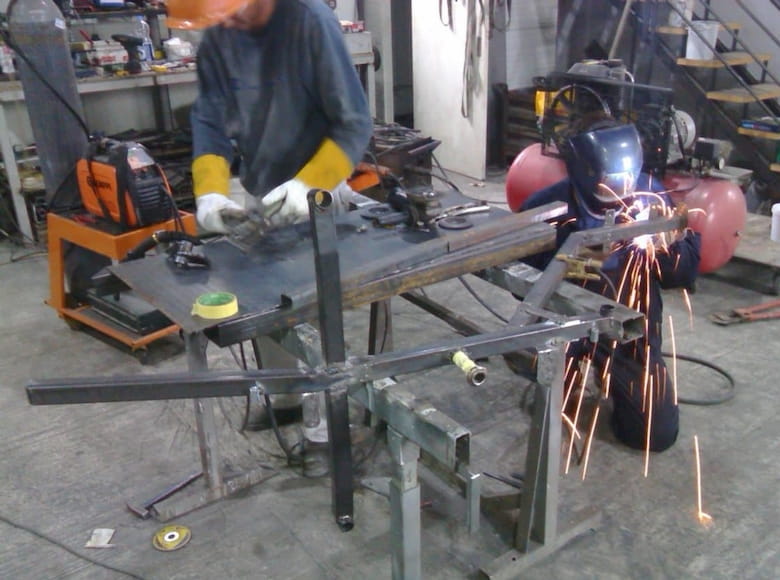
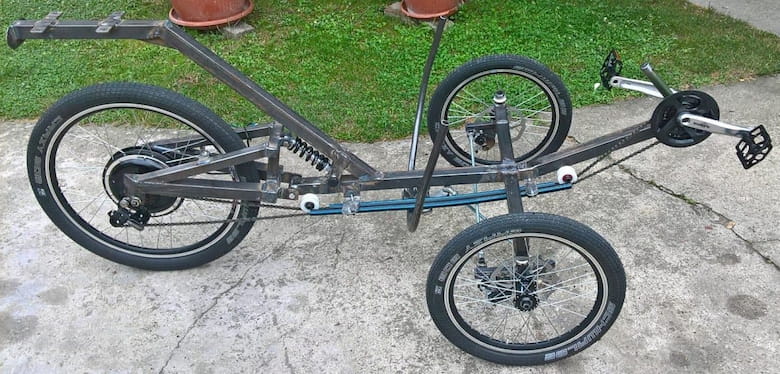
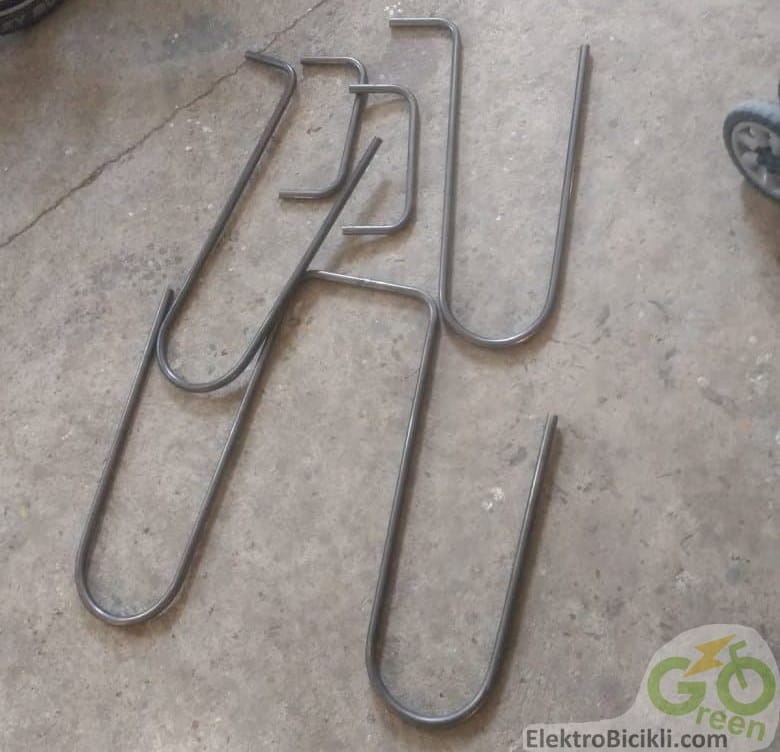
2. Design and making of the frame and the steering mechanism
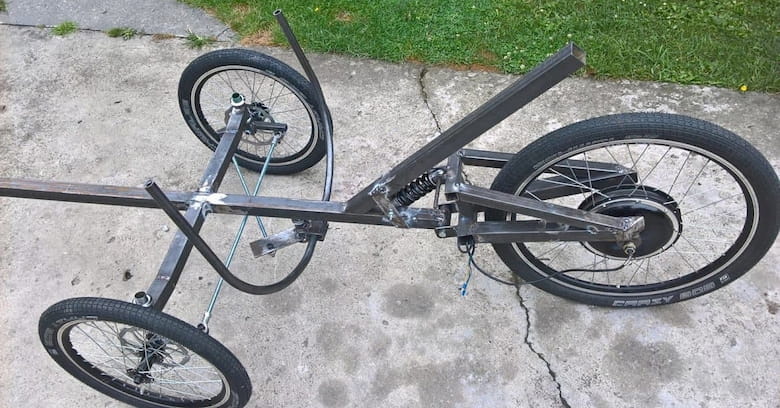
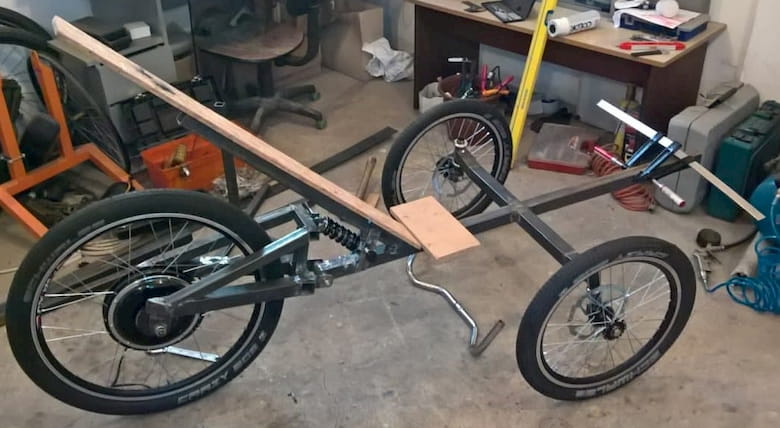
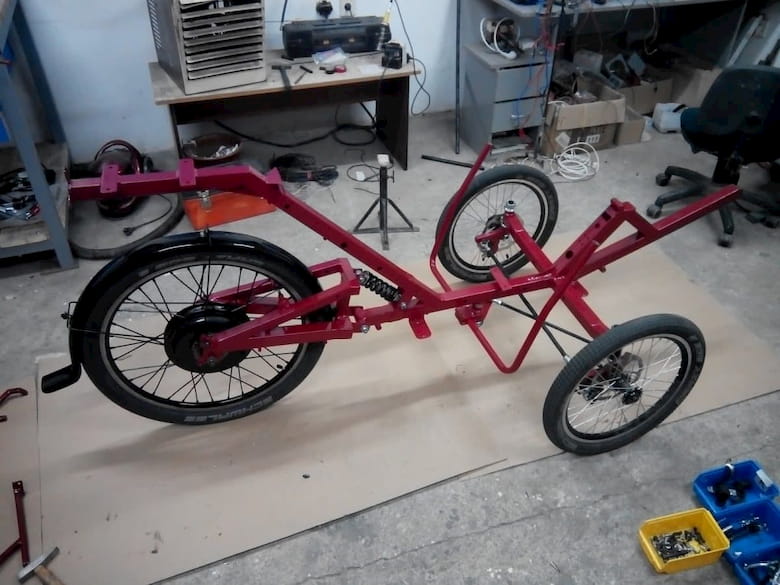
Then came the frame design and building…
3. Prototype test ride
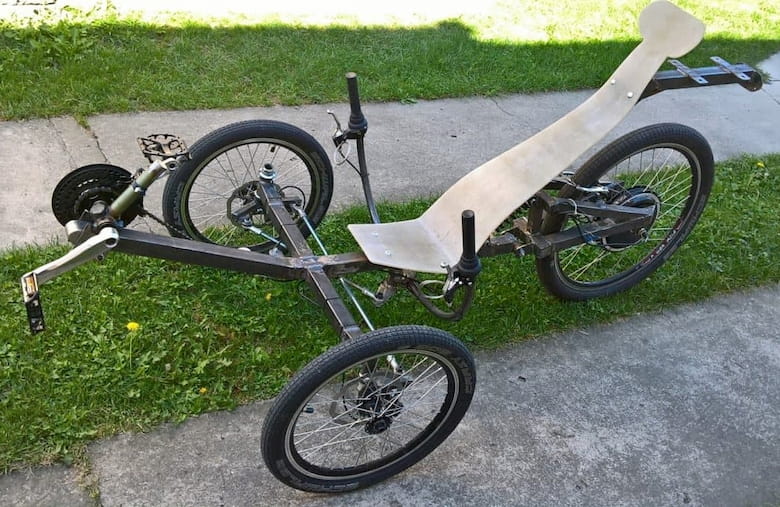
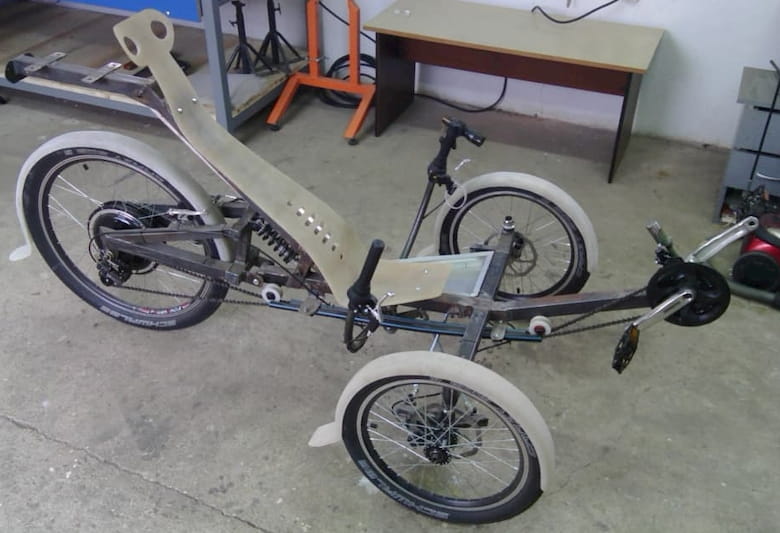
So came the day for the first test ride on electricity. “Miroslav Antić” elementary school track was a perfect place.
After having done a few test rides, today I had the best audience and jury: made the school kids day and had lots of questions. Top one being: “can it drift?”
They were impressed with what they saw and looking at their faces was the nicest gift for me today.
I’m generally pleased with the first ride. Trike was pushed to the limits in the bends and it held up well – I think it can drift. 😉
Today I got first sponsorship propositions which made me happy. I’m moving in the right direction and have a great motivation to go on. Lots of ideas were made so far and I hope I’ll manage to implement most of them.
Bike Gremlin note: unforeseen circumstances have brought Dalibor’s serial e-bicycle production plans to a halt, but I hope that in the near future it will be revived.
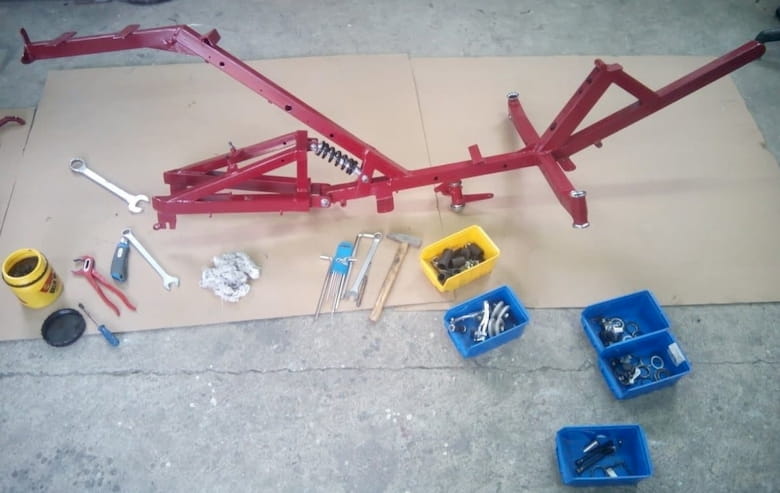
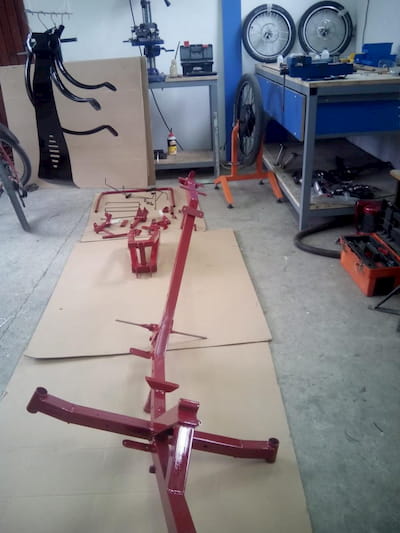
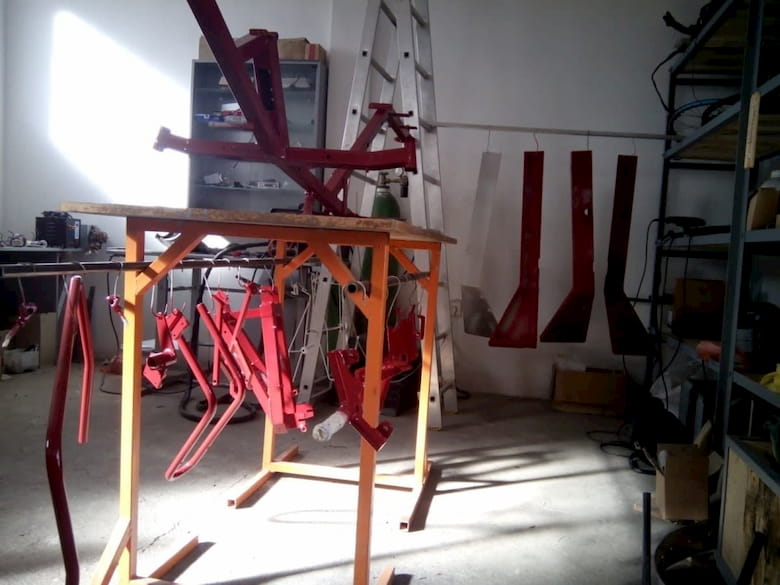
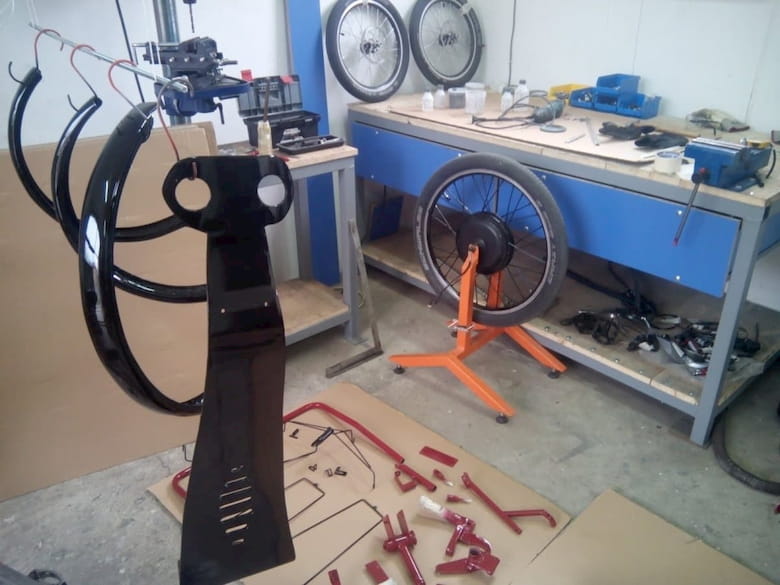
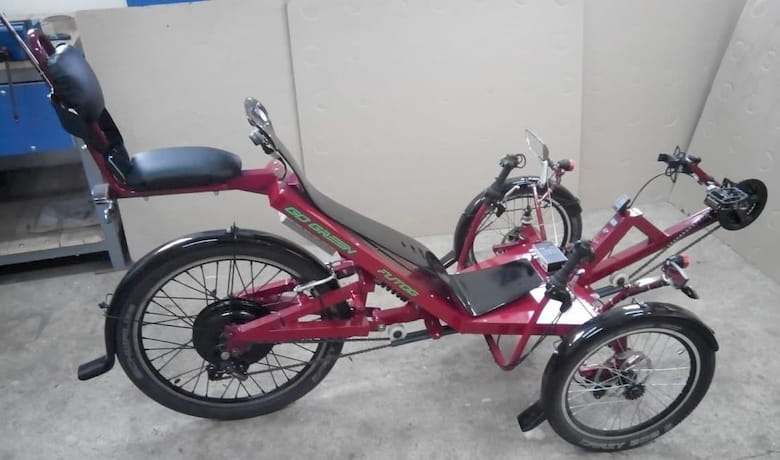
4. Painting and assembling the electric recumbent tricycle
After successful test rides, came the time to paint and assemble the e-tricycle.
5. Accessories
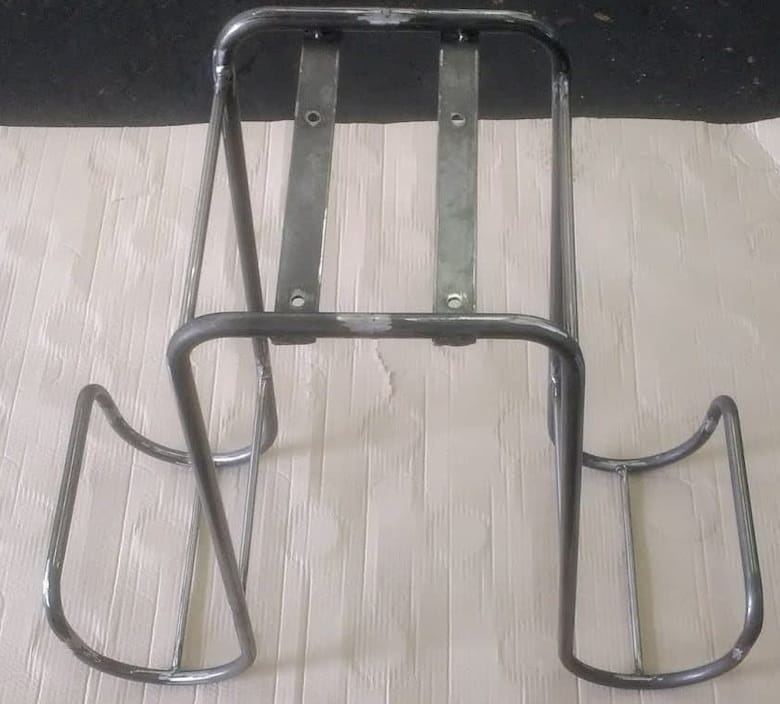
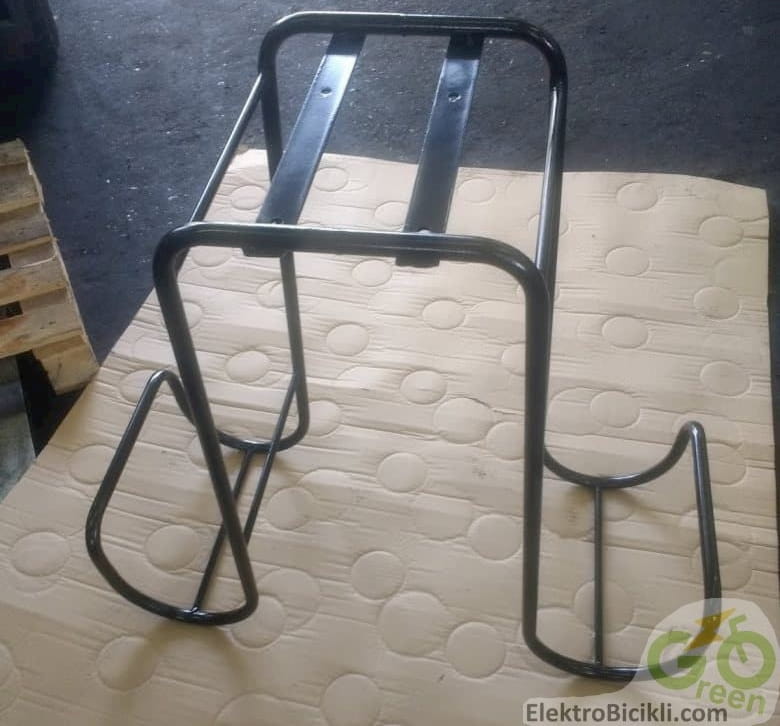
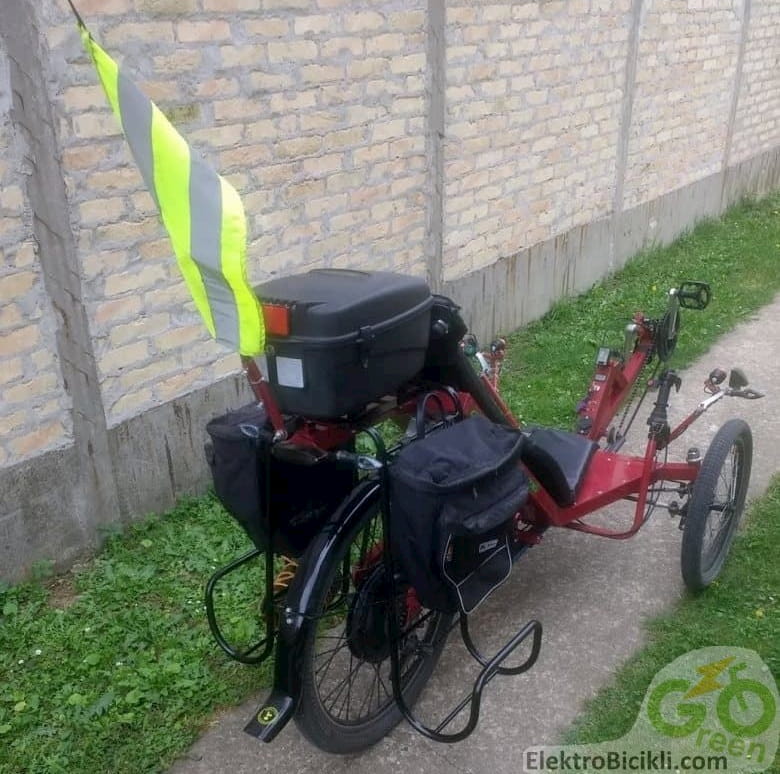
The time has come for the prototype to get a luggage rack addon. After 3,000 km of test rides, e-trike is ready for longer journeys.
Luggage rack can be detached (mounted / dismounted) and carry a load of 30 kg.
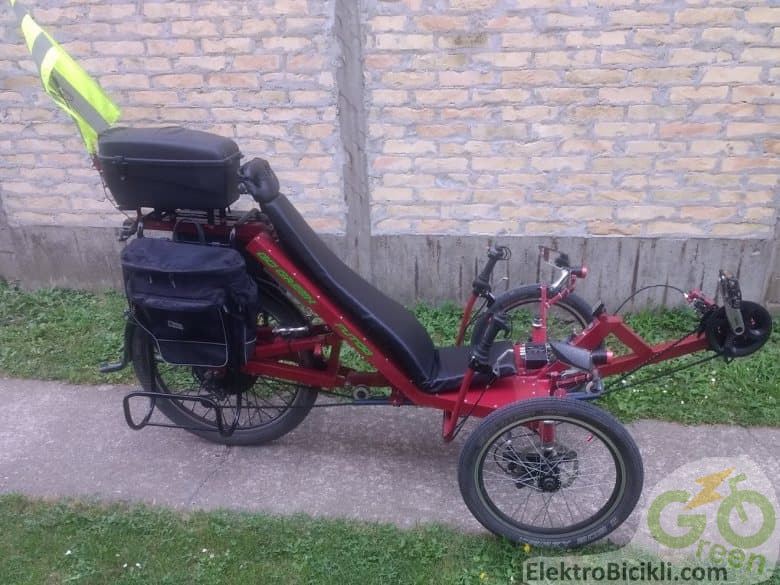
This small, hand built cruiser, has so far conquered all the climbs of a local Fruška Gora mountain, off-road riding and traffic jam riding in the city of Novi Sad (Serbia) and the surrounding cities. It is time to go further – many places to visit, good people to meet. All that’s needed to continue is the most valuable thing that any of us have in a life, and is limited – time. SEE YOU! 🙂
6. Impressions after some touring
After almost two years of planning and working the prototype is finished. The ride feel is sensational. Steering is perfect – precise and sharp. Comfort in a semi-lying position is very good. Music and the speaker position has surprised me, the sound quality has exceeded the expectations.
Mechanical aspect works flawlessly and it is very easy to ride even without using electricity – with pedal power alone.
Electrics have also exceeded my expectations. The power and acceleration are supreme for a hybrid this small. Signalization and all the accessories are also top class.
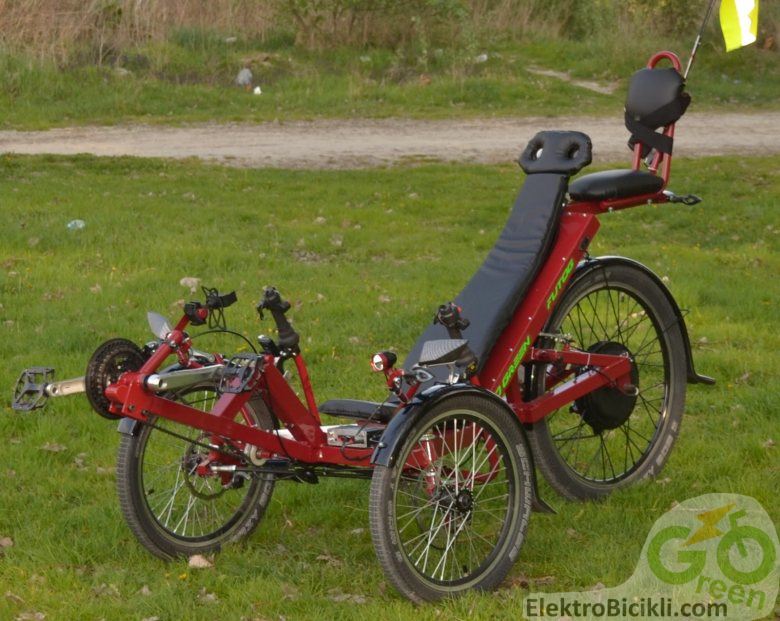
At the end of the day I could not stop admiring this beautiful vehicle that is the product of strong will, taking lots of time, skill, precision, knowledge and experience – sacrificing a lot to finish it. When some were doubting I had just smiled because the vision created in my head could not be understood by others. This hybrid vehicle is a perfect combination of human strength and electricity – I can say that looking at it is looking at the future.

It looks like something good and futuristic. Hope this kind of bicycle will come in the market. Love to read this blog.