Previous posts from this test:
Capriolo Sunrise – long term test 01
Capriolo Sunrise – long term test 02
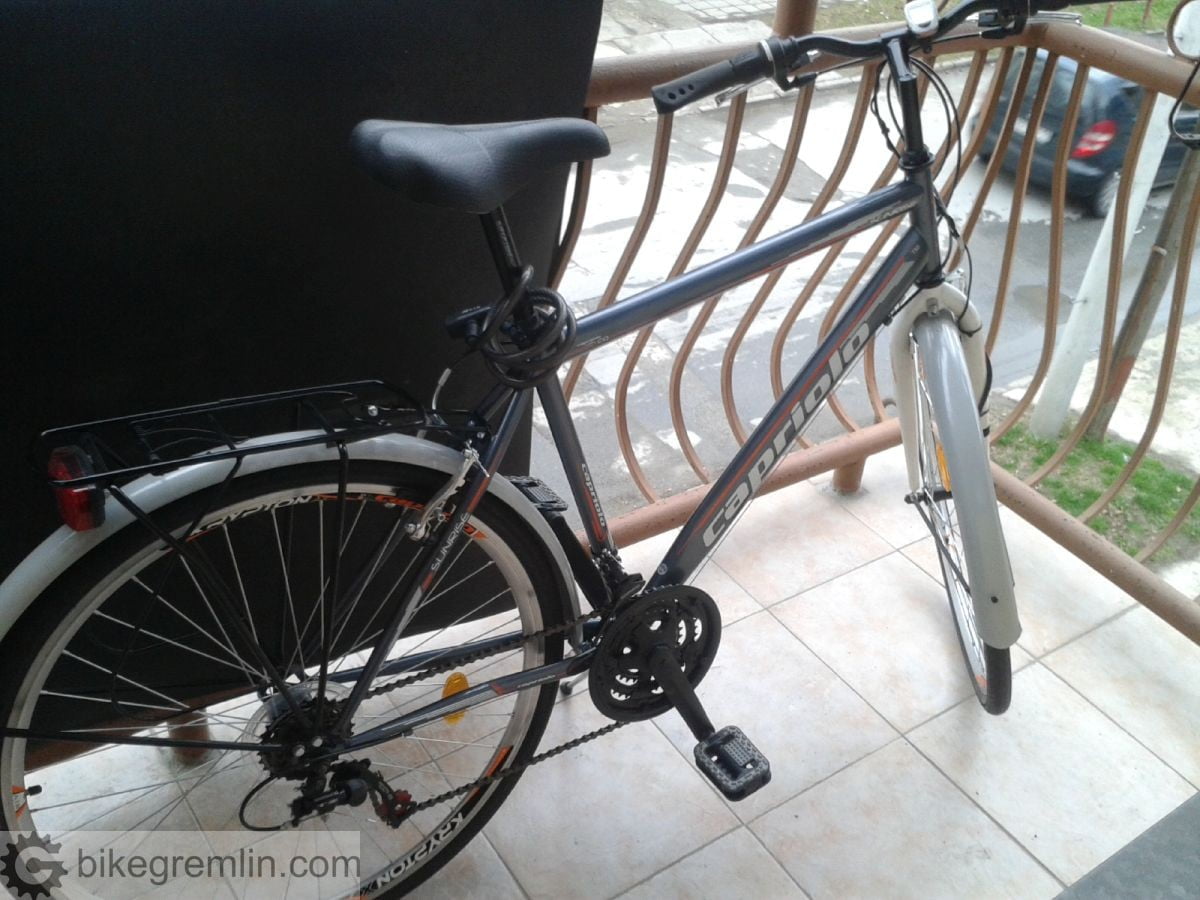
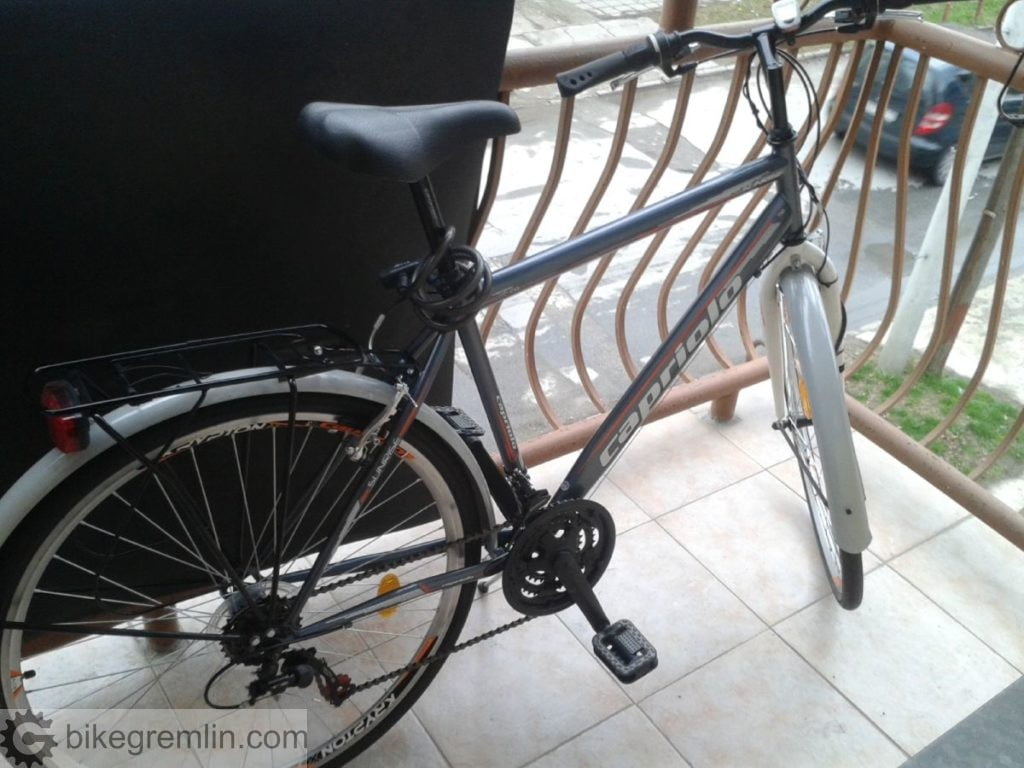
After the first 300 kilometres there were no more problems – all was working perfectly. It was the time for the first chain lubing – since the factory grease was done after 300 km. However, the owner wasn’t pleased how white mudguards and fork combine with the bicycle’s style and colours. That’s why he’d decided to paint them into black.
1. Tools needed
- One can of black auto spray paint – glossy black.
- Wet sandpaper of P800 and P1500 grit
- 96% alcohol
- Wipes
2. Preparation
Picture 1
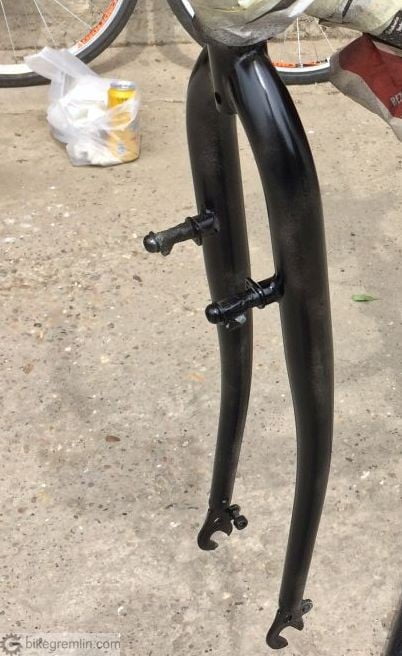
Wheels and mudguards were removed. The rest of the frame was protected with old newspapers and painting tape. Fork brake pivots were also protected with painting tape.
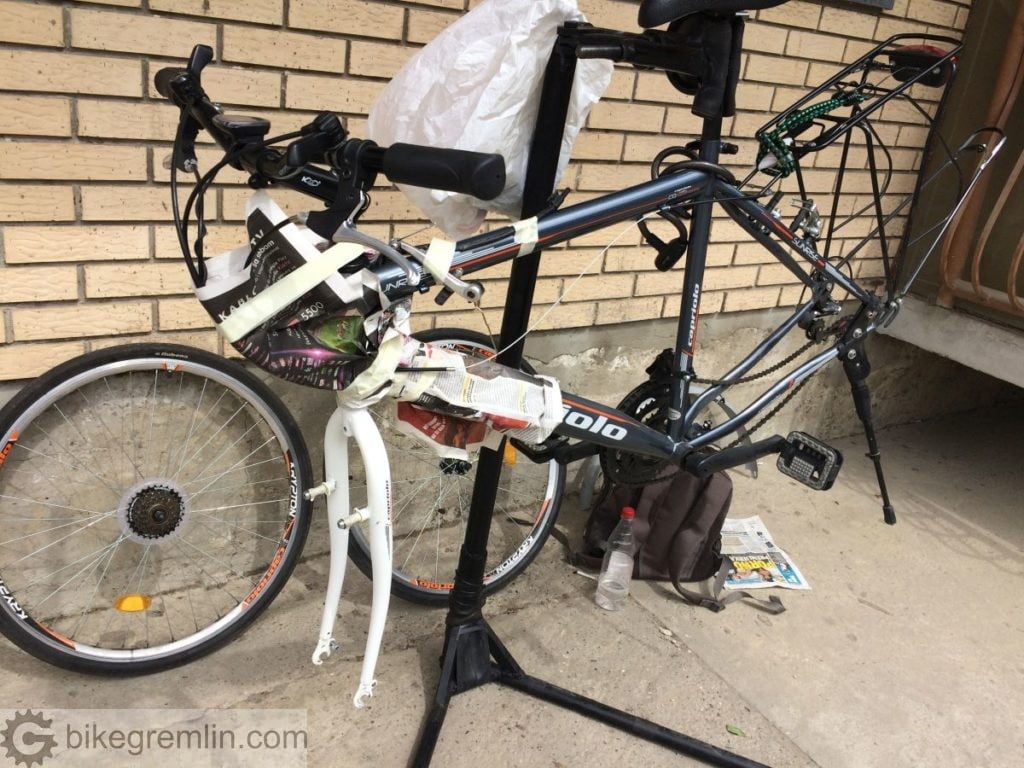
Picture 2
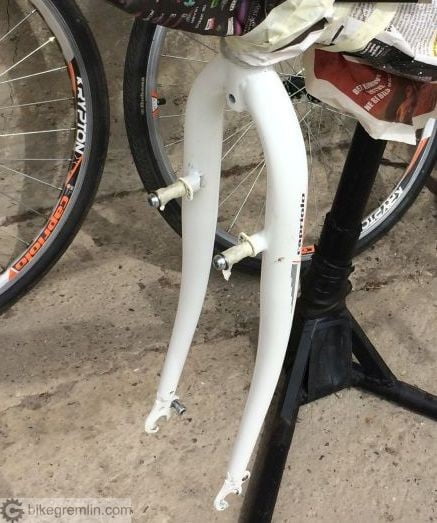
Picture 3
Bolts were screwed into the brake and mudguard fork mounts, to keep the threads clean from paint.
All the parts to be painted (fork and the mudguards) were first sanded with P800 sand paper. Actually, the “old” paint was just burred, to remove the top layer, so the new paint can adhere better.
Then it was all wiped, followed by P1500 sandpaper – to make the surfaces as smooth as possible.
Finally, alcohol was used to completely clean and degrease all the parts. All is ready for painting.
3. Painting
Now comes the fun, hardly waited part – spraying! 🙂
With even and long hand strokes, from about 20 cm distance, first coat of paint is applied using a spray can.
Picture 4
As can be seen from picture 4, the first coat of paint will not cover everything. However, one must resist the temptation to paint it all the first time – since that will make the paint coat too thick, forming drops and dripping. That would mean waiting long time for the thick paint to dry, then sanding it to remove the paint drops and marks, then doing it all again.
It is better to apply a thin coat of paint first, even with some spots left – it will be fixed with the following layers.
The paint used was a fast drying one, so after about 20 minutes wait, it was all set for the next coat. Both the fork and the mudguards were painted.
The last, third layer, should be applied in long, even strokes – making a smooth final finish, but making sure not to over-saturate the painted area – so no drops would form.
After finishing the “final touch”, before mounting all the parts back, a 24 hour wait is due, in order for the paint to completely dry and harden.
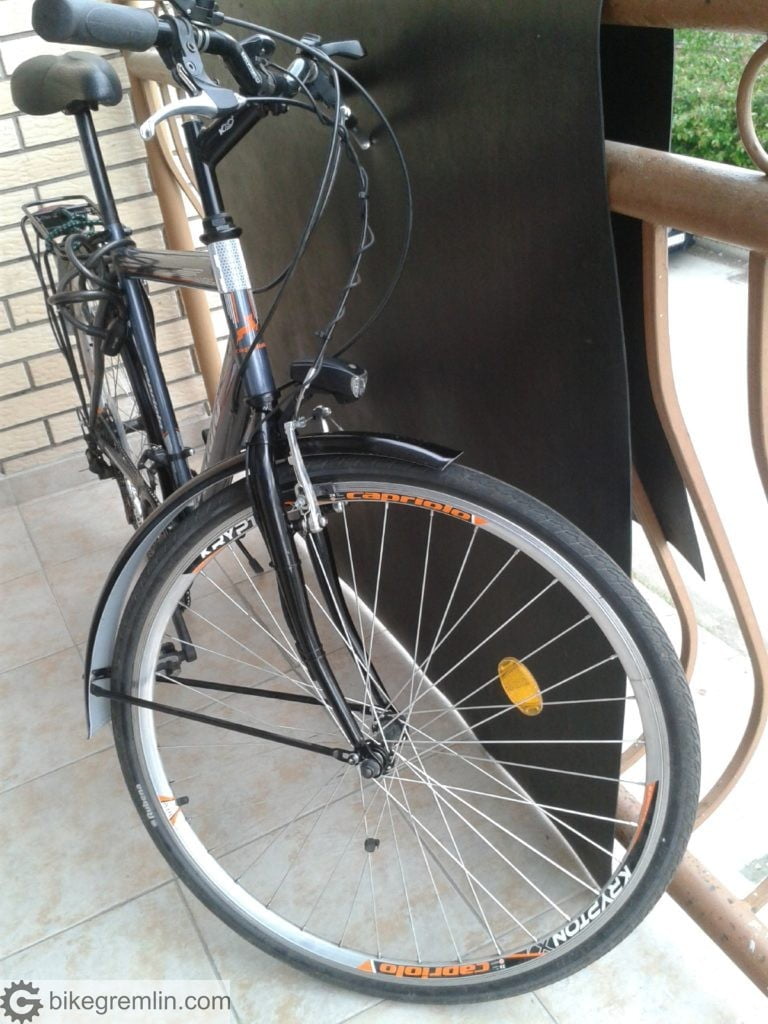
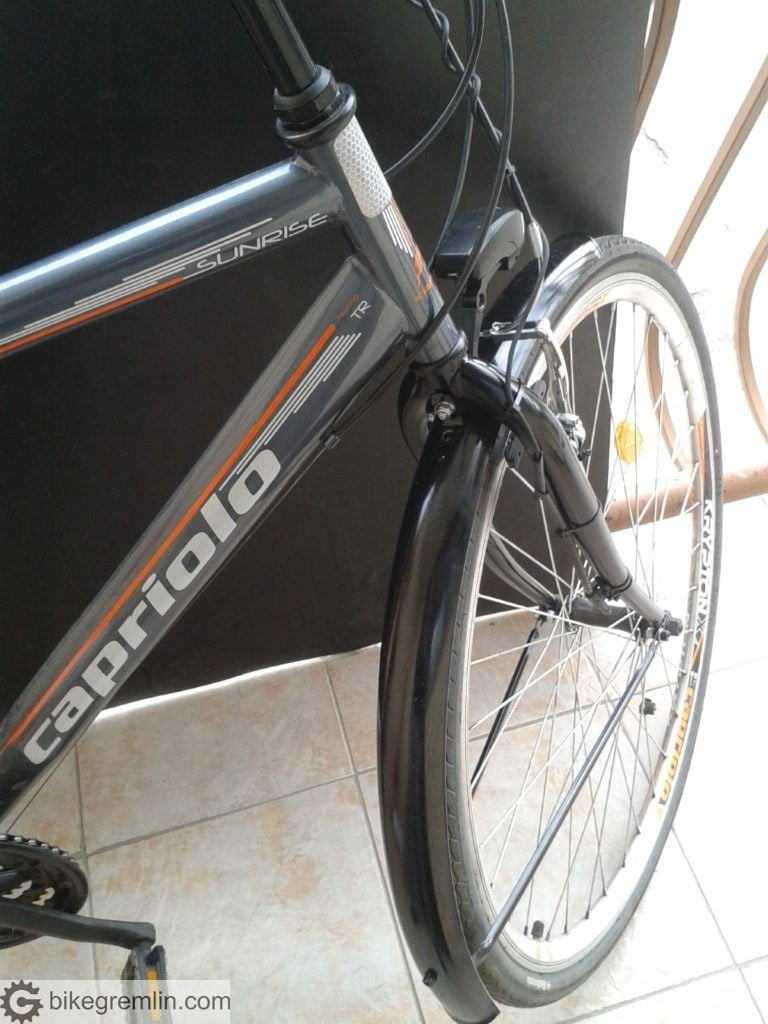
The final result:
Picture 5
It looks a lot better live. 🙂
Picture 6
Now it awaits the next rides and further testing. 🙂