A guest post by Felix Ho. How to train your dog to run beside your bicycle, and enjoy cycling with your dog? 🙂
Amazon affiliate links will be used to show products in this article.
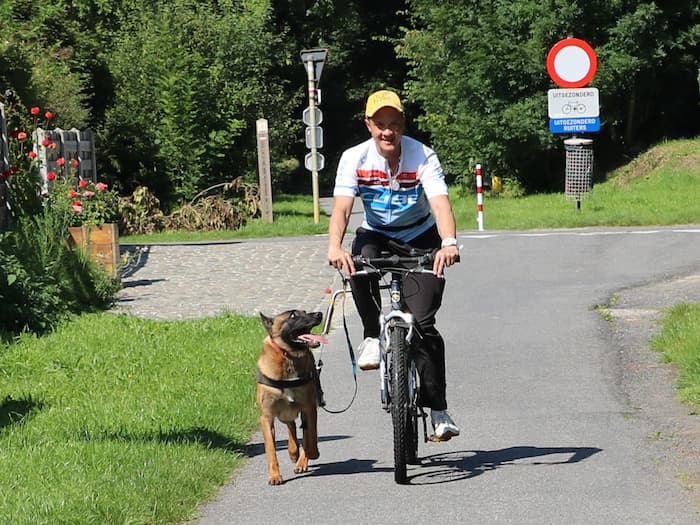
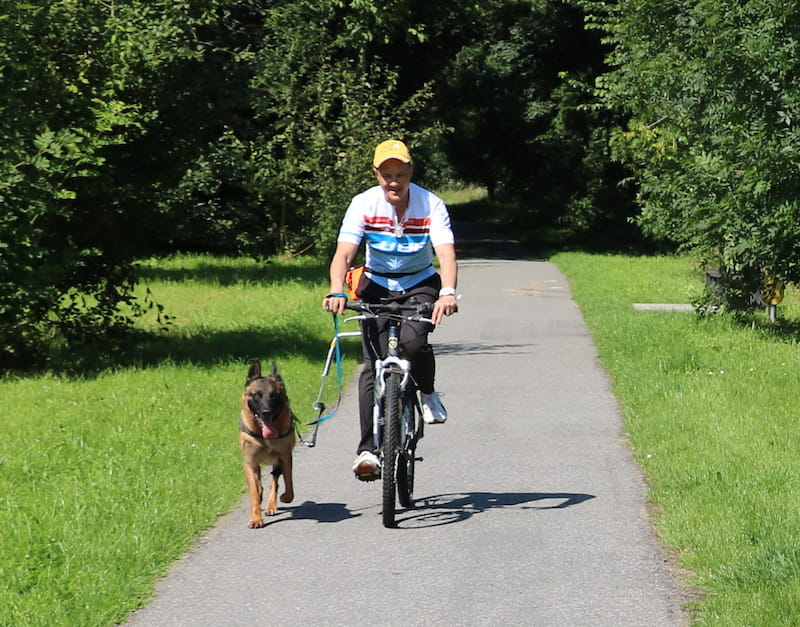
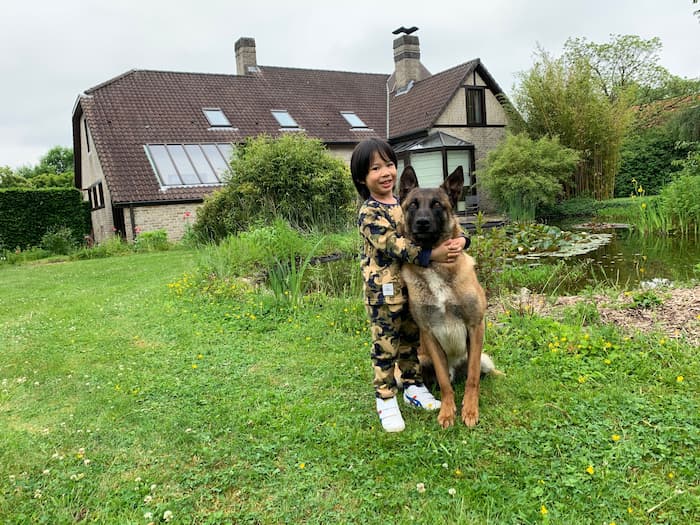
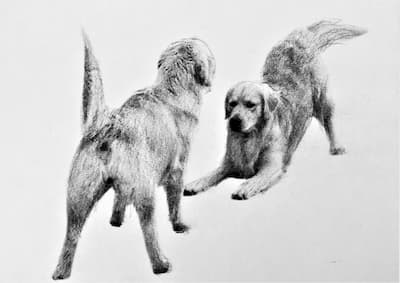
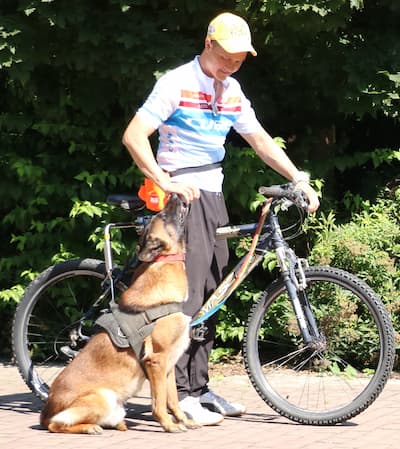
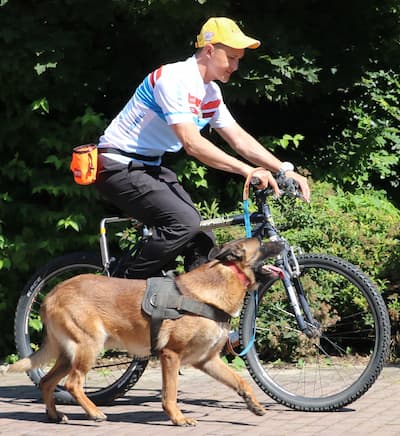
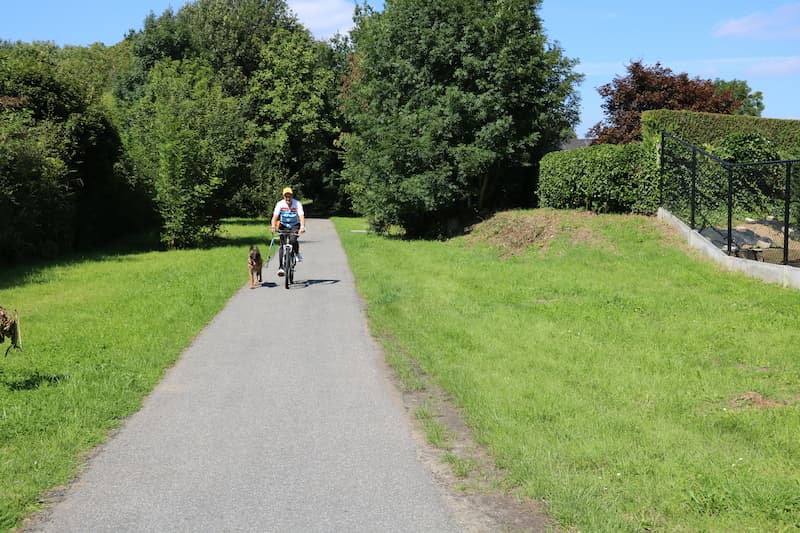
Picture 1
Cycling is a great sport and pastime for us. Wouldn’t it be fantastic if our dogs can come along, too? This way, both master and pet can stay fit together, plus the interaction can certainly strengthen the bond between the two.
1. The Dilemma
If you have ever tried biking with a rebellious, uneducated dog, you would probably agree that it was far from a fun experience, not to mention the possible danger for both you and him. Riding with a dog that pulls in any erratic direction is not only exhausting and frustrating – if you’re pedalling next to traffic, it can even be deadly. Before you consider taking your four-legged friend for a two-wheeled trip, you should ensure he has the proper training to make it a safe and pleasant activity.
2. What the Dog Should Know before Cycling
- He should be social with people and be familiar with different environments including the traffic. A shy, scared, or aggressive dog may react unpredictably to a normal, day-to-day situation, resulting in accidents.
- He should come directly and instantly when you call him. This is the most basic task that every dog should learn.
- He should be able to sit when you tell him, or sit spontaneously when your bike comes to a stop. This is useful when you are getting on or off the bike, or when you have to wait at an intersection. Sitting down is a more stable position for your dog than merely standing or hanging around.
- He should be able to walk and stay by your side. As we drive and ride on the right side of the road in Europe, I prefer my dog to run on my right side during cycling. By doing so, he is always in the inside lane, my bike naturally blocks him from any approaching and overtaking traffic or joggers. This is a safer way to ride.
- He should have a positive association with your bicycle. It is unrealistic to ask a dog to run next to something if he is afraid of it.
3. Equipment
Click on the images to see the products on Amazon (affiliate links)
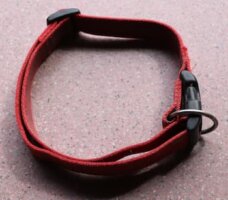
1. A nylon or leather collar (Picture 2)
Shop on Amazon for a collar
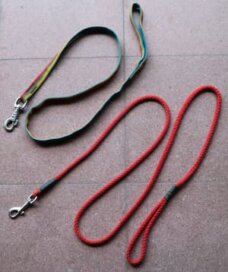
2. A leash of 1.2 m to 2 m (Picture 3)
Shop on Amazon for a leash
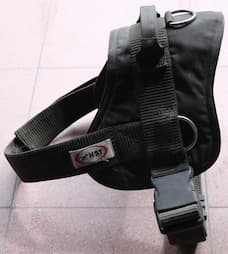
3. A harness (Picture 4)
Shop on Amazon for a harness
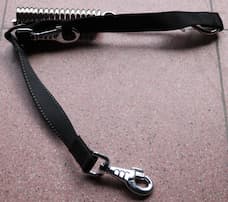
4. A dog cycling spring (Picture 5)
Shop on Amazon for a dog bike-set
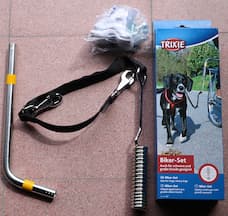
5. A double-clipped leash to attach the dog’s harness to the cycling spring (Picture 6)
Shop on Amazon for a double-clipped leash
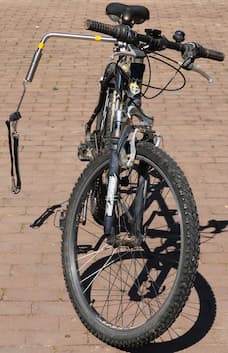
6. A bicycle (Picture 7)
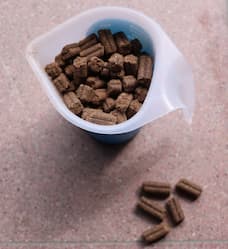
7. Your dog’s favourite food (Picture 8)
BikeGremlin carries bacon! 🙂
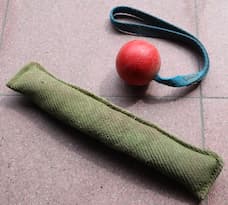
8. Your dog’s favourite toy (Picture 9)
4. How to Start
Step 1: Socialize and habitualize your dog
I always begin exposing my puppies to various people, animals and environments from a young age, allowing them to develop a positive association. The exposure should be gradual, starting with wandering for a few minutes on a quiet street from puppyhood, to walking in a market or a busy area in town when the dog becomes older. Our goal is to have a confident, outgoing and well-behaved dog in public.
Picture 10
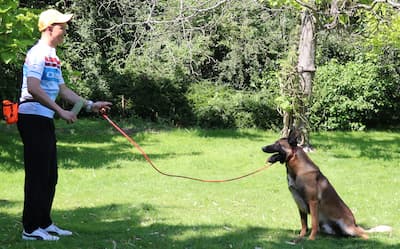
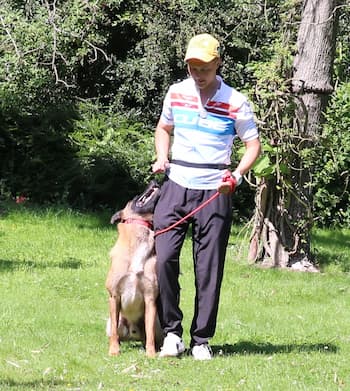
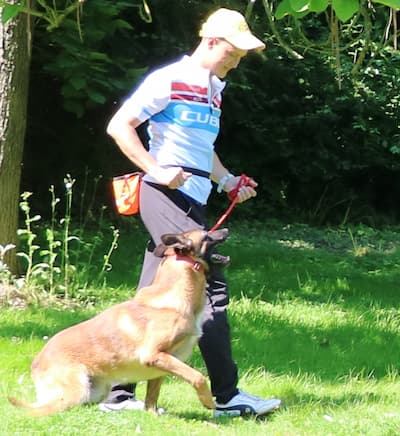
Step 2: Train your dog to come when called
This is the most fundamental exercise that every dog owner should teach their pet. Being able to recall your dog in any day-to-day circumstances is the first criterion for basic control. To teach this, you take him to an area without distractions, such as a quiet room in your house or somewhere in your backyard. He is wearing a normal nylon or leather collar, which is attached to the leash. You should schedule the training at your dog’s mealtime or when he is hungry, as we will try using food to motivate him. The food I usually use is dry dog kibbles, but if your dog prefers meat, you can use that, too, as long as it is cut up to pieces that can be easily swallowed in one quick gulp.
Keep some dog food in your pockets and hold the leash with one hand. Call your dog’s name (“Bobby” for example). If he comes to you directly and immediately, great! Praise him by saying “Good Boy” and give him a pat, followed by offering him some food.
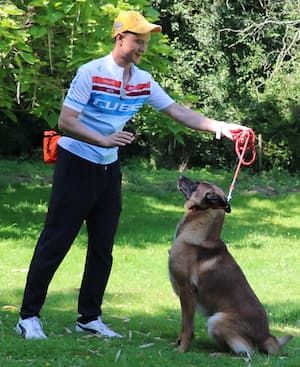
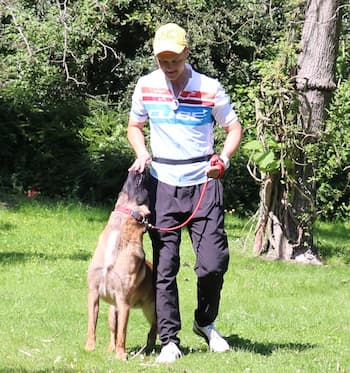
Pictures 11-13
If he doesn’t respond straight away, invite him over by bending your knees and leaning forward while smiling gently. By doing this, you are presenting a dog-friendly body language known as the play bow.
Inviting a dog to come using body language
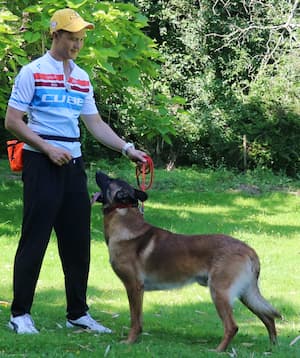
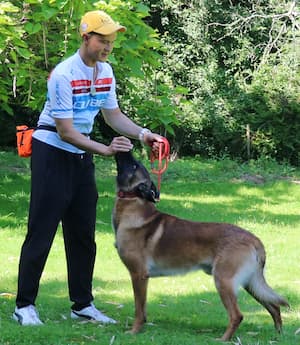
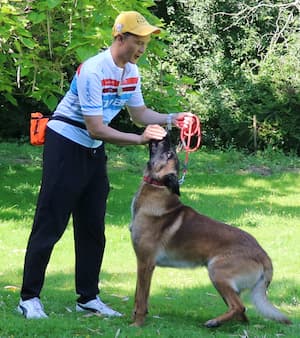
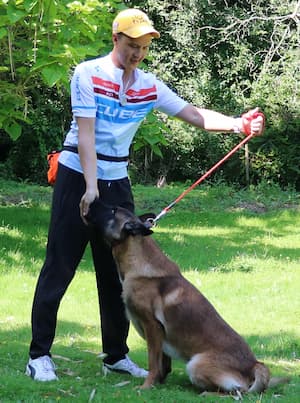
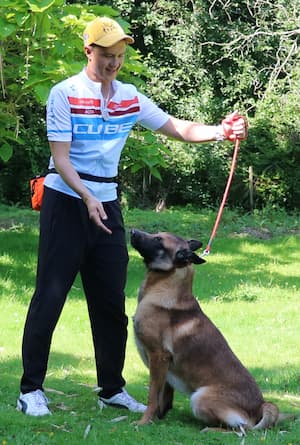
Pictures 14-16
f your dog still doesn’t come, slightly tug on the leash to guide him towards you while presenting some food with your other hand. Once he is in front of you, feed him and let him stay for a few seconds, then tell him “Free” as a release signal. The “Free” signal means the dog is temporarily liberated and he is relieved from the task until you repeat the exercise or give him another command. If your dog doesn’t want to leave you, you can throw a piece of food to the ground for him to search and eat. You can then go through the same procedure again. Depending on your dog’s enthusiasm, this exercise can be repeated five to fifteen times in a session. In the end, you feed your dog the whole portion of the meal as a final reward (the jackpot). You can practice this every meal. So if you want to break down your dog’s daily amount of food into several portions, he gets to have more repetitions of the exercise as long as he wants to eat. Be careful not to overfeed him though.
With dogs that are not so responsive to food, you can use a toy to induce him for coming, or just direct him to you with the leash and your body language. The same principle applies to the other tasks mentioned above. Fetching is a fun game for dogs. It stimulates and satisfies their predatory instincts as well as being a wonderful form of fitness training.
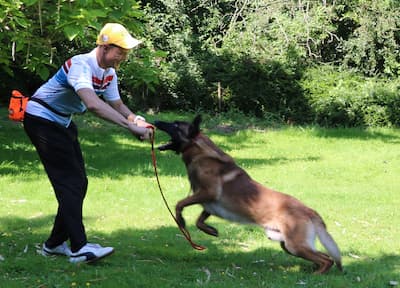
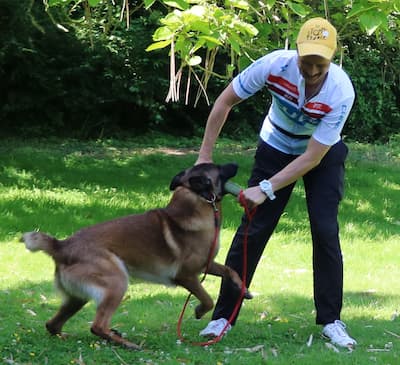
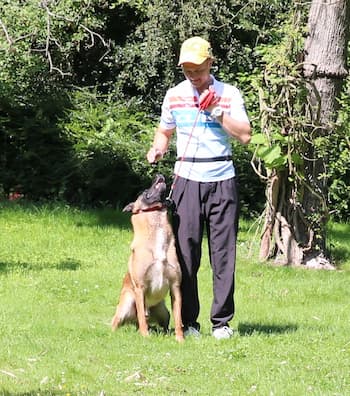
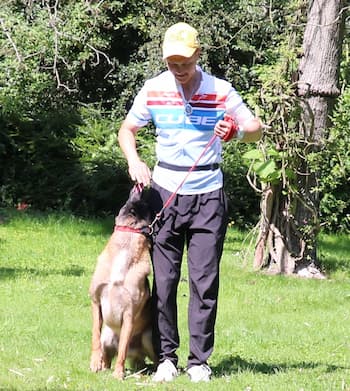
Pictures 17-19
After numerous lessons, your dog should be able to associate his name with coming to you. If this behaviour is consistent (he comes every time when you call him), you can try removing the leash while practising in the same environment with minimum distractions. When he comes to you, reward him by praising, patting and feeding. The offer of food should be progressively reduced until it becomes an occasional treat for the dog’s extra effort (coming faster, longer distance, through obstacles, under distractions, etc). By making the food reward scarcer but in bigger portions (mini jackpots), the dog becomes less reliant on it but with stronger anticipation. This entices him to work harder in order to earn his treats.
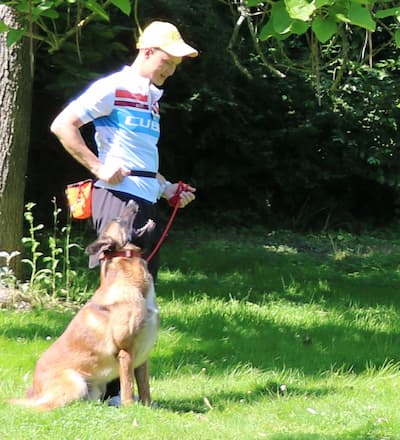
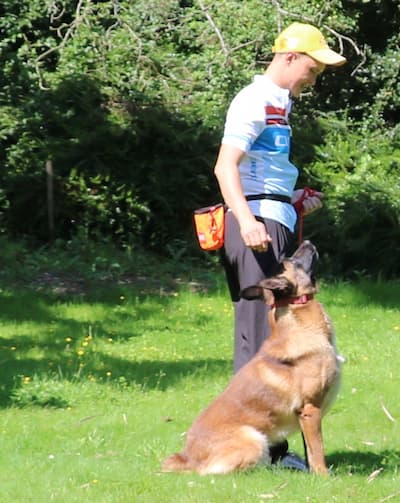
Step 3: Train your dog to sit on cue
Teaching a dog to sit on command is an important lesson. First of all, it gets him used to waiting for you. Second, a dog sitting calmly can generally focus better than a constantly moving dog. This makes our job easier in preparation for Step 4.
We start the sit training with food as a motivator and the leash as a guiding tool. Hold a few pieces of food in your right fist and let the dog sniff it. If he’s hungry enough, he will try to push your fist open with his snout to get to the food. Now bring your right palm directly above his head, and continue to slide this hand horizontally towards your dog’s hindquarters. The idea is to get him to raise his head and shift his weight backwards. Simultaneously, tighten the leash upwards smoothly with your left hand. Our goal is to make the dog transfer his centre of gravity to his rear end as he is lifting his head up and pushing his chest out, going into the sit position. You say the word “Sit” just before his bottom makes contact with the ground.
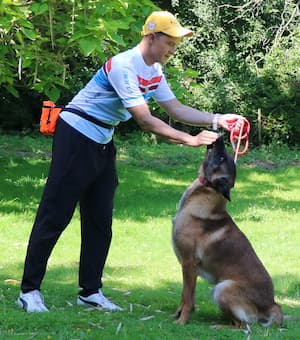
Pictures 20-23
Once he is sitting, relax the leash so there is no more tension, praise him and feed him a piece of food as a reward. Now remove your right hand from the dog. If he tries to leave the sit position, block him with the leash. When he stays sitting, tell him “Good Boy”, give him another piece of food and slacken the leash again.
Pictures 24-26
Let him sit for about 10 seconds before you say “Free” and give him a little break. Through repetitions, the dog will associate the word “Sit” with the action of sitting. Gradually reduce the frequency of food in this exercise so it becomes a selectively given treat (quicker response, faster sit, staying in sit for a longer period, etc).
Step 4: Train your dog to walk by your side
When cycling with your dog, the safest position for him to be is next to you. If he is running in front of you, he risks getting hit by the wheel or being run over. If you have to brake sharply because he is in your way, you might do a somersault over the bike. If he is running behind you, you can’t see what he’s doing. By teaching the dog to run beside your bicycle, you can manage his speed, direction and behaviour much more effectively.
We first start without the bike, just you and your dog, to make the exercise simpler and easier to understand. Have your dog sitting by your right side. His shoulders should be parallel with your right knee. Hold the leash across your body with your left hand and have some food in your right hand. Say “Heel” to your dog and take one step forward with your right leg. At the same time, lure him with the food in your right hand so he has a reason to follow you. You then come to a stop and manipulate him to sit with the food and the leash, just like in the previous step.

Pictures 27 – 31
Once he is sitting next to you again, relax the leash, praise him and feed him the food. Repeat this process ten to twenty times and give him the rest of his meal.
After practising for a few days, your dog should start to realize it is beneficial for him to follow you by your right side because he gets some food every time. We can now gradually fade out the luring. You start in the heeling position again (with you standing and your dog sitting by your right). Instead of holding the food in your hand, just keep it in your pocket. Say “Heel” and take one step forward. As you don’t have food in your right hand anymore, your dog might not understand he has to follow you. No problem. Wave your empty right hand in front of him and rub your fingers together to attract him to take a step forward with you. If necessary, gently tug on the leash with your left hand to bring him next to you. When he is in position, slacken the leash, say “Good Boy” and feed him.
Pictures 32-35
Practice this daily until your dog can heel next to you for 50m without stopping. Once the behaviour has been established, you can gradually diminish the food.
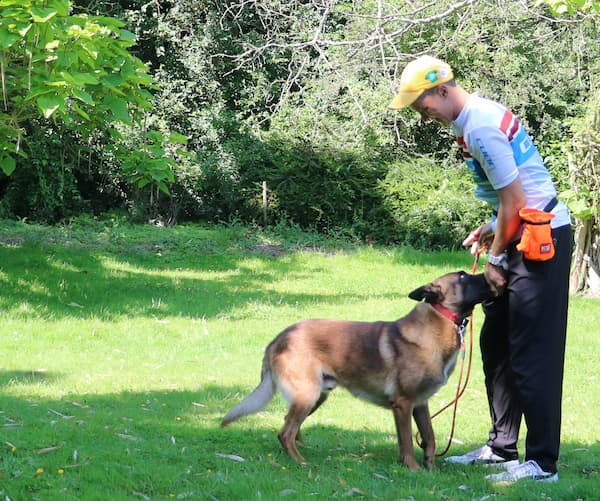
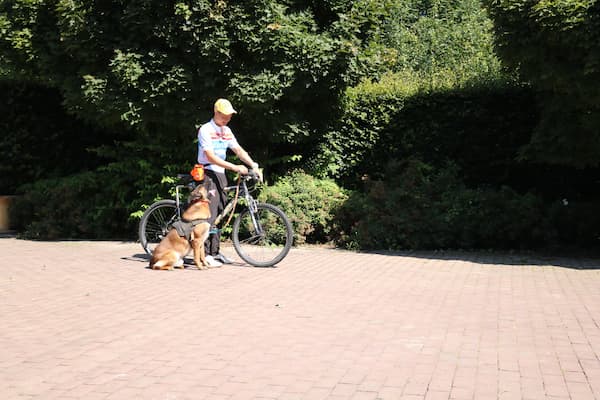
Step 5: Familiarize your dog with your bicycle
This should be a pretty straightforward lesson. For safety reasons though, you should first secure your bicycle to a solid object such as a lamp post so it won’t accidentally fall on your dog. All you need to do is to give your pet a chance to investigate the bike by looking at it and sniffing it. You can feed him some food while he is doing this to make a stronger association. The dog cycling spring should already be installed by now and your dog should be familiarized with it also.
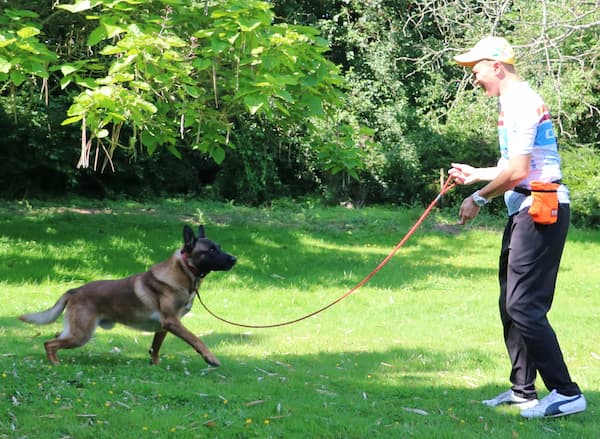
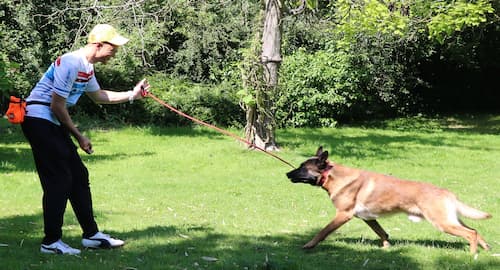
Step 6: Train your dog to walk next to your bike and to sit when you stop
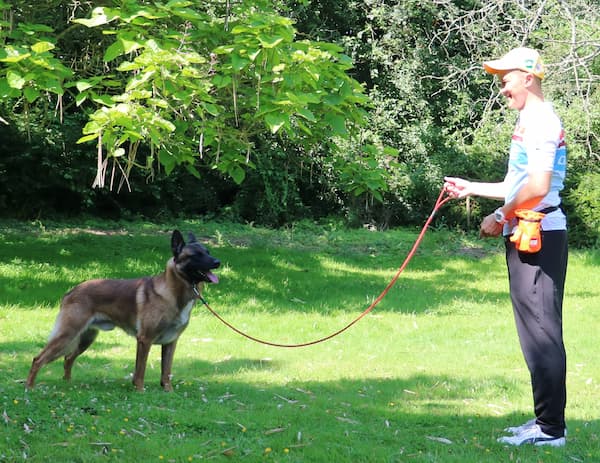
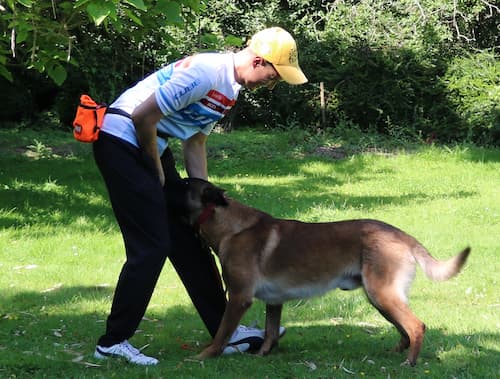
With all of the previous five steps completed, your dog is now ready to learn to walk next to your moving bike. For the dog’s comfort, we let him wear the harness, which is connected to the double-clipped leash of the cycling spring. He can pull forward slightly during the ride but he must run in parallel with you at all times. The harness allows the dog to breathe freely. For effective control, he is still wearing a nylon or leather collar, which is attached to the leash. For practical riding in the future, both your hands should be on the handlebar, with your right hand also holding the leash. This is to control the dog’s neck in case he is pulling too hard or showing interest in an undesired target (your dog is about to chase a cat, for example). A sharp jerk on the leash is used to slow him down or to change his direction.
Find somewhere spacious, quiet and flat. A supermarket car park in closing hours is a good place for practice. To begin the lesson, you stand over your bike with your dog in a heeling position. Have the leash in your right hand and fasten his harness to the cycling spring. Our goal is to condition the dog to walk next to the bike when it rolls, and sit beside it when it stops.
Picture 36
You give the command “Heel” and start walking forward. If you have done a proper job in the previous steps, your dog should be walking next to you with a loose leash. If he hesitates, encourage him with your right hand for the first few steps as a refresher of the task.

Pictures 37-40
After walking for about 20 m, stand still and observe if your dog would sit automatically. If he does, pat him, praise him and feed him a treat. If not, say “Sit” and smoothly tug the leash upwards. Repeat this process for ten to twenty minutes. Play with your dog at the end with interaction or a game of fetch ensued by feeding him his full meal.
Step 7: Train your dog to trot as you’re cycling
All of the above schooling prepares your dog for this final task. If you have followed this guideline diligently and wisely, it takes about one to three weeks for an average pet to reach this point. The dog should be at least one year old when you start cycling. If you do it earlier than this age, you might risk injuring him, as the supple joints of a young animal still going through development are susceptible to injuries from vigorous activities.
Prior to the exercise, your dog should have sufficient time to empty himself and to warm up. You don’t want him to stop abruptly for a toilet break when you’re riding fast. (This has actually happened to me about twenty years ago before I knew anything about dog training. I was pedalling hard on a suburban street one night with my Alaskan Malamute galloping next to me. Back then there was no dog cycling spring, so I only had his leash in my hand while holding the handlebar. All of a sudden, he decided it was a good time to take a dump and he just came to a dead stop. I went flying over my bike and landed on the concrete footpath. I think I still have a scar from this little incident.)
For safety reasons, I suggest you lower your bike’s seat so both your feet can touch the ground when you’re in the saddle. Once both you and your dog are comfortable cycling together, you can raise the seat to your preferred height again. To warm up, you can start slow, just pedal casually and let your dog walk next to you for about five minutes. For practical cycling, your dog’s collar should be linked to the leash in your right hand, and his harness clipped to the bike spring. Once you see he’s heeling nicely, you can speed up so he switches his gait from walking to trotting. The trot is a two-beat diagonal gait of a quadruped (four-legged animal) where the diagonal pairs of legs move forward at the same time with a moment of suspension between each beat.
Picture 41
It has a wide variation in possible speeds, but about 7 km to 15 km per hour, depending on the dog. Trotting is a marvellous exercise to increase a dog’s cardiovascular performance, muscle tone, strength and endurance. For wolves and wild dogs, it is their favourite gait for travelling long distances as it has a high energy efficiency ratio. I have an odometer on my bike, which indicates how fast I’m going and the distance I’ve travelled.
For beginners, I suggest keeping the speed just fast enough for the dog to stay in the trot.
Pictures 42-45
Five to ten minutes per session is enough for the first week, with a one-day-on one-day-off schedule, so the dog has time to recover. You can gradually increase the time, distance, speed or training frequency each week. A fit, experienced and well-trained dog can cycle for over 20 km with ease, but it takes time to build up to this level of fitness. Always make sure he has sufficient drinking water. A good rule of thumb to prevent overworking your dog is to observe his behaviour and energy level during and after the ride. A satisfied but not exhausted dog should be happy, calm and light on his feet, eager to go again. A worn-out dog would have a lower body posture, slower movement, lack of interest and even a decrease in appetite. It is better to slightly under exercise the animal than to push him too hard, as it can be harmful to his health. Avoid riding in extreme weather especially on very hot days, as this can lead to overheating or heatstroke.
Another important factor to remember is the pads of the dog’s feet. The callus needs time and moderate friction against hard surfaces to thicken. It is a good habit to check your dog’s feet after every ride to ensure he doesn’t have any cracked or worn pads on his feet. For the rider, safety equipment such as a cycling helmet is recommended.
5. Be Safe, Patient, Sensible, and Have Fun
I hope this article has provided a general idea about cycling with your dog. Like any sport, patience, sensibility and consistency are the key. Last but not least, whatever activity you choose to pursue, it is important for both you and your four-legged friend to have fun.
Picture 46
Felix Ho
August 2021, Belgium
6. About the Author
Felix is a cynologist, professional dog trainer, world championship competitor and judge in Schutzhund/IPO/IGP. He was born in 1977 in British Hong Kong. At the age of sixteen years, his parents sent him to Melbourne, Australia to continue his education. He received his Bachelor of Science (Biology) at La Trobe University, Melbourne. During his undergraduate years, Felix began keeping and training working dogs. His hobby became such a fanatical passion that after his graduation, he became a professional dog trainer.
In 2005, to further his Schutzhund competition career, Felix immigrated to Belgium. He entered his first world championships in FMBB 2006 Hungary and FCI 2006 Slovenia. In 2008, Felix started with his new canine partner Eclipse van de Duvetorre in FMBB as the youngest dog in the championship and moved up in the world ranking to 25th. The following year was very successful for the team, as they were ranked 16th in FMBB Czech Republic, 19th in FCI Austria, and became winners of the Belgian CAC Special Selection Trial. In 2015, Felix competed with his first Rottweiler in the IFR world championship in Italy and ranked number 9 in the world.
To this date, Felix has competed in nine different world championships with dogs he’s raised and trained from puppyhood. He’s titled a total of eight dogs in Schutzhund/IPO/IGP and Mondio Ring, including Malinois, German Shepherd and Rottweiler. He has also trained working service dogs and personnel for the military, police, correctional services, airports and the security industry. He travels the world on a yearly basis to conduct seminars and workshops for the training of working dogs. The books he has published include The Schutzhund Training Manual (English), The Schutzhund Training Manual (Chinese), The Schutzhund Training Manual 2 (Chinese), The Pet Dog Training Manual (Chinese), and Canine Behaviour Decoded (Chinese).
Felix resides in Belgium where he continues with his training and research of the working breeds. To further understand his philosophies, you can contact Felix through the following links.
- Website: felixho.be
- Website: felixho.club
- Email: [email protected]
- Facebook: facebook.com/sacraalhart
- Instagram: sacraalhart