Correctly set up bars provide more comfortable ride and better control of the bicycle, as well as safer braking. Common error is setting up brake levers to be parallel to the ground.
This article doesn’t address mechanical part of bar adjustment. Procedures and tools needed to change bar height and angle are explained in this post:
How to adjust bicycle handlebar angle and height.
1. Handlebar width
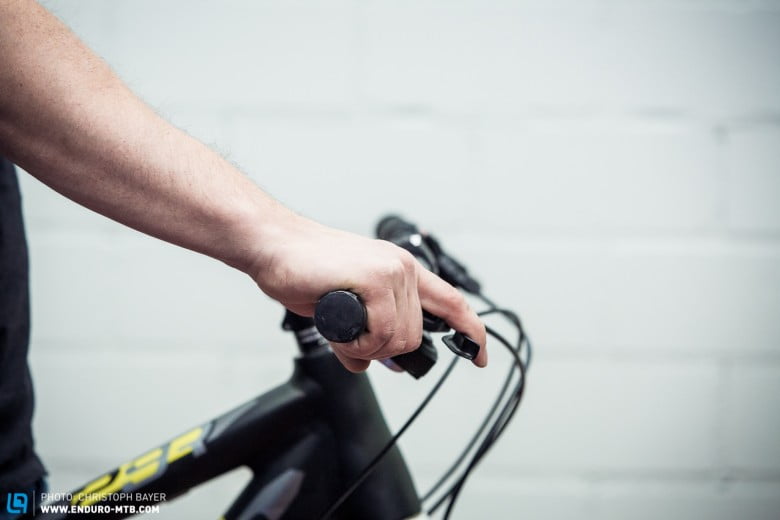
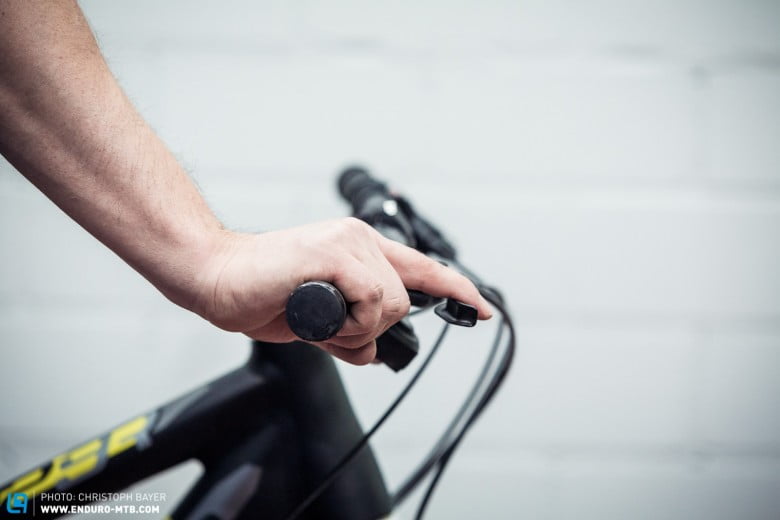
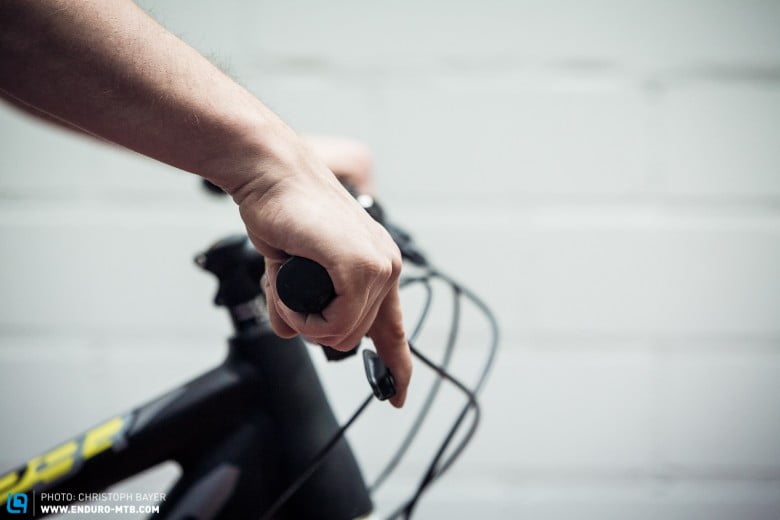
There is a modern trend of wider and wider bars. Up to a point they improve control and leverage on rough terrain. The trade-off can be difficulty getting through narrow gaps (closely-spaced trees, or cars for example), or, if the bars are way too wide, a bit more stress on the chest and back muscles and a bit harder control of the bike (if hands are too far stretched otwards).
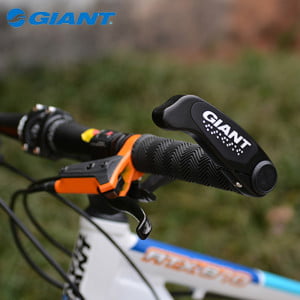
A good starting point, middle ground, is with arms stretched out at about 45 degree angle, the forearms should be parallel to the bike forward axis. Like in the picture below:

For both good power AND stability.
New bars are made to be cut down to size. Of course, before cutting, do measure twice and take a few longer rides to be sure – no way back after cutting.
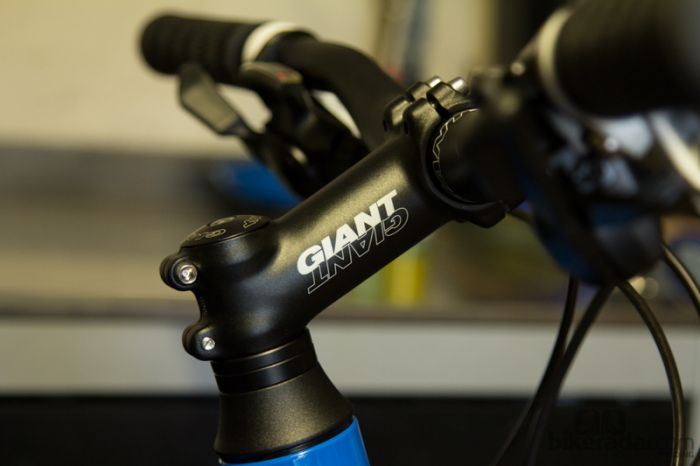
2. Handlebar height
Bars set lower than the saddle height provide more weight on the front wheel, improving traction and handling. For more relaxed riding, people prefer bars to be a bit higher than the saddle height. Good starting point are bars level with the saddle height.
Then it’s up to personal preference. Lower bars a bit and see if it feels better. If it does, go even lower. If it feels worse, go a step higher. Until a personal favourite position is discovered.
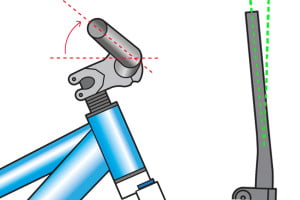
3. Handlebar angle
Modern road bars usually have a sweep in both height and angle. Setup of angle is similar to the setup of height: start from the middle and see if going either way gives a better feel.
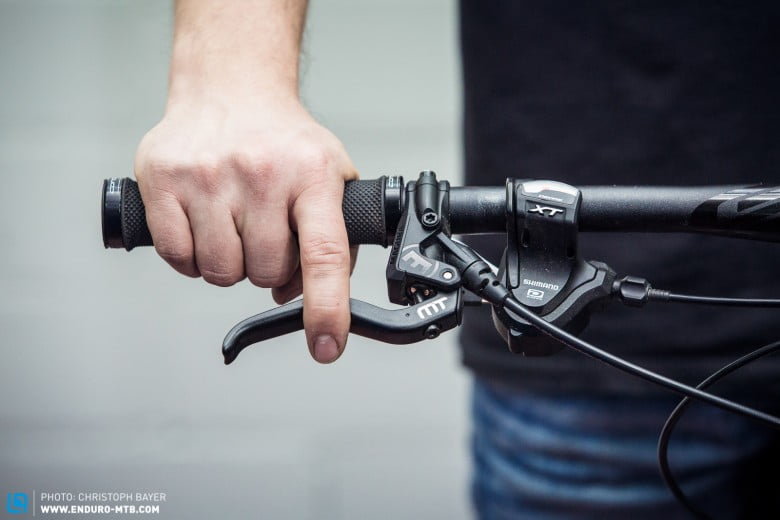
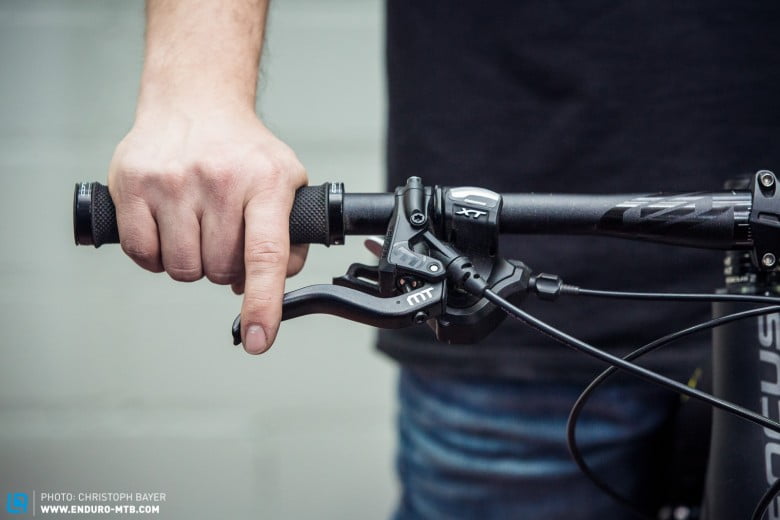
4. Brake levers
Levers have three adjustments:
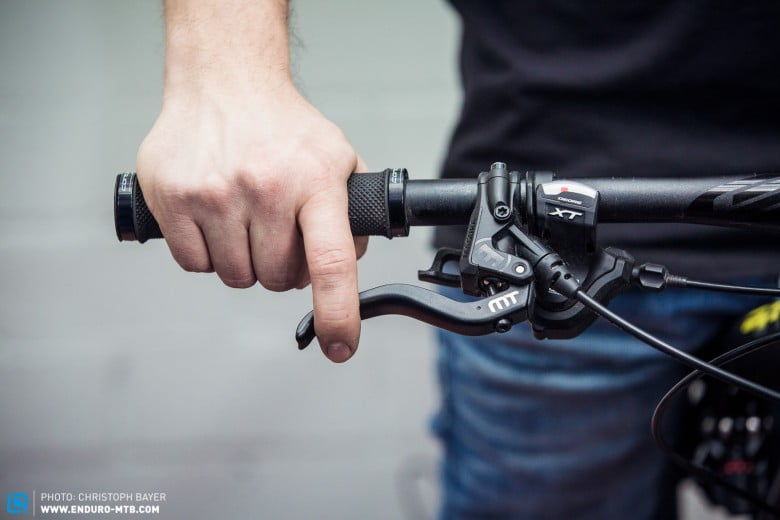
When a bicycle comes from the store, brake levers are usually put almost parallel to the ground and slammed to the inboard of the grips.
Since modern brakes are easily operated with two, or just one finger, levers should be moved inward, so that the best leverage is achieved with just one finger. Angle should be such that they naturally extend the hand position when holding the bars.
4.1. Distance from the grips
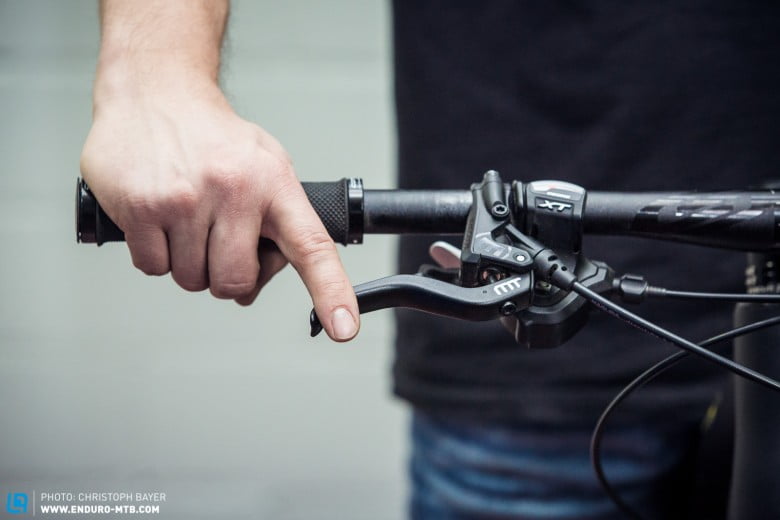
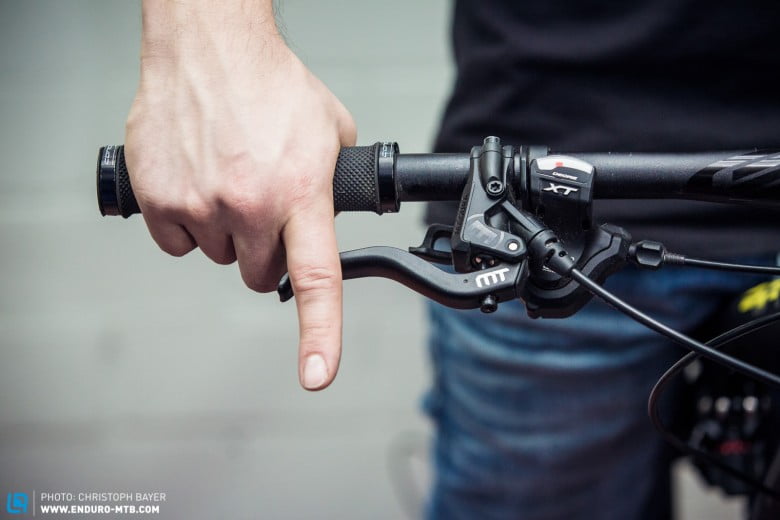
4.2. Angle
Exact angle depends on the hand position. Elbows should be slightly bent, with a sitting position used most often when riding. A good starting point is about 45 degree angle.
4.3. Reach

5. Shifter levers
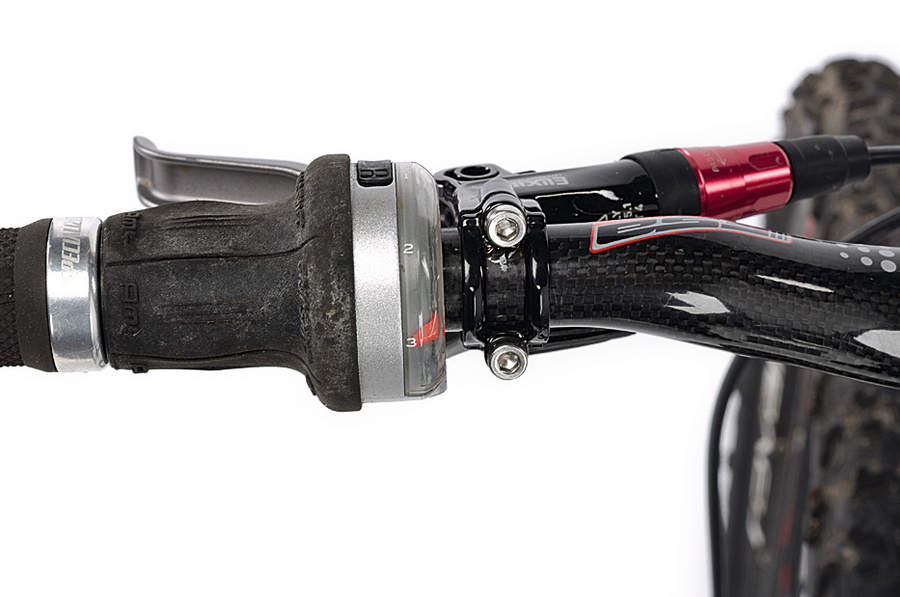
Setup similar to brake levers, except here the middle ground is 45 degrees up. Optimal position is one that allows both levers to be operated without rotating, or twisting hands, throughout the full range of their movement. In case shifter levers can’t be mounted without removing brake levers first, note the position of brake levers determined in section 4 of this article.
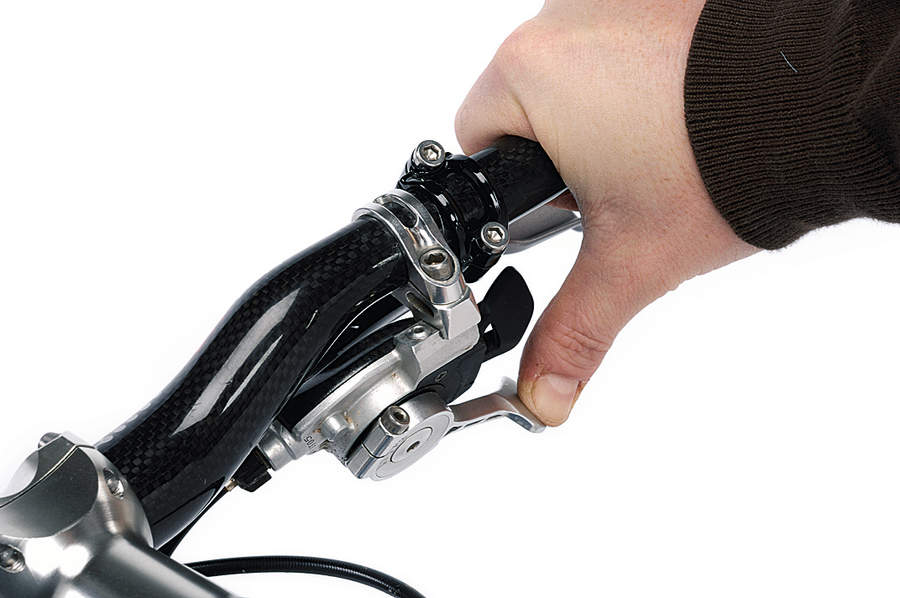
Levers are set so they are easily accessible and then it should be checked whether their movement when pushed/pulled is obstructed by brake levers. Move them away from brake levers if necessary, rotate them up/down to allow free motion. Here, the optimal reach is limited by free movement. It is better if levers are a bit less perfectly placed, than that they can’t be operated normally. This problem is more likely to occur if brake and shifter levers aren’t from the same series of the same manufacturer.
With SRAM grip shift model, make sure that full range of gears can be achieved in a single “sweep” of the hand.
6. Bar ends
Don’t. DON’T! Seriously. 🙂
In old days when bars were flat and narrow, bar ends provided better leverage for climbing (and an extra hand position). Even then it was possible to catch branch, tree, or another cyclist. Rider could injure themselves on bar ends in case of a fall. That’s why modern MTBs are better off without them. Good riddance.
But if you must…
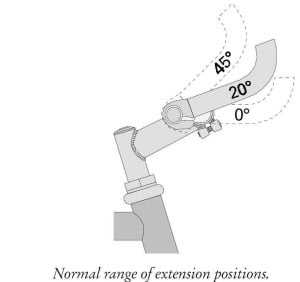
20 degrees is the middle ground.
Last updated:
Originally published:
Great detailed and informative information, the majority of which has become instinct after 62 years of cycling on roads and Off Road. Well done!
It would be beneficial for me, and probably others with similar ‘back issue’ disabilities to get some guidance on more upright riding position. For instance I used to ride my MTB with Seat around 4 inches higher than the handlebars. Due to an ongoing (inoperable) Herniated disc at L5-S1 of my spine restricting my bending forwards I currently need the handlebars to be around 5-6 inches higher than the seat, and have had a reasonably good set up for the past 3 years, but seem unable to get a comfortable seat for riding up to 2 hours+ constantly in the saddle (inner groin discomfort / pains) – and trying various much wider seats than prior to my accident. Since my riding ‘accident’ with other road traffic I no longer cycle on ‘Roads’ (or very rarely) as being run over by a 4 axle 40 ton tipper truck is no pleasure, yes still alive but ‘touch and go’, I now cycle on trails through my local Windfarm on a MTB, so advice on ‘fine tuning’ of my bike set up would be good to know. FYI I am 67 years old – and getting older, and I do suffer from leg cramp after a couple of hours cycling through undulating Windfarm trails – which is more than annoying at night – even after ensuring sufficient mineral and fluid intakes are met during and after a cycling session. I look forward to receiving any tips and advice which I can build into my bike riding set up. TIA. Ciao for now.
Hi John,
Yes, good points. We are all getting older, but the market (not just the cycling industry) seems to be oriented towards the ones who spend most money.
I wrote an article explaining the technical part of handlebar height adjustment (for both quill and threadless stems).
In the bicycle fitting article section 5 (5. Handlebars: height and reach), I listed two products that can help raise the handlebars (and bring them closer) even with threadless stems (very long quill stems are sold and available too, at least in my country). The two products can be combined.
There are also rised handlebars. Here are links to a few models:
Curved bars with multiple hand positions
Riser handlebars with a 2″ rise
Rised handlebars with an angle, for a more natural hand position
I hope this helps.
P.S.
Having said all this, I suppose I should write a separate article concentrating on ways to get more handlebar height.
P.P.S.
I just though of my favourite torque wrench (Amazon affiliate link). It is of a high quality, very accurate and precise, quite expensive, but its torque settings’ marks are designed for people with perfect vision (very small marks). “No market for old men,” to paraphrase the great Coen brothers film’s title.
Relja