After you’ve read this article, you’ll know how to clean and lubricate your bicycle’s chain, and why the chain wears in the first place.
For a detailed explanation of various chain oils (lubricant types) and their characteristics, read this (rather long) post: Bicycle chain lubricants – explained.
For a short recommendation, see: The best bicycle chain lubricant.
Table Of Contents (T.O.C.):
- Bicycle chain role (function)
- Bicycle chain wear (“stretch”) and sprocket/chainring wear
- When to replace a chain?
- Cleaning a bicycle chain
4.1. Jar with paint thinner
4.2. Special chain cleaning gadgets
4.3. Rag (and a brush)
4.4. Ultrasonic jewellery cleaner
4.5. Cleaning the other drivetrain components - How to lubricate a bicycle chain
- Which chain lubricant is the best
- When (how often) should a chain be lubricated?
TL/DR
Here, I’ve explained how you can best clean and lubricate your chan – and what to lube to use.
I first explained the chain’s construction and how it wears, but you can use the table of contents to quickly “skip” to the parts of interest.
1. Bicycle chain role (function)
Bicycle chain is used to transfer pedaling force to the rear wheel. It does so through at least two chainrings (front and rear), and sometimes derailleur. In order to work efficiently, it needs to match chainring teeth, as well as to bend smoothly. It is usually open, exposed to grit, moisture and pedaling forces. Because of all that, even when well maintained and lubed, chain wears gradually.
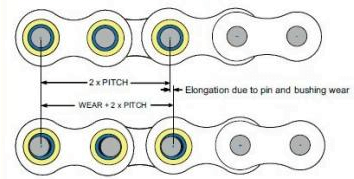
2. Bicycle chain wear (“stretch”) and sprocket/chainring wear
When a bicycle chain gets worn, visually it gives impression of being stretched, elongated. The elongation happens not because the chain steel is stretched, but because chain pins get thinner, worn. Detailed (and longer) explanation of the phenomena is in this post: Bicycle chain wear (elongation).
After chain elongation reaches a certain point, the chain starts climbing on the chainring (sprocket) teeth. The final stadium of this process is that only one or two teeth at a time carry the load, which accelerates chainring wear (as well as further chain wear).
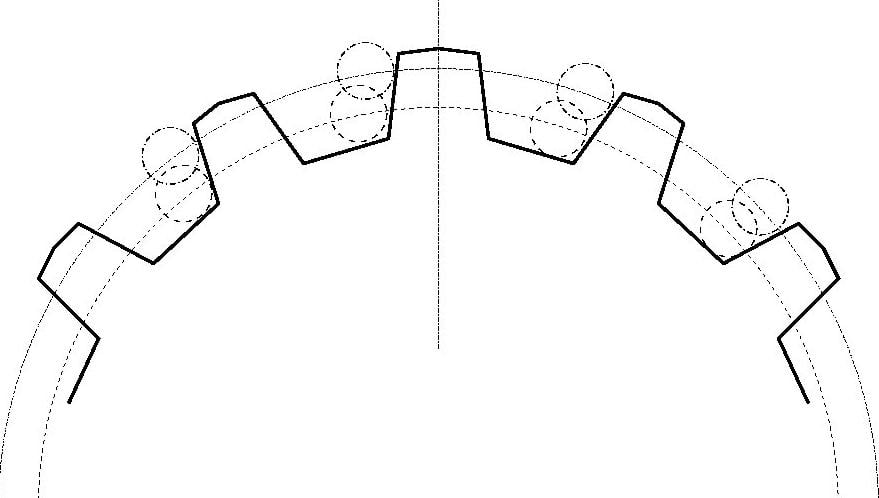
Because of this, if worn chain is not replaced in time, it will result in chain slipping off chainring teeth when under load (felt as pedals falling freely for short time when pedalling with force, or rear wheel slipping), perhaps even breaking, as well as probable full drivetrain replacement (both rear and front chainrings will quickly become worn when used with an elongated chain).
Rear sprocket wear is not (easily) visible (only with special measuring tools), but if a new chain “skips” over (some) sprocket(s), it is a sure sign of worn sprockets.
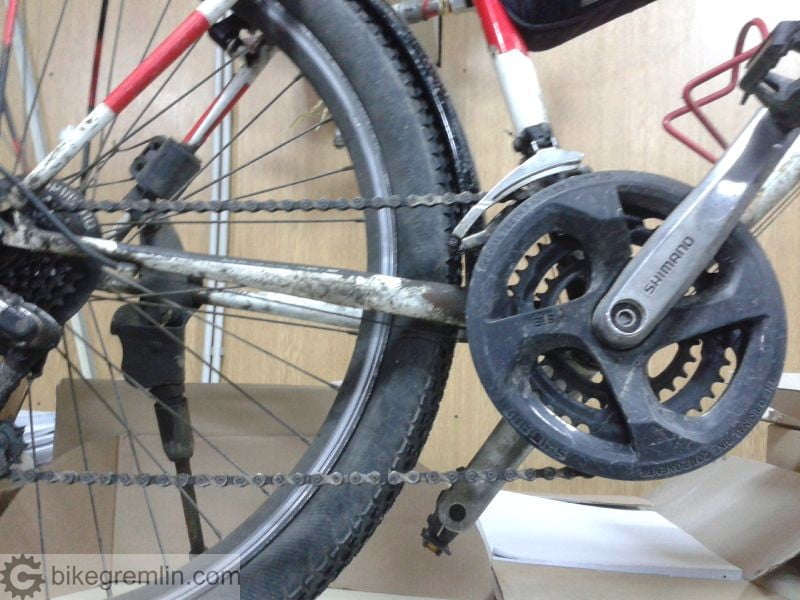
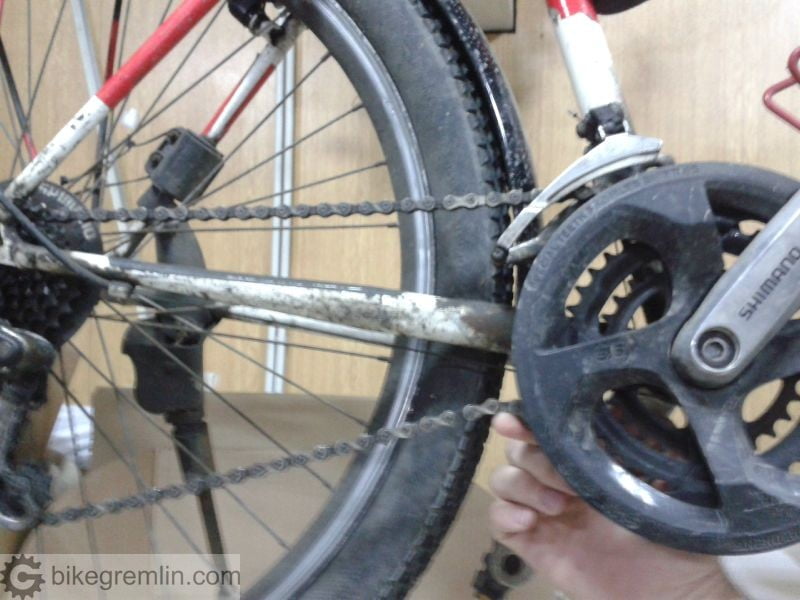
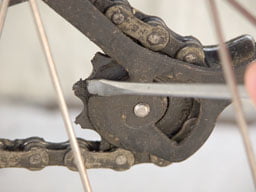
Worn front chainrings, on the other hand, are easily recognized. Teeth of worn chainrings look like saw teeth (or top shark fin), instead of being symmetric.
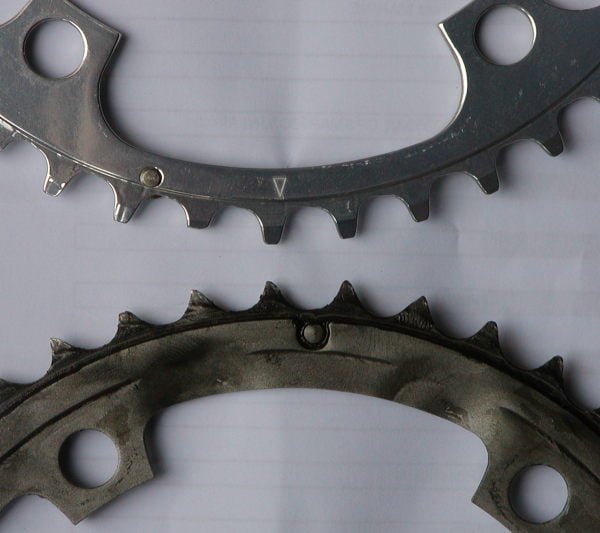
While worn rear sprockets tend to skip, worn front chainrings don’t, they in fact hold the chain a little too well – not releasing it at the bottom part of the chainring, pulling it up a bit. Effect known as “chain suck”.
3. When to replace a chain?
Once the chain elongation reaches 0.5% of the nominal length, it is time to replace the chain. There are special chain wear measuring tools, but a simple ruler will also suffice. When measuring for wear, chain should be pulled tight and straight. Whether on the bicycle, or taken off.
Replacing the chain in time, allows rear sprockets to last from 2 to 4 chain replacements, without getting worn themselves. Front chainrings, even (lighter, but softer) aluminium ones, can last from 20 to 40 or more chain replacements.
For detailed explanation of chain wear and it’s measuring methods, as well as the consequences of irregular replacement, look at this post: When to replace the chain on a bicycle.
4. Cleaning a bicycle chain
Because bicycle doesn’t take very high loads, chain wear is mostly affected by two factors: lubrication and cleanliness. Outer appearance is not important, critical part is where rollers roll over the pins. It can even be said: chain life = cleanliness + lubrication. Both are equally important.
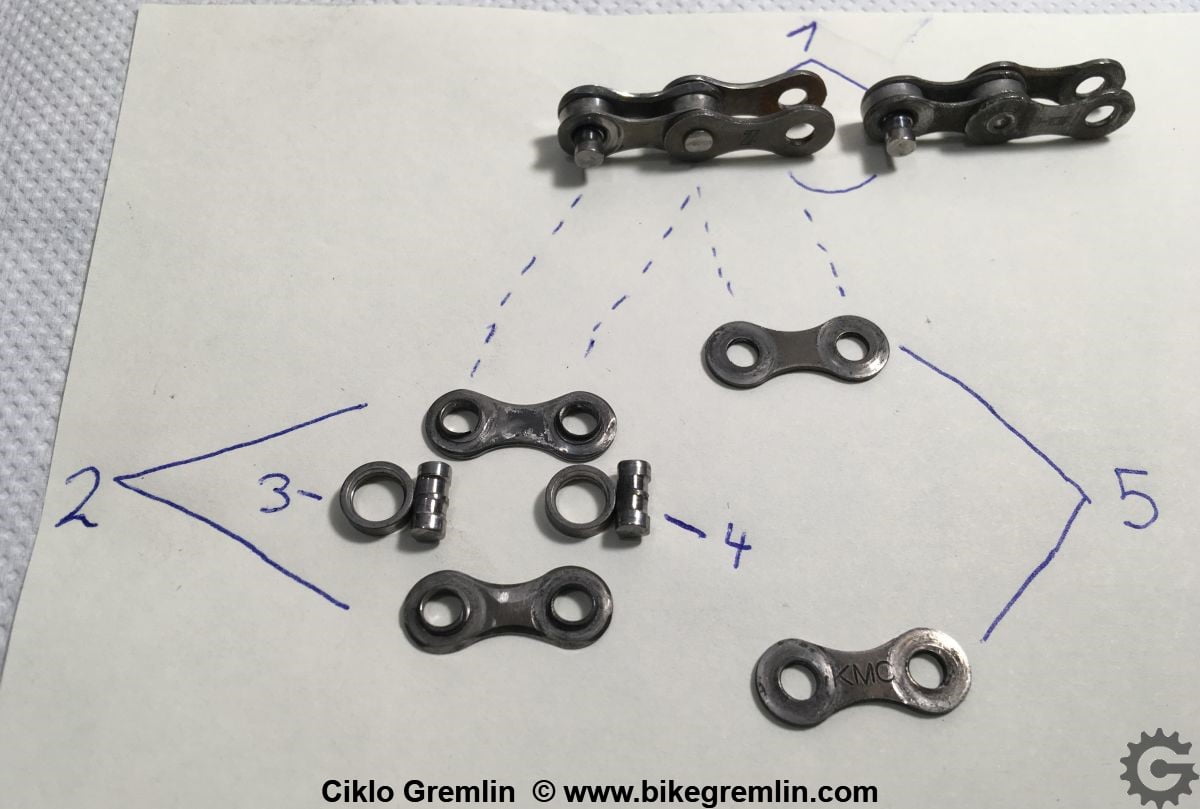
1: chain link
2: inner plate
3: roller
4: pin
5: outer plate
When dirt enters the space between the rollers and pins, it starts wearing the chain. Sanding (polishing) pastes are practically made by mixing sand and oil. That is why it is important that chain is as clean as possible (practical) before lubricating it. Following chapters will explain some common chain cleaning methods.
4.1. Jar with paint thinner
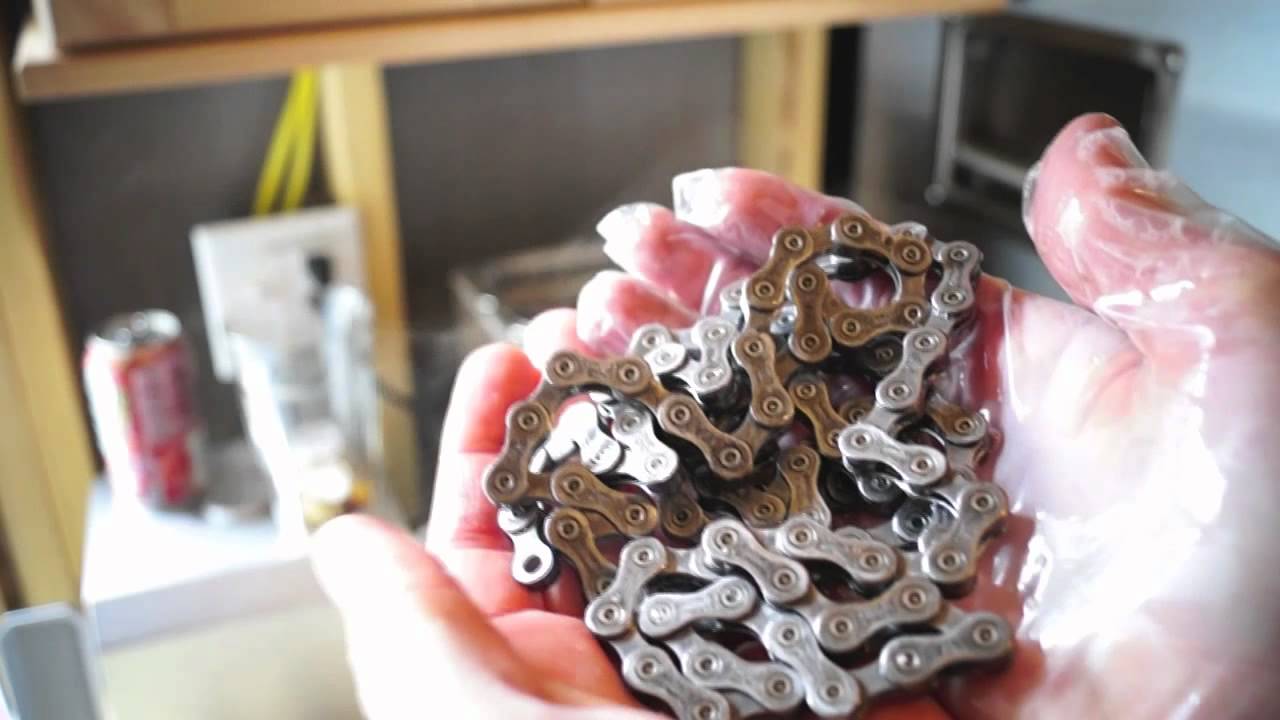
Chain is best cleaned by taking it off the bicycle, putting in a jar with some degreaser – oil paint thinner (i.e. odourless mineral spirits) is a great choice – closing the lid and then shaking it. Dirty liquid can be poured in another jar, later poured over a filter coffee filter, and used again – save the environment! 🙂
Then new degreaser is poured and the process is repeated, until the degreaser stops being dirty after vigorously shaking the chain in it. This means that (most of) the dirt between the rollers and pins was removed. If a chain appears clean on the outside, but after shaking the degreaser keeps getting dirty, it means there’s still dirt stuck between the rollers and pins – where it damages the chain.
For this cleaning method, it is best to use a so called quick connect link. Some chains come with this link (for example SRAM and KMC made chains usually do). For others a quick link can be separately bought – as long as it matches the number of speeds the chain is for. I.e. 8 speed link is needed for an 8 speed chain, 9 speed for a 9 speed chain and so on.
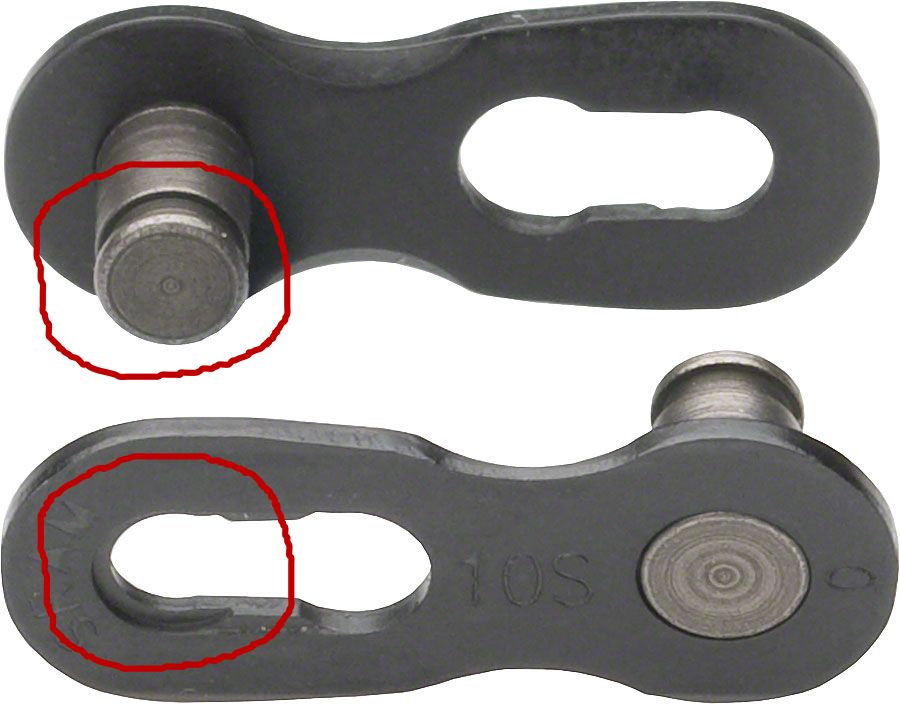
Pins of the link slide into the marked grooves, locking it in place
Chains for more than 8 speeds don’t have quick connecting links that can safely be re-used for numerous connecting and disconnecting of the chain! Chains for 9, 10, 11 and 12 speeds are more expensive, and need a new quick connecting link, or a new assembly pin when connecting them back after disassembling them. Chains for more than 8 speeds have thinner plates, so pins have smaller, weaker, groove to catch onto. That is why manufacturers don’t recommend re-using such quick links. They can hold after re-use, but can also disengage without a warning!
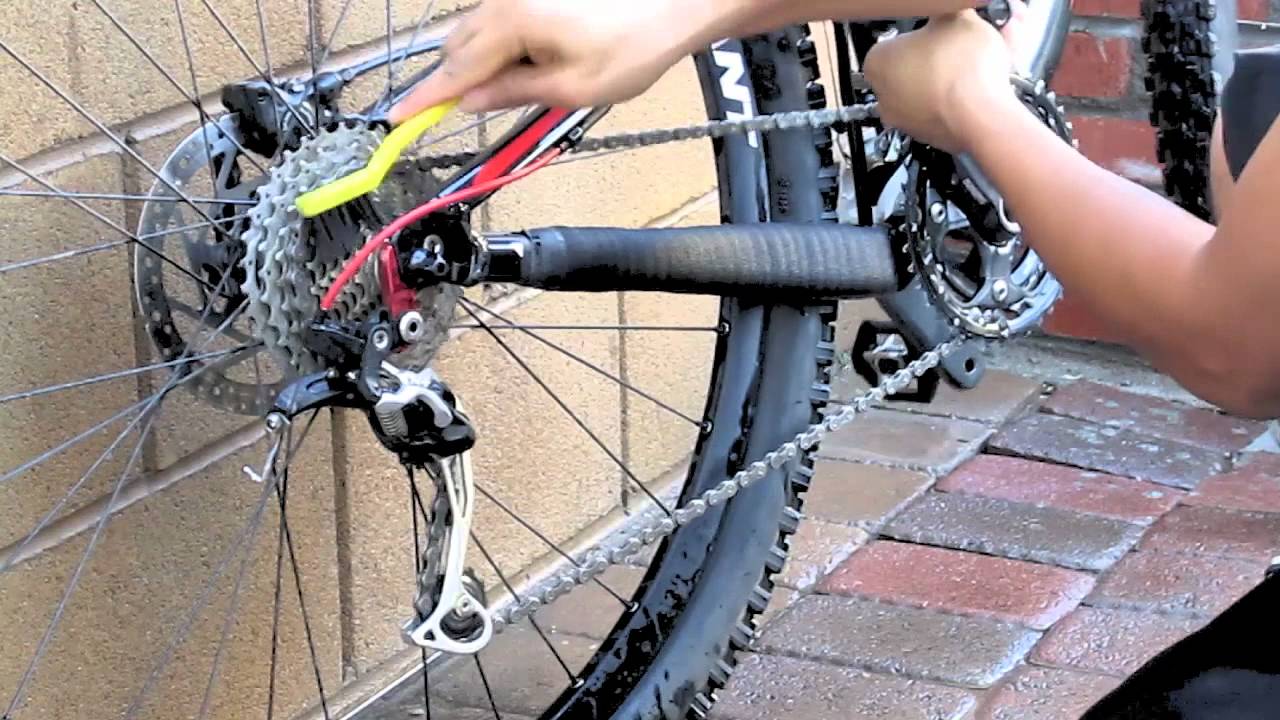
4.2. Special chain cleaning gadgets
They try to simulate method 4.1, only without the chain removal.
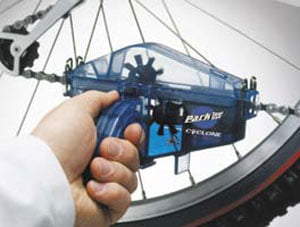
They usually spray a lot of dirt, dirt drips from the chain, but are less effective than the “jar” method.
4.3. Rag (and a brush)
Quick method for cleaning chain on the outside is using a rag with some degreaser. This method won’t clean between the rollers and pins. In fact, it can drive the dirt deeper into the chain, although it will appear clean on the outside.
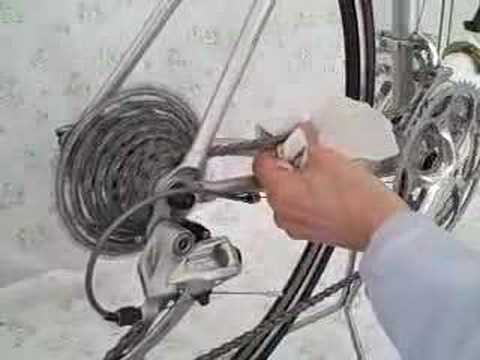
Advantage of this method is that it’s the fastest, with the least amount of dirt spread around, so those who favour time saving to chain life can use it.
Those who want to make it more messy, with questionably better effect, can use an old tooth brush with some degreaser as well and rub the chain.
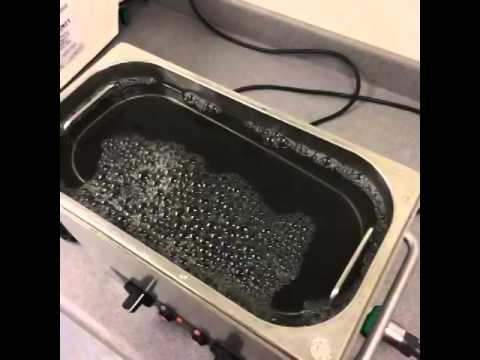
4.4. Ultrasonic jewellery cleaner
The opposite of the “rag” method. The name says it all.
4.5. Cleaning the other drivetrain components
Clean chain will quickly get dirty if put over a dirty chainring, with lots of sand stuck to it. That is why, when cleaning a chain, it is also important to clean the rest of the drivetrain as well.
All the cleaning methods shown above do not exclude one another, they can complement each other. Depending on one’s preferences and priorities.
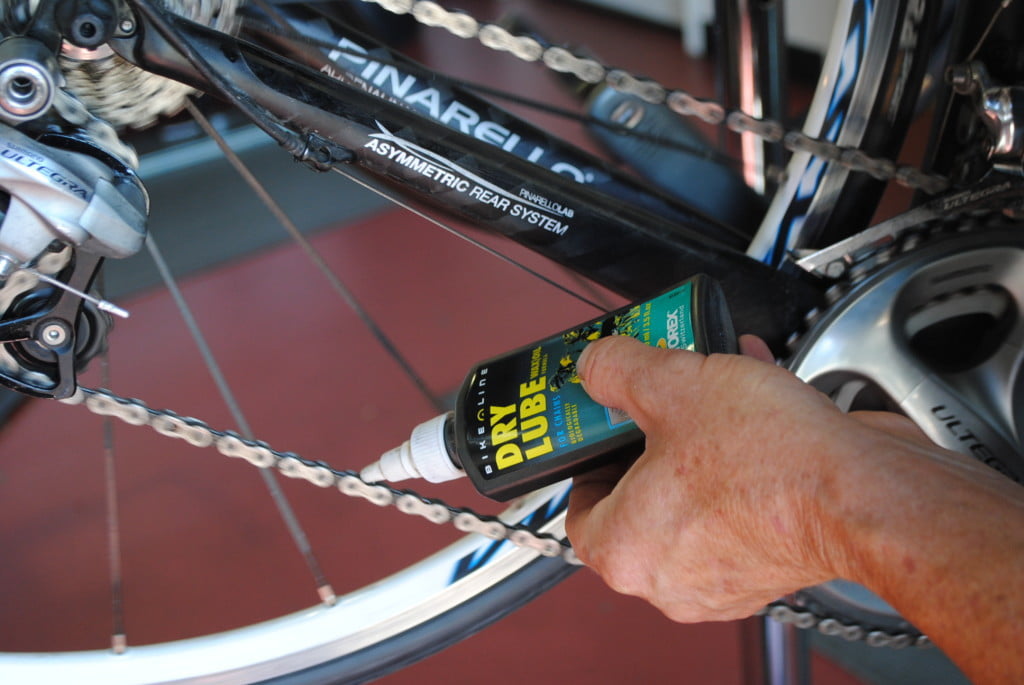
5. How to lubricate a bicycle chain
Proper way to lubricate a bicycle chain is this: one drop of lubricant on each roller, on the inside. It is important for the lubricant to flow between the rollers and pins.
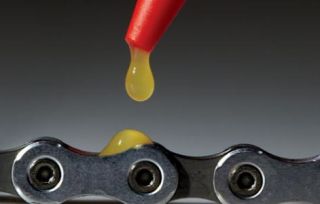
Afterwards spin pedals for about a minute, in order for the lubricant to spread evenly, between rollers and pins. Then use a cloth to wipe all the excess oil from the chain (method explained in chapter 4.3.). The outside of the chain should be (almost completely) dry – with lubricant only left between the rollers and pins.
There are also special dry lubricants. Usually paraffin wax based. They require a completely clean and dry chain before applying. Advantage is they are dry, so the chain doesn’t get dirty, sticky as with wet lubricants. Disadvantage is they are less resistant to rain washout.
Some even like to remove their chain, dip it in molted paraffin wax, or grease, then let it drip, wipe excess off and reinstall. This requires a bit more time and effort.
I’ve explained how it’s done in this video (without thorough cleaning using some degreaser on the cloth, just explained the principle):
![Basic bicycle service - how to do it [1038]](https://bike.bikegremlin.com/wp-content/plugins/wp-youtube-lyte/lyteCache.php?origThumbUrl=https%3A%2F%2Fi.ytimg.com%2Fvi%2FWHgt6fM6qQ8%2F0.jpg)
6. Which chain lubricant is the best?
This question will, a bit rudely, be answered with another question: which bicycle is the best? A mountain bike will “shine” in the mud, but on a paved road it will be blown away by a road bike – and vice-versa.
It all depends on one’s riding conditions, chain cleaning methods and preferences. Generally, lubes that resist rain washout well, usually attract a lot of sand and dust – and vice-versa. If using a “wet” (oil based) lubricant – the “thicker” it is, the more it will resist water washout, but attract more dirt.
Author of this text usually uses either motor oil, or chain saw bar oil, diluted in diesel fuel to achieve required “thickness” – for autumn pouring rain, I prefer thicker oil. For deep freezing temperatures, fully synthetic “winter” petrol engine oil is a decent choice.
Sewing machine oil is also a decent choice. There are numerous lubricants sold as special, bicycle chain lubrication specific. Usually (a lot) more expensive. Some even work very well.
Motorcycle chain sprays? This gets asked a lot, so it’s worth answering. Motorcycle chains spin with huge velocities. So motorcycle chain sprays often contain silicone, or some other additive to make the lubricant more sticky and “thick”. This is detrimental for cycling use, because such lube will attract a lot more dirt. No matter how fast one spins the pedals, their bicycle chain will never get to such a high velocity to just throw oil off. So I would say that most motorcycle chain spray lubricants are a bad idea for bicycle chain lubrication.
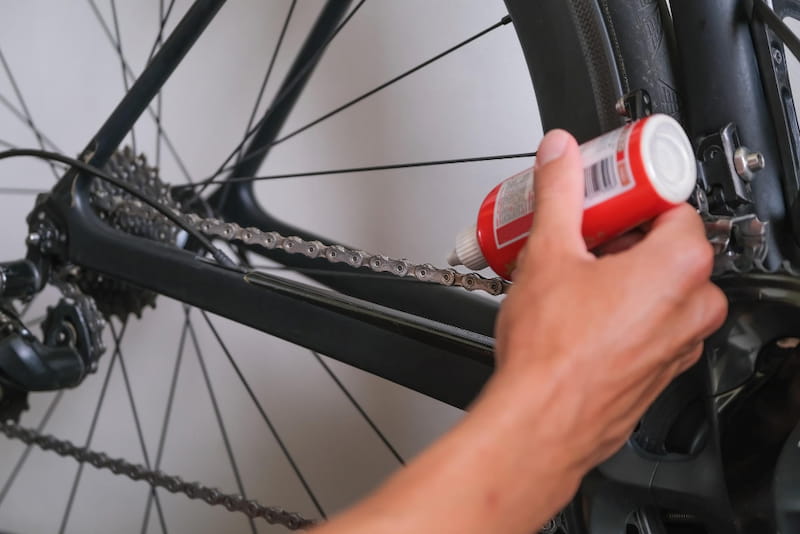
Bicycle chain lubricants in spray cans? Unlike motorcycle chain lubricants, these are generally OK. They cost a lot more compared to what I’d call the best bicycle chain lubricant, and you are more likely to spray the adjacent stuff (like brake pads, or discs – pay attention). However, as far as chain lubrication and cleanliness is concerned, they are good.
Comparison of various chain lubricants is given in the post: Comparative overview of bicycle chain lubicants:
7. When (how often) should a chain be lubricated?
The chain starts making a distinct sound when it’s not lubricated.
OK, it will literally squeak when it’s completely dry, but if there’s at least a minimal amount of lubricant, the sound will be different. How can I describe this? Very fine rattling.
After you’ve lubricated your chain, and done some riding, you will most likely notice when your chain becomes noisy.
How many miles?
It depends on the type of chain lubricant you are using, and your riding conditions. For example: if you are using a “thin” (low viscosity) chain lubricant, or a dry lubricant (wax-based), the chain will start making noises after just one 5-mile ride in heavy rain.
The opposite extreme is using a very thick lubricant (high viscosity) and riding in dry conditions. In this case you’ll have problems with a lot of dirt and sand getting stuck to the chain, but it will take many miles before it needs re-lubricatin (though it would be a good idea to clean it and use a thinner lubricant).
Generally speaking: you can lube your chain every 100 miles, or so. A bit more often if you use dry, or very thin lubricants, or ride in the rain, and a bit less often if you ride in dry conditions without much dirt, or sand.

New chains come greased from the factory. I couldn’t find the formula for the factory grease, but it is very long-lasting and doesn’t attract much dirt. That’s why it is not wise to clean/lube a new chain. It should be just wiped on the outside (to remove any outer grease that could attract dirt), mounted and ridden until it starts making noise – and that can take a while with the factory grease.
The existing comments posted under this article (questions and answers) have been moved to this BikeGremlin forum thread:
https://www.bikegremlin.net/threads/how-to-lubricate-a-bicycle-chain-article-comments.129/
another waxing update,done alot of riding on waxed chain now and did alot of wet weather riding,dusty conditions riding using the shimano hg40 chain,chain is still good,no corrosion apearing and no sign of any wear yet,chain is still running nice and clean,no issues at all and my chain runs allmost silent still
Hi Mike,
My chain waxing experiment shows rust after just one month of riding in our winter (not in the snow or salty slush, just rain and cold). But I will see how long the chain lasts (measuring mileage). It definitely is cleaner. 🙂
Relja
Hi Relja,to avoid that corrosion issue you can wipe the chain down after that wet ride,and if you like do a re-wax after the wet,its abit more messing about but you really cant beat that smooth running of a waxed chain,one aussie guy used to mix parrafin oil with his wax in wet conditions,in the big wets i usually wipe the chain down and do a quick re-wax and i am only using hg-40 chains that dont have the high end corrosion protection,maybe also you could try a high end chain like a wipperman,that may fix the problem,but like you said before if constant wet riding then waxing may not be the solution cheers
Hi Relja,I f,cheersound a slightly better way to wax a chain,instead of taking the chain off the bike i wax it on the bike,i just flip my bike upside down,take the rear wheel off and wax the chain 1/3 at a time,wait for each section to go hard then break the links and move the chain around to the next section,its probably not for everyone as you have to hold a pot of hot wax,i get better results this way as well and a cleaner chain,i just dont like the idea of removing quick links all the time,cheers
made a mistake there it was supposed to say I found a slightly better way to wax a chain